JSON DB API tutorials
Tutorials for the JSON DB API using the athlete table in the API Explorer user interface
Tutorial | Description |
|---|---|
This tutorial uses Data Explorer and API Explorer web apps to create an athlete table with indexes. It inserts records. It creates a transaction to update and delete records and rolls back the transaction. It retrieves records using cursors and SQL. | |
This tutorial shows how to perform a SQL query and use cursors to paginate results with a count of records read for each page. |
Tutorials for the JSON DB API using the athlete table in the API explorer user interface
JSON DB API
tutorials
API explorer
user interface
FairCom DB
athlete tutorial
count and paginate records
Ensure the FairCom server is installed and running.
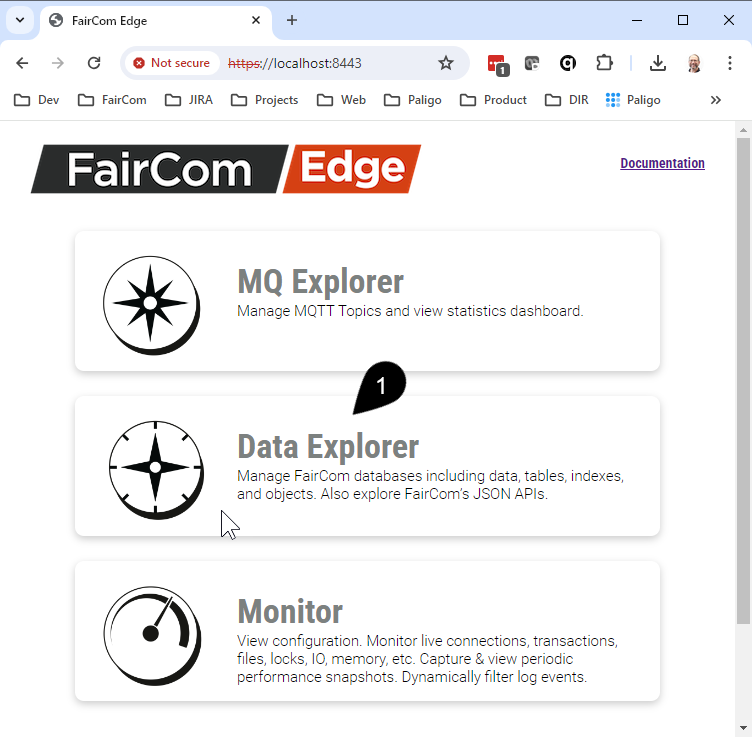
Run the Data Explorer web application.
Open a Chrome-based web browser and enter
https://localhost:8443/into the address bar.Click on the Data Explorer icon.

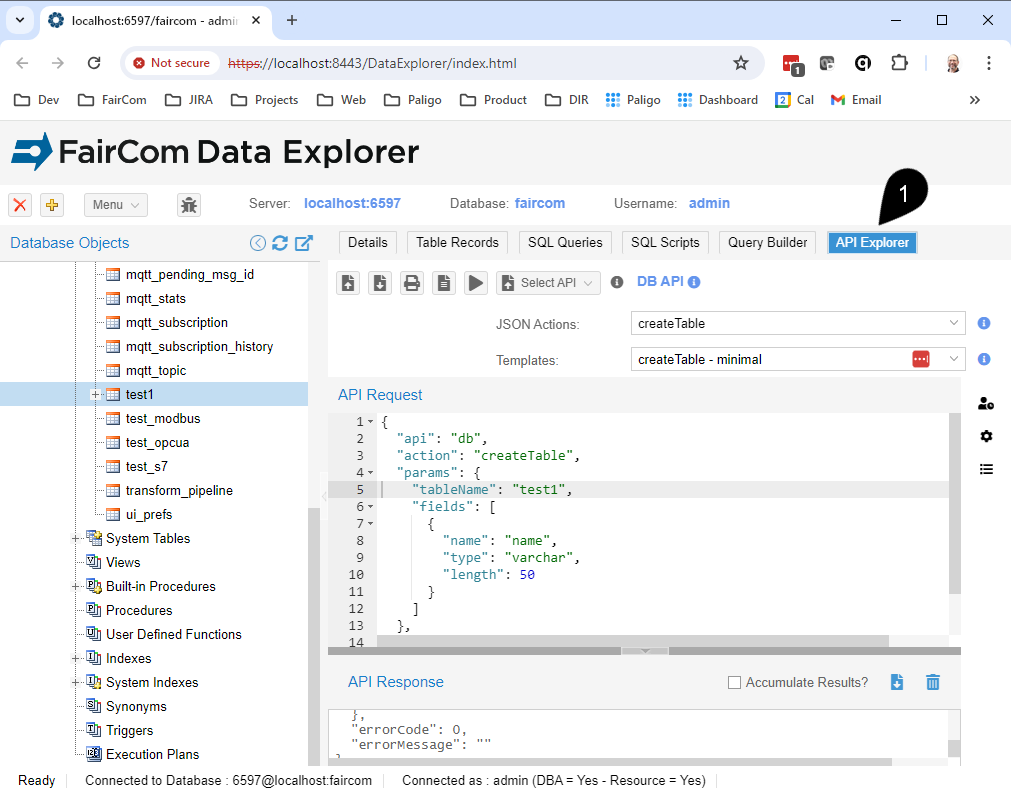
Click on the API Explorer Tab.

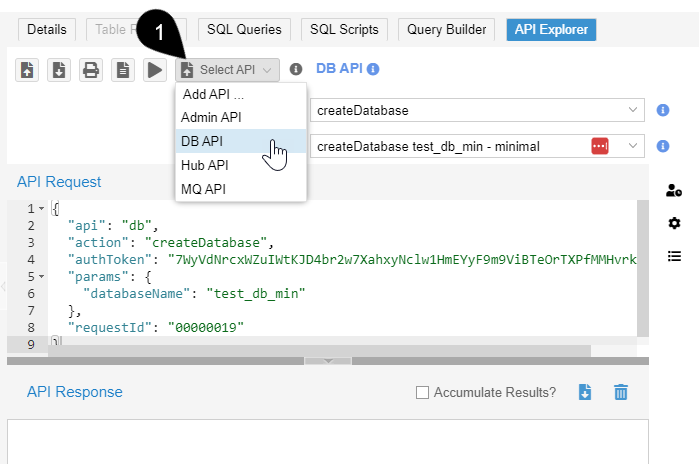
Optionally select the desired API from the Select API dropdown menu.

Tip
For convenience, each FairCom product defaults to a different API.
FairCom DB and FairCom RTG default to the DB API.
FairCom Edge defaults to the HUB API.
FairCom MQ defaults to the MQ API.
Run the following JSON action to retrieve the next record from the cursor.
{
    "api": "db",
    "action": "getRecordsFromCursor",
    "params": {
        "cursorId": "clickApplyDefaultsToReplaceThisWithTheLastCreatedCursor",
        "fetchRecords": 1
    },
    "authToken": "clickApplyDefaultsToReplaceThisWithValidAuthToken"
}
Click Send request (
 ).
).Continue to click Send request to move through each record.
Note
The same code fetches different records each time it is run because each call moves the cursor position.
To fetch records from different locations in the recordset, change the values of
"startFrom","skipRecords", and"fetchRecords".
Note
The API Explorer automatically recognizes the
"cursorId"in a response and remembers it so when you select the"getRecordsFromCursor"from the JSON Actions dropdown menu, API Explorer automatically populates the action with the latest"cursorId"value to simply using cursors.
The following lists contain techniques, examples, and capabilities of cursors.
"fetchRecords", "skipRecords", and "startFrom" to move the cursor:To fetch forwards, assign a positive integer number to
"fetchRecords".To fetch backwards, assign a negative integer number to
"fetchRecords".To skip forwards, assign a positive integer number to
"skipRecords".To skip backwards, assign a negative integer number to
"skipRecords".To move a cursor to the beginning of the recordset, set the
"startFrom"property to"beforeFirstRecord".To move a cursor to the end of the recordset, set the
"startFrom"property to"afterLastRecord".
To return the next two records:
"fetchRecords": 2
To return the previous three records:
"fetchRecords": -31
To skip the next two records and fetch 1 record:
"skipRecords": 2,
"fetchRecords": 1
To skip the previous record before the next 3 previous records:
"skipRecords": -1 ,
"fetchRecords": -3
To fetch the first 3 records in the recordset:
"startFrom": "beforeFirstRecord",
"fetchRecords": 3
To fetch the last 3 records in the recordset:
"startFrom": "afterLastRecord",
"skipRecords": -3,
"fetchRecords": 3
"getRecordsFromTable"allows the cursor to move through every record in the table from beginning to end."getRecordsUsingSQL"allows the cursor to move through every record returned by the SQL query from beginning to end.
"getRecordsByIndex"allows the cursor to move through every record in the index."getRecordsStartingAtKey"allows the cursor to move through every record in the index starting with the closest match to the key."getRecordsByPartialKeyRange"allows the cursor to move through every record in the index that matches the partial key."getRecordsInKeyRange"allows the cursor to move through every record in the index within the specified key range.
Warning
Rebuilding tables and indexes takes a lot of time when the table being rebuilt has many records. There is no need to rebuild an index unless your index has experienced data corruption. For more guidance, contact FairCom support.
This tutorial rebuilds tables and indexes by running the "rebuildTables" and "rebuildIndexes" actions.
Rebuilding indexes and tables is only necessary if their data becomes corrupted. There are several common instances in which this can occur.
Corruption is frequently encountered with non-transaction-controlled files. This happens to nearly all such files at some point. Because each application is responsible for its own data updates with no central point of control, if the application fails during an update, it can leave the index out of sync with the data file.
Copying files that are under active server control can also cause data corruption, requiring a full rebuild of the tables.
Another reason to rebuild is to save time and space when backing up files. If you obtain and archive a clean copy of the data files, their indexes can be rebuilt after the data is restored.
Note
It is important to note that rebuilding can be a very time-consuming and memory-intensive process that can affect system performance. To help mitigate a dip in performance, you can use the SORT_MEMORY configuration option to allocate percentages or portions of available RAM toward rebuilding. This preserves system speed by rebuilding indexes without committing all available RAM, which would leave the system unusable or slow while rebuilding.
Running the following request will rebuild the specified index.
{
  "api": "db",
  "action": "rebuildIndexes",
  "params": {
    "tableName": "test"
  },
  "authToken": "replaceWithAuthTokenFromCreateSession",
  "requestId": "00000001"
} Running the following request will rebuild the specified tables.
{
  "api": "db",
  "action": "rebuildTables",
  "params": {
    "tableNames": [
      "test"
    ]
  },
  "authtoken": "replaceWithAuthTokenFromCreateSession",
  "requestId": "00000001"
}