|
|
|
This document is for compiling projects using C. If you wish to use C++, see Building a Microsoft Visual Studio C++ Project for Your c-tree Application.
To compile C programs with Microsoft Visual Studio, you must have the C++ component installed. This seems counter-intuitive, but the C++ component includes both the C compiler and the C++ compiler.
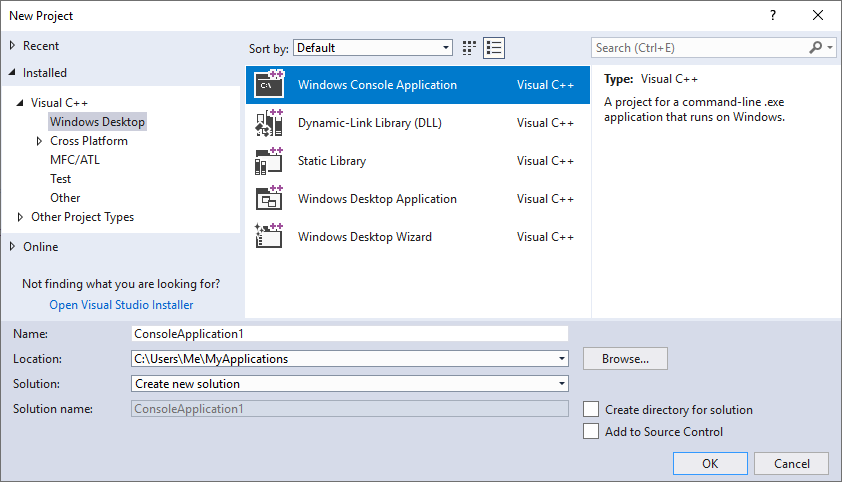
The New Project Wizard in modern versions of Microsoft Visual Studio does not contain templates that explicitly create C projects — all of the C-type templates specify C++ as the programming language (see the following picture). A workaround is required to create a new C project. The workaround involves adding a new C++ file to your project, but changing the filename’s extension from .cpp to .c before you press the button that actually creates the new file.
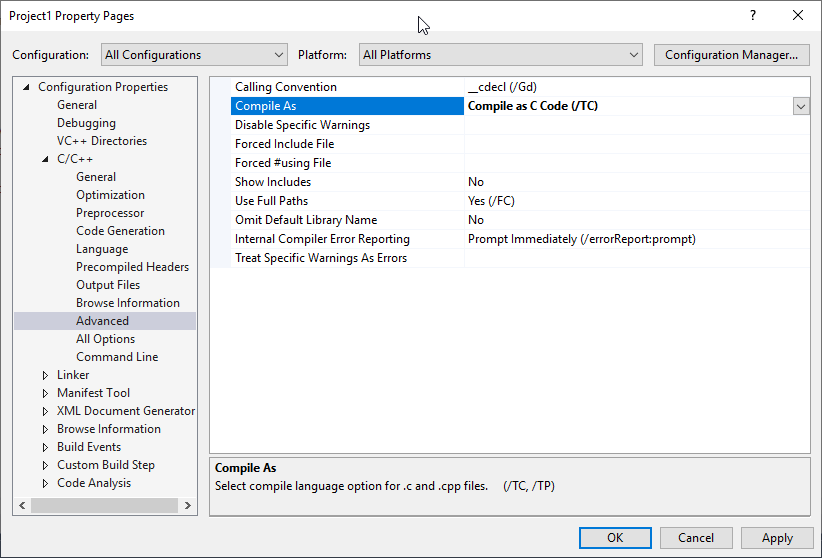
This workaround works because the default behavior of Visual Studio is to compile source code files that have a “.c” file name extension as C, and to compile files that have a .cpp extension as C++. As long as your source code file names all end in .c, Visual Studio will use the C compiler (and not the C++ compiler) to compile them. Note that this default behavior can be changed for a project by going to the project’s Properties window and navigating to Configuration Properties > C/C++ > Advanced, and then changing the Compile As entry from Default to Compile as C Code (/TC).
With this background, the steps to create a new FairCom DB API project in Visual Studio are as follows:
Explicit details of these steps follow.

