|
|
|
In the Solution Explorer, right-click the Source Files folder and select Add > New Item.

In the Add New Item window, select C++ File (.cpp). In the Name field, change the file name's extension from .cpp to .c. This will make Visual Studio use the C compiler for this file, rather than the C++ compiler.
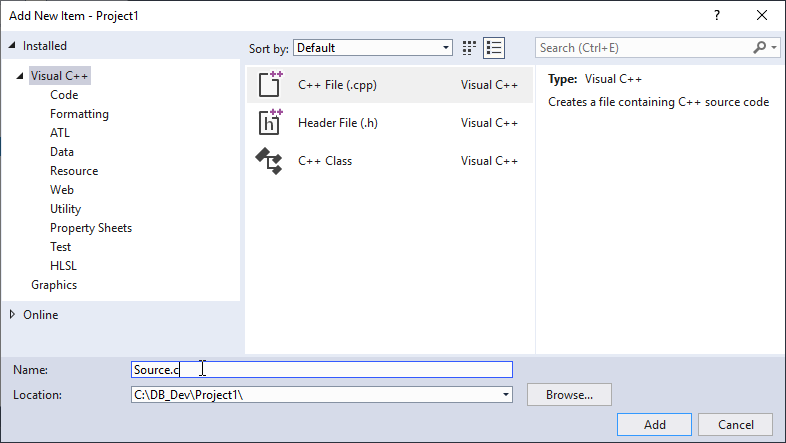
When you are done changing the name of the file, click Add button to create your new file and add it to the project. For testing (which will be done in step 8), copy the following block of code into your new .c file:
#include "ctdbsdk.h" /* c-tree headers */
int main (int argc, char * argv[])
CTDBRET retval;
retval = ctdbStartDatabaseEngine();
return(0);

