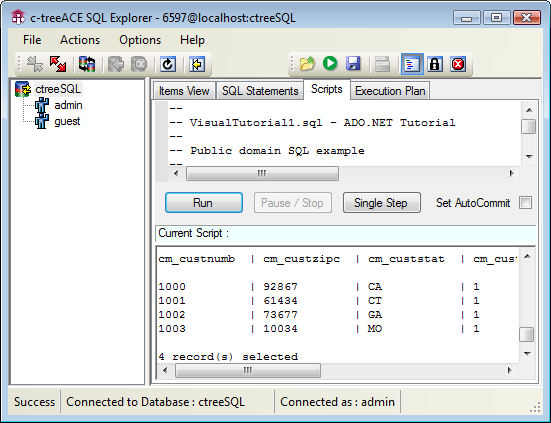
To demonstrate the FairCom DB ADO.NET Data Provider, we will prime our database with sample data. To make this easy, we will use the FairCom DB SQL Explorer tool.
Before following these steps, be sure the FairCom Database Engine is installed (see Setting up the FairCom Database Engine) and running (see Starting the FairCom Database Engine).
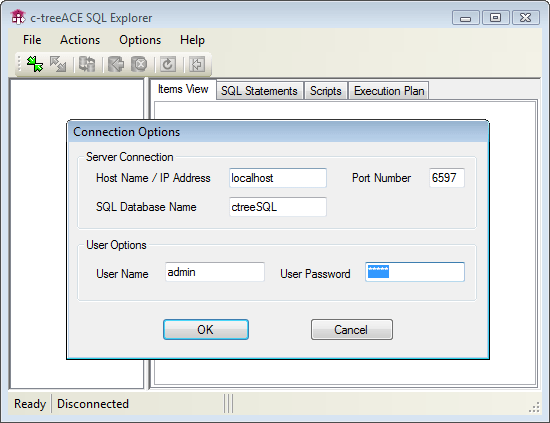
The initial FairCom DB SQL Explorer connection screen appears as below, with all the necessary (default) input fields filled in. The password for the 'admin' user is: ADMIN (all upper case - the password is case-sensitive but the user name is not).
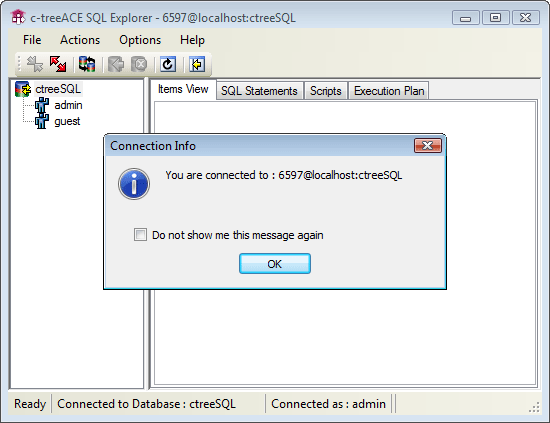
Click OK. You should see the following "Connection Info" dialog. Click OK again.
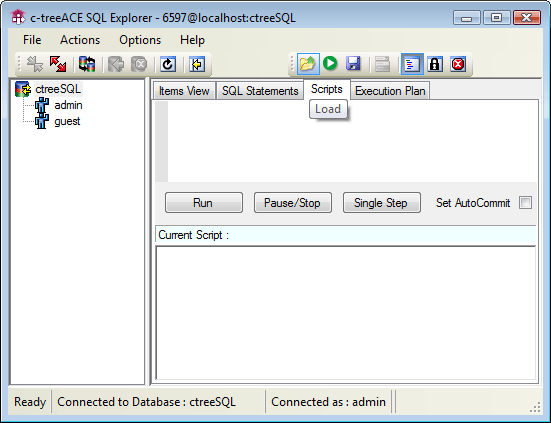
Click the Scripts tab, and then click the Load icon from the toolbar as shown here:
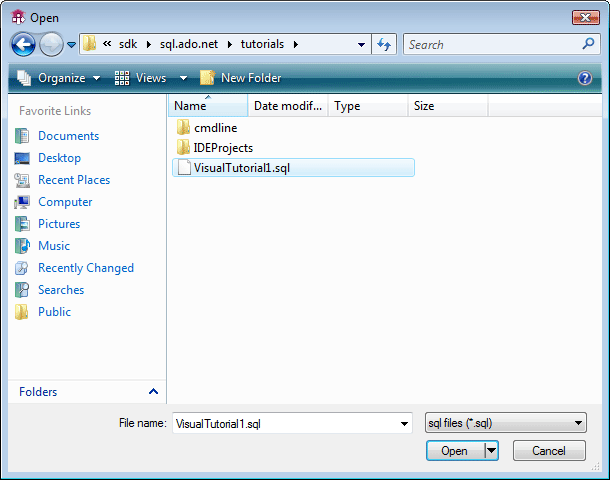
A window will appear so you can navigate to the drivers\csharp.sql.ado.net\tutorials directory and select the VisualTutorial1.sql script.
You will notice lines saying “Statement correctly executed”, “0 record(s) deleted”, “1 record(s) inserted”, etc.
You should now see a screen showing the four records we just added to a table named "custmast":
