In this tutorial you will learn how to create a read-only copy of your data with minimal performance impact. Run reports and analytics on additional servers without impacting the primary server; create a live copy of your data for quick recovery; replicate to a geographically distant location for centralized data warehousing, reporting, analytics, machine learning.
The following steps show how to implement a replication plan in “Read Scalability” mode with FairCom Server V12 zip packages. These steps apply to setting up replication between any FairCom Server types: FairCom DB, FairCom Edge, and FairCom RTG.
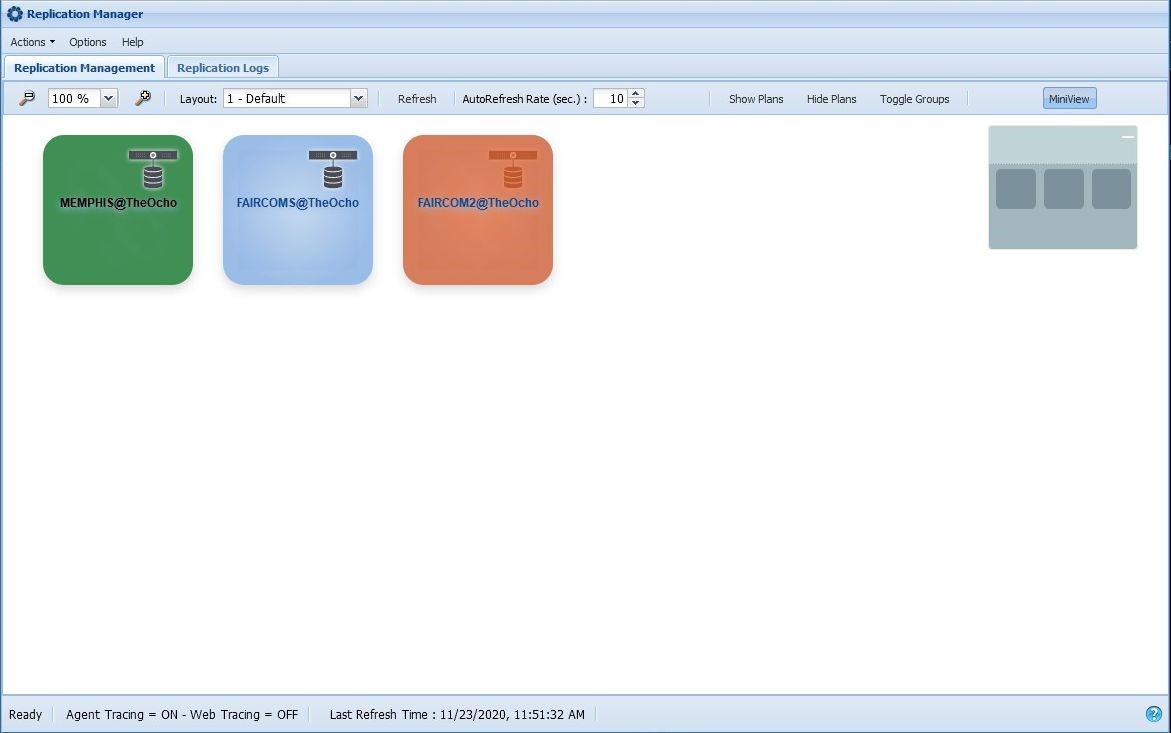
Connect to Replication Manager
In a web browser, navigate to https://<ReplicationManagerHostName>:19992/
Select Replication Manager.
In the Connection Options dialog, enter appropriate credentials click Connect.
(If you have set up additional servers then your view will display more servers than shown below. This tutorial will utilize two FairCom Servers along with the FairCom Replication Manager Server)
Create a Test Table
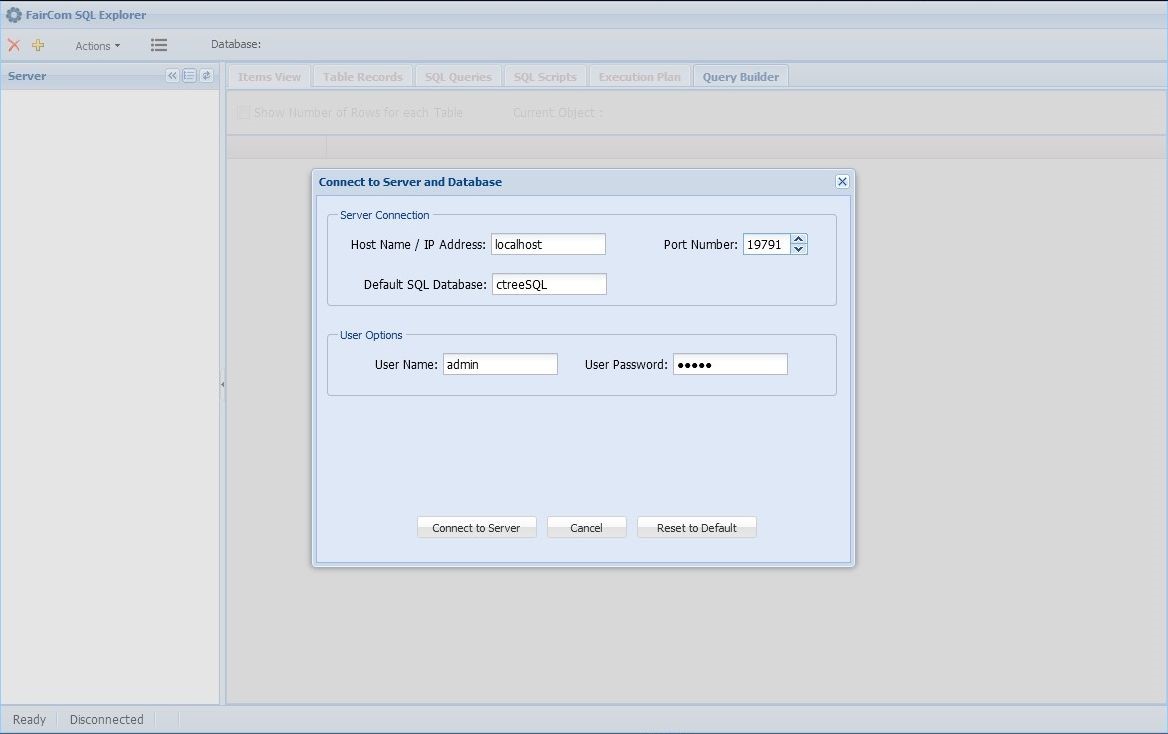
Connect FairCom SQL Explorer to the first FairCom Server by doing the following:
In a web browser, navigate to https://<ReplicationManagerHostName>:19992/
Select SQL Explorer.
In the Connect to Server and Database dialog, enter the hostname (or IP address) and Port Number (19791) for the first FairCom Server.
With appropriate credentials entered, click Connect to Server.
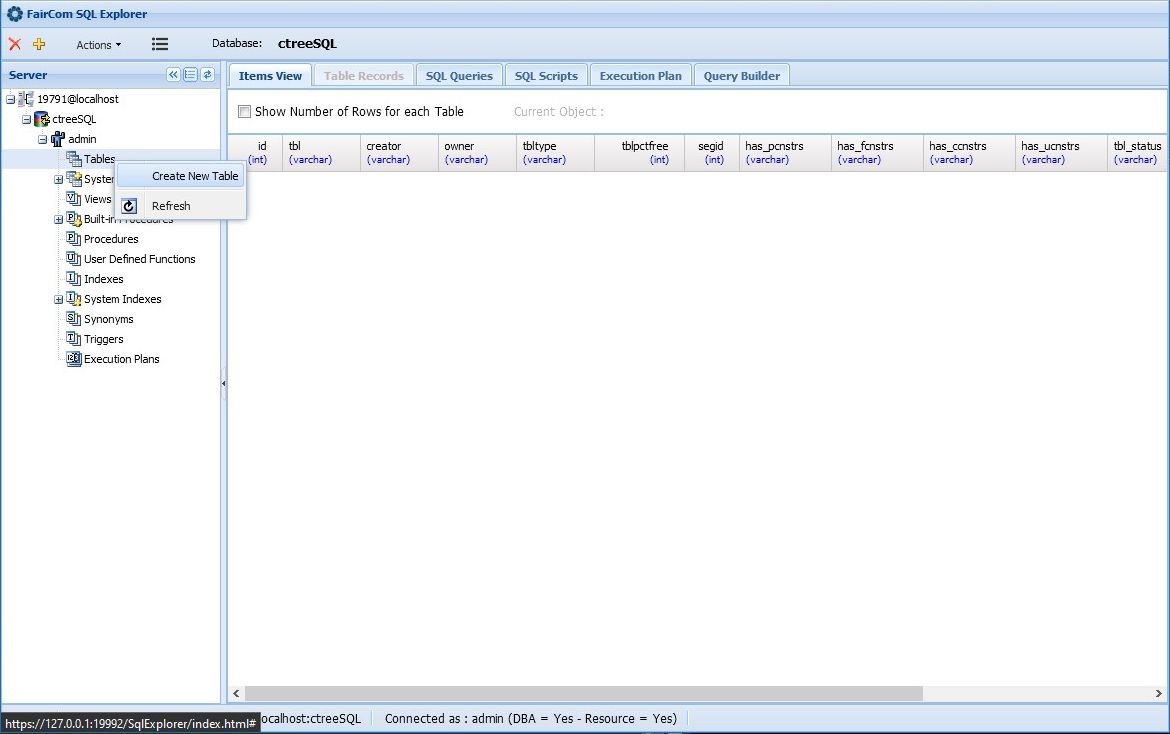
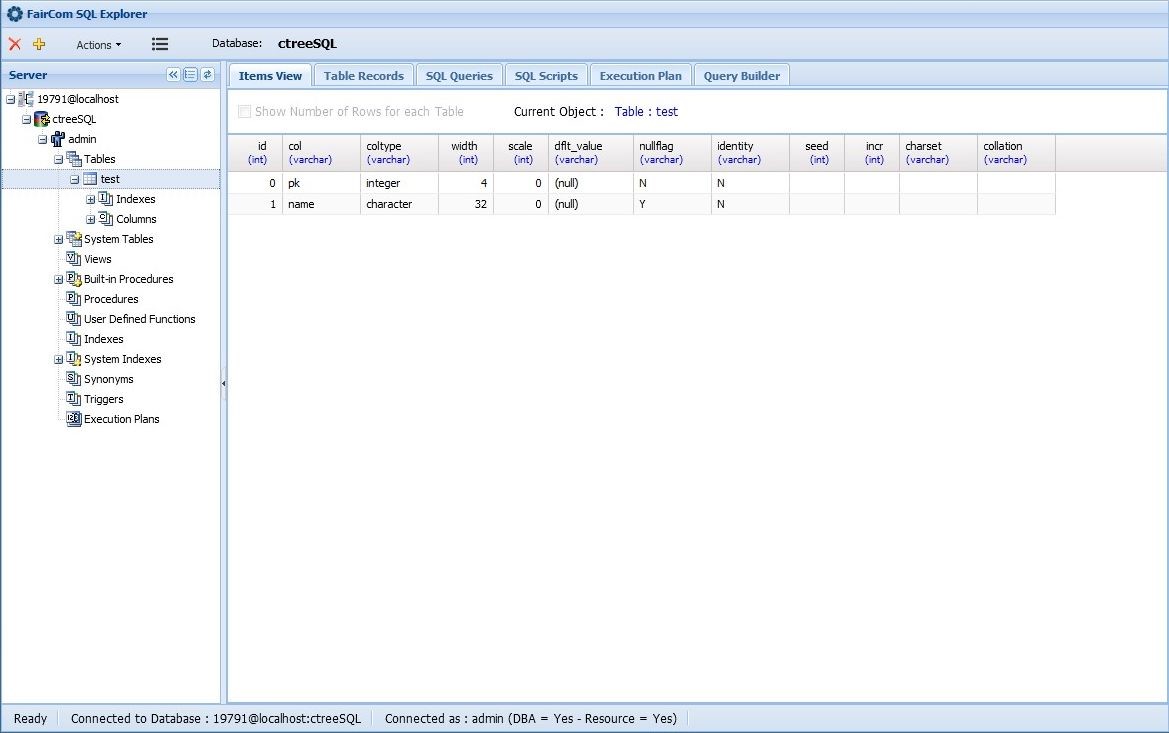
Right-click on Tables in the Server pane and select Create New Table:
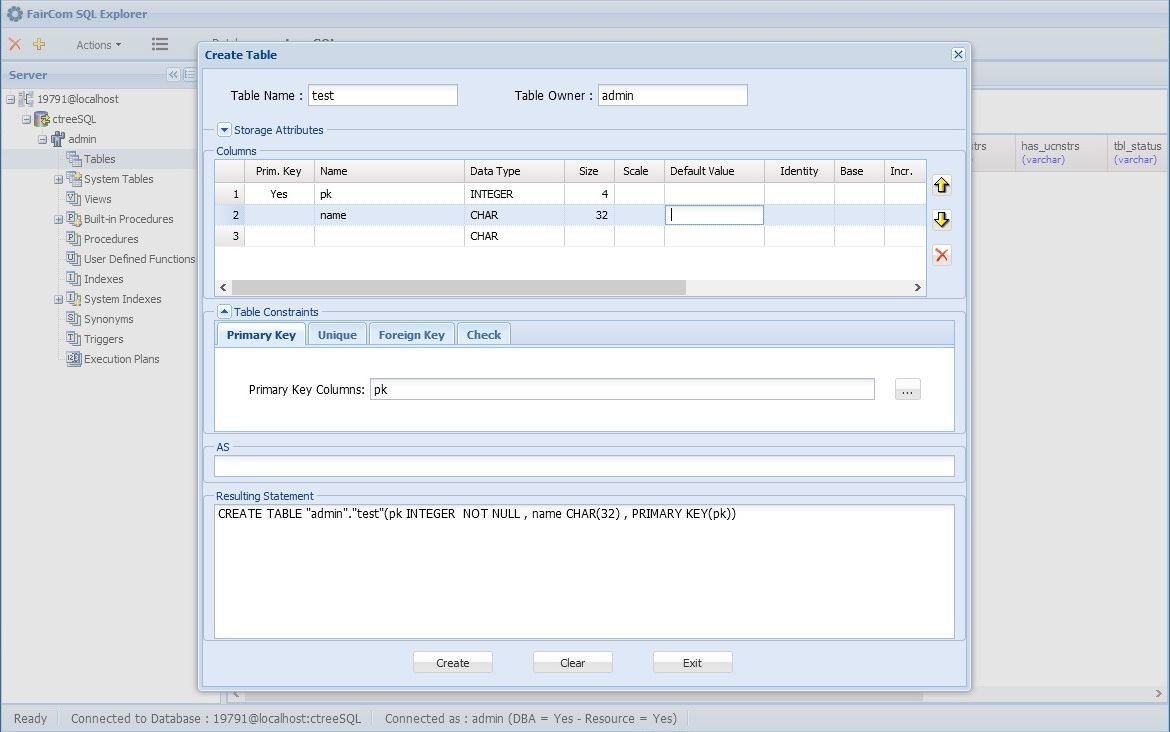
Populate the table schema and create a new table:
Click Create. A modal dialog box will say Table Successfully Created. Click OK to close that dialog.
Set a Replication Plan
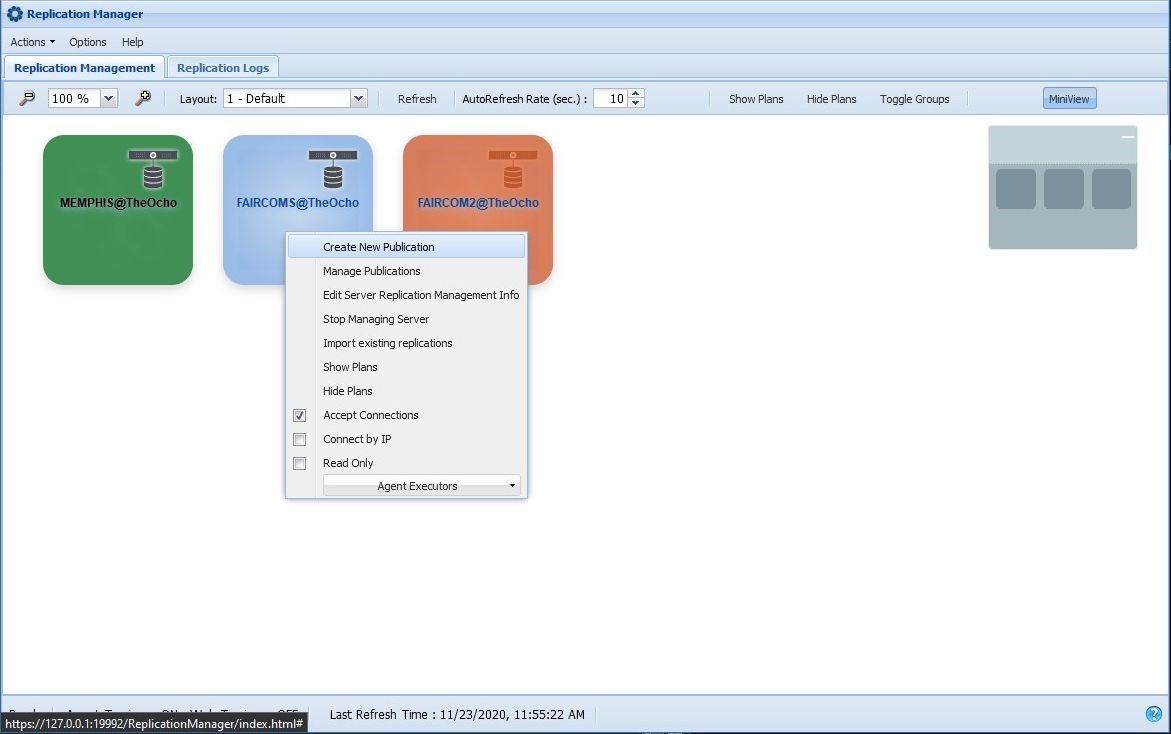
In Replication Manager, right-click the first FairCom Server (where a table was just created) and select Create New Publication.
Check the Published check box for the table just created (admin_test), and click Save & Close:
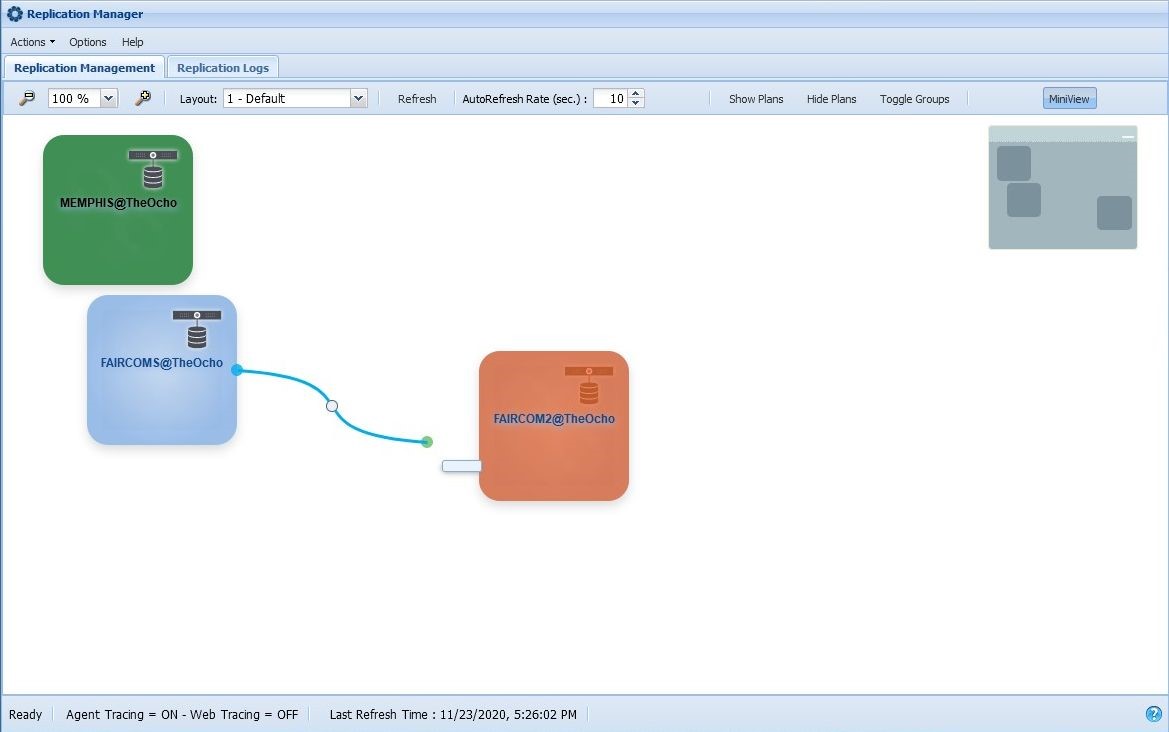
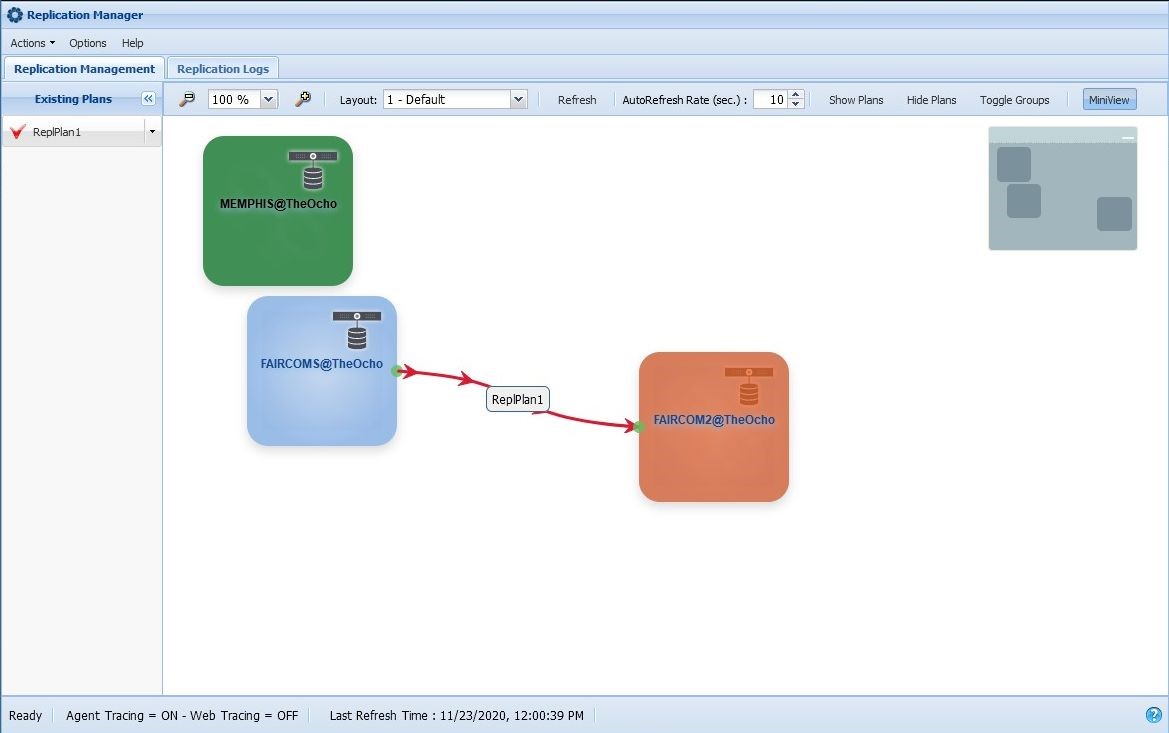
Create a Replication Plan between the first and second servers by dragging and dropping a line between them, from the edge of the first to the second server.
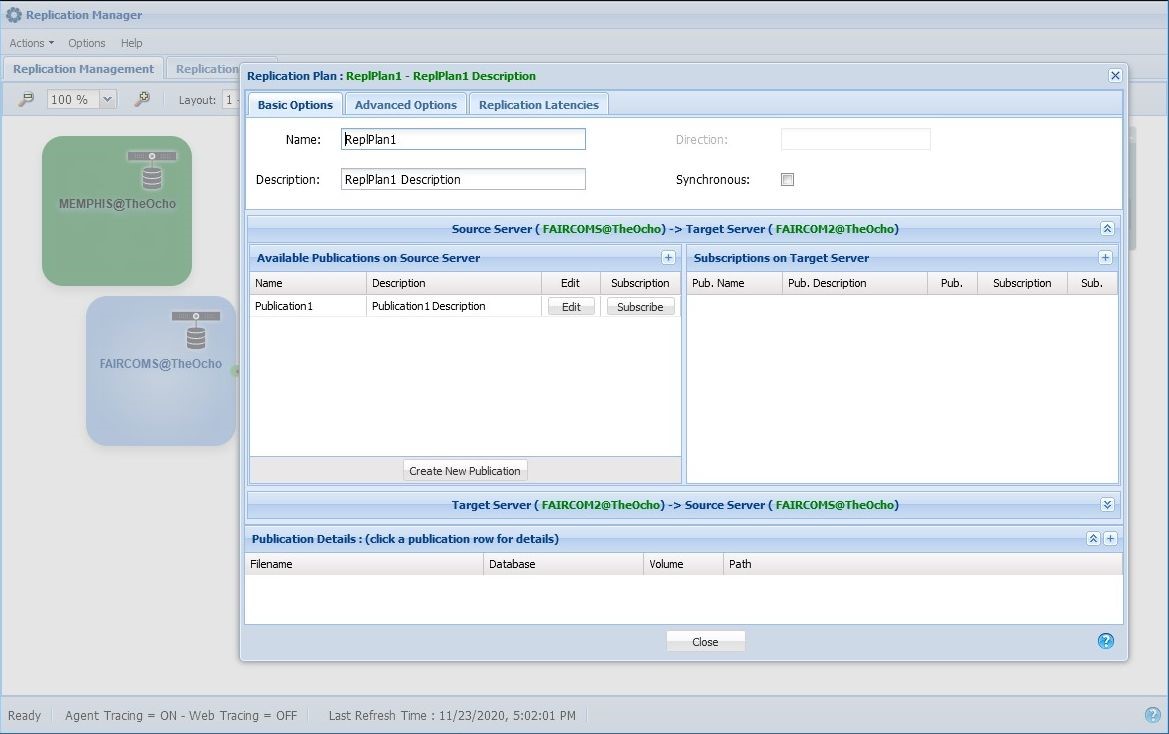
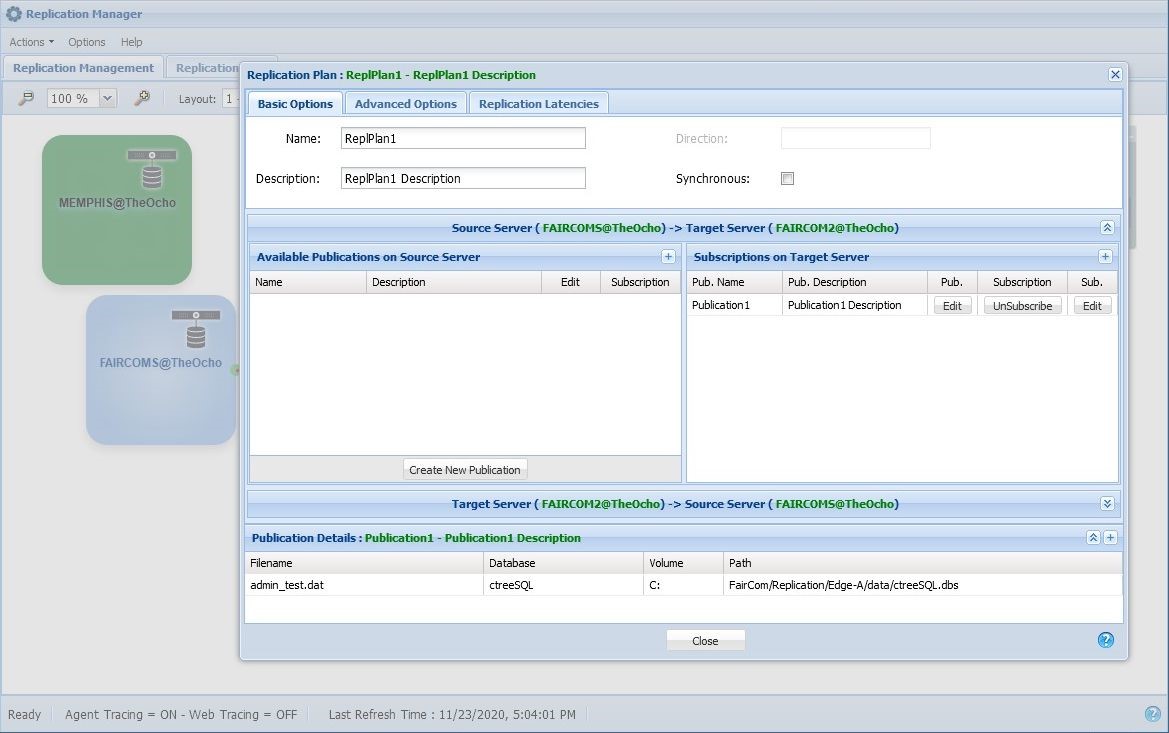
With that, a Replication Plan will be created and the Replication Plan window will be displayed. Note that the publication created in the previous step will be listed in the left panel.
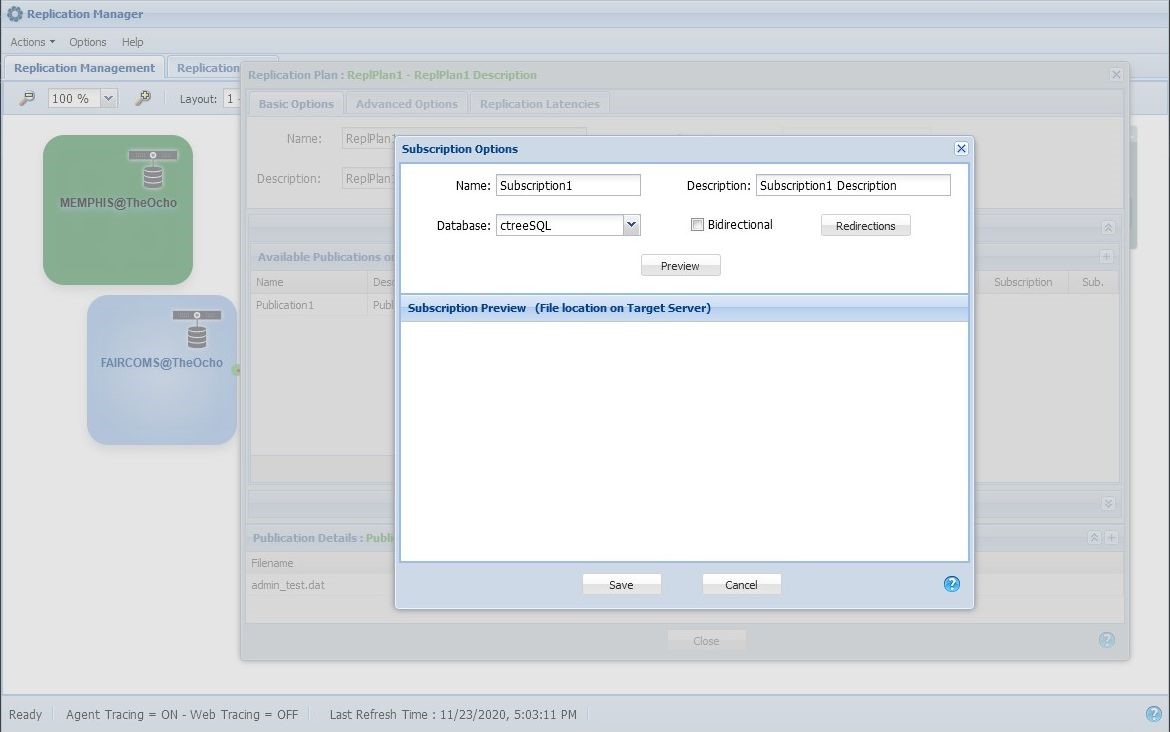
Click the Subscribe button for Publication1.
Click Save and then click Close:
The Replication Manager now shows the Replication Plan between the two servers:
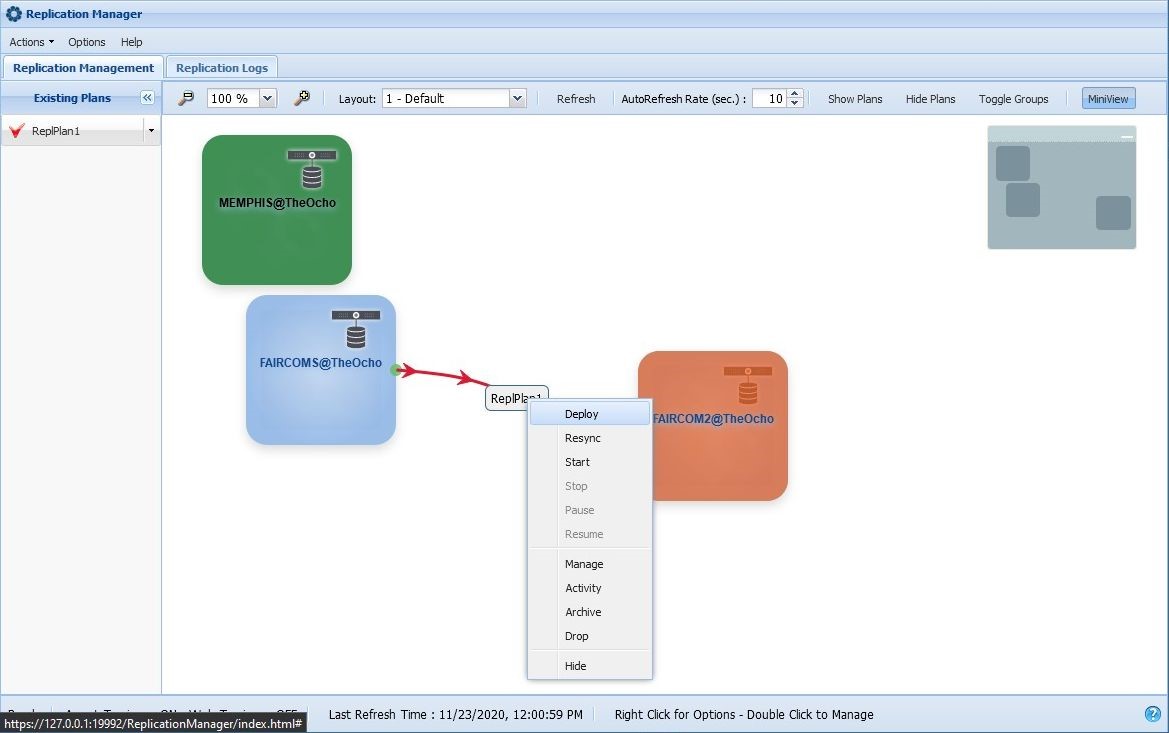
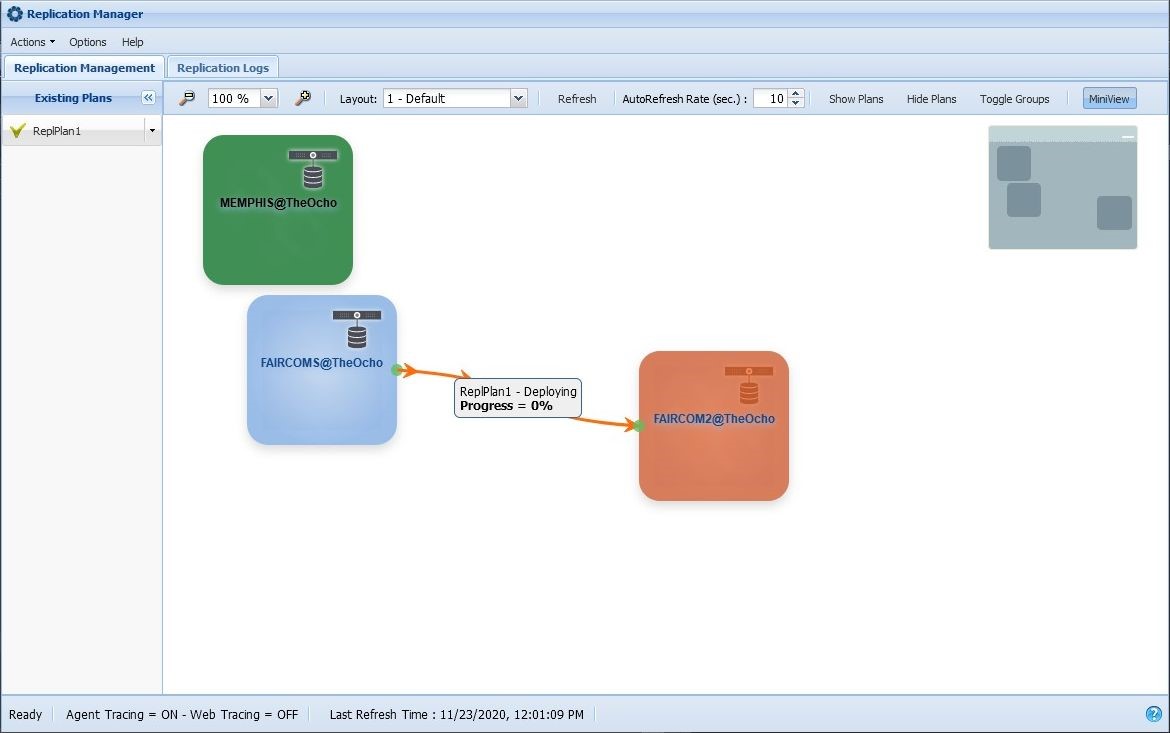
Right-click the line connecting the servers (the "Replication Plan line") and select Deploy.
The Replication Plan will take a little time to deploy:
At this point, the Replication Plan deployment will execute the following actions:
Copy the published files to the destination server(s).
Initiate replication from the source server to the destination server(s) and keep them perpetually up-to-date with the source.
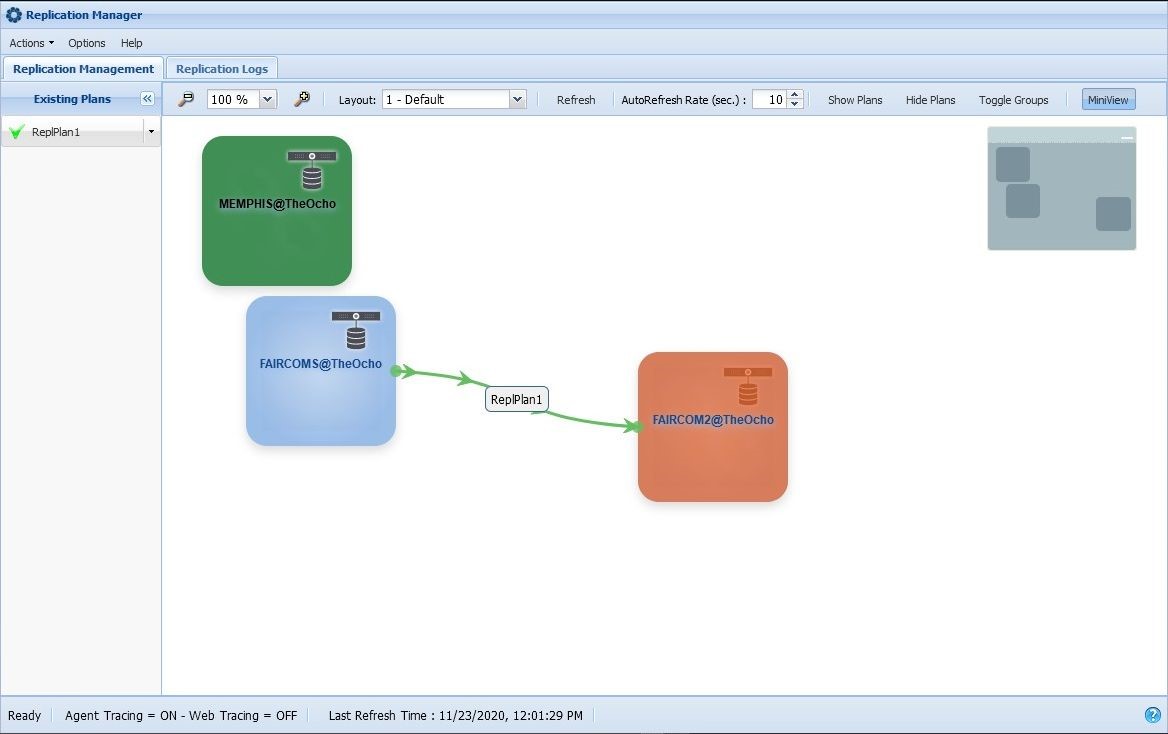
Replication is now live with one FairCom Server set up specifically as a read-access server. Additional read-only servers could be added to the Replication Plan as needed.
 Read Scalability