Replication Tutorials Setting Up FairCom Servers for Replication
|
|
|
Following are the steps for setting up a FairCom Replication Manager Server along with six individual FairCom Servers which will be available for implementing a replication plan. Replication can be set up using as few as two FairCom servers or as many as resources allow. This seven-server setup provides a sufficient architecture to evaluate all models for FairCom Server replication. For the sake of these tutorials, you may use fewer or more servers as needed or desired.
These instructions assume all server instances will be set up on the same machine. Setting up on separate machines can be accomplished with the same steps, adjusting machine names to match. For a production implementation, setting up each server on a separate machine is highly recommended.
These steps apply equally to setting up replication between any FairCom Server types: FairCom DB, FairCom Edge, and FairCom RTG.
Expect this configuration to take several minutes for each node.
|
|
|
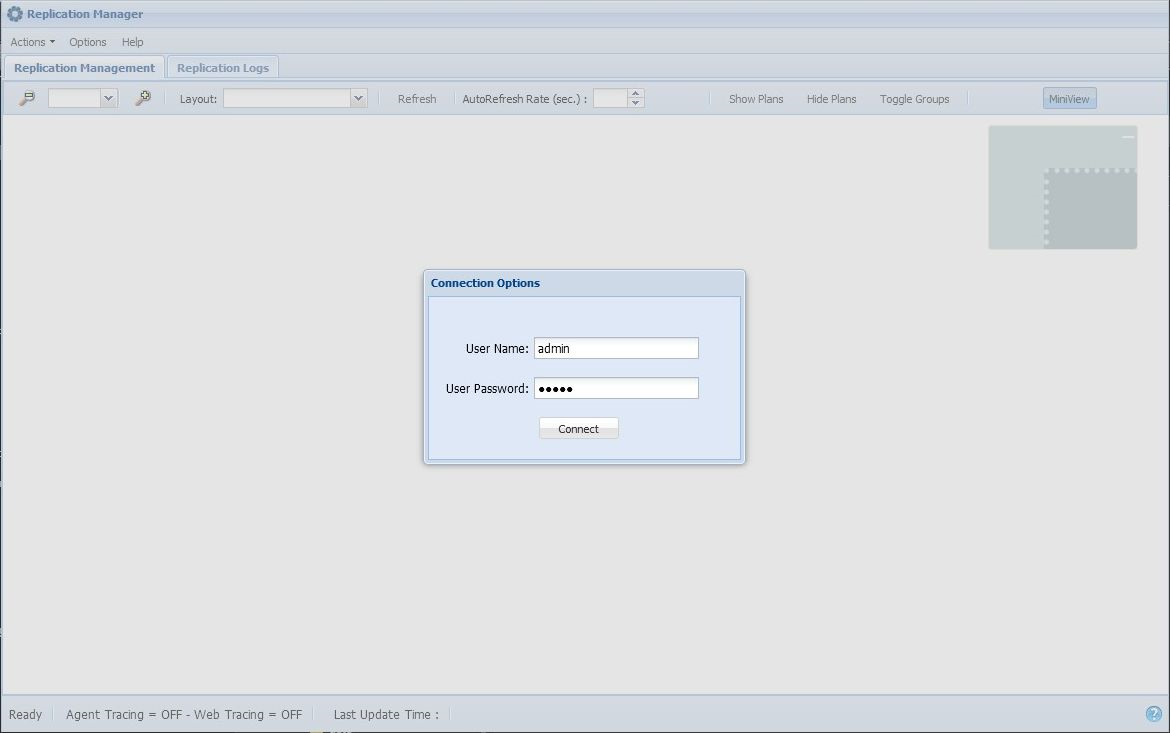
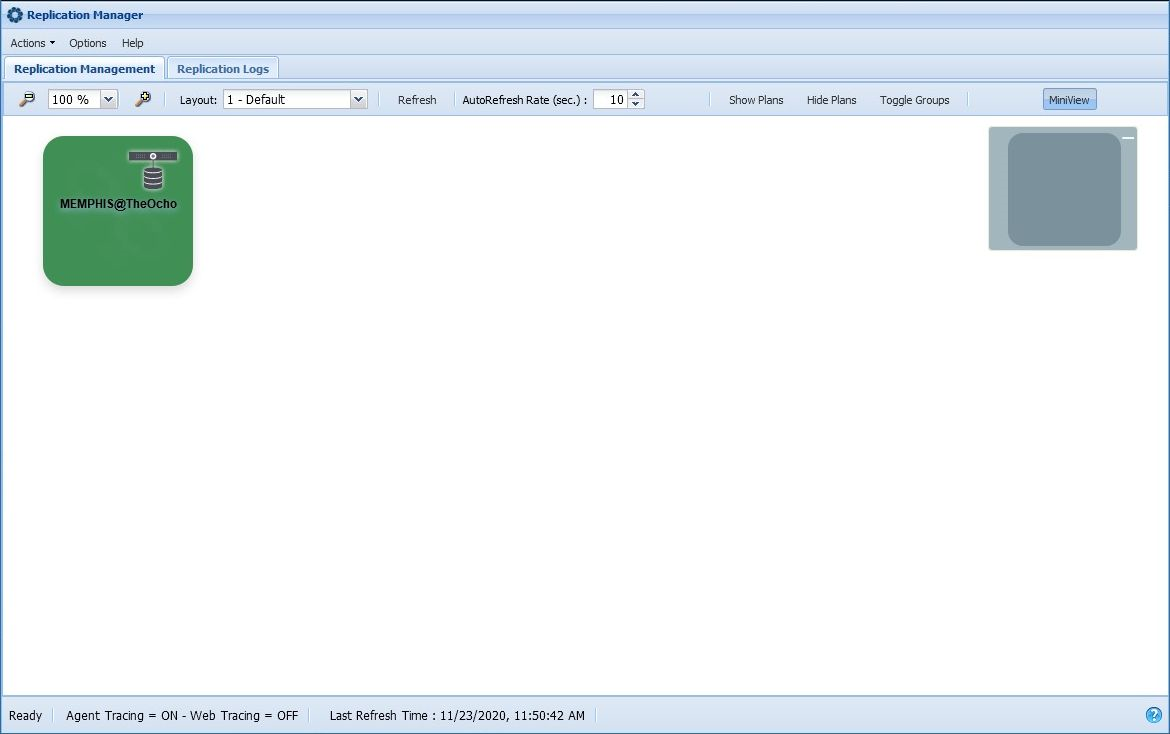
Follow these steps to set up the Replication Manager Server:
PLUGIN ctagent; <faircom>/agent/libctagent.so
"memphis_sql_port": 19991,
"memphis_host": "<ip or hostname of Replication Manager Server>",
MEMPHIS_SQL_PORT 19991
"listening_http_port": 19993,
"listening_https_port": 19992,
SERVER_NAME MEMPHIS
SQL_PORT 19991
…
Mon Nov 16 13:47:24 2020
- User# 00025 cthttpd - Starting Web server
…
Mon Nov 16 13:47:24 2020
- User# 00026 ctagentd - Starting Agent
…
Mon Nov 16 13:47:38 2020
- User# 00026 ctagentd - Replication Manager Agent is active...
Mon Nov 16 13:47:38 2020
- User# 00026 ctagentd - Agent plugin is ready
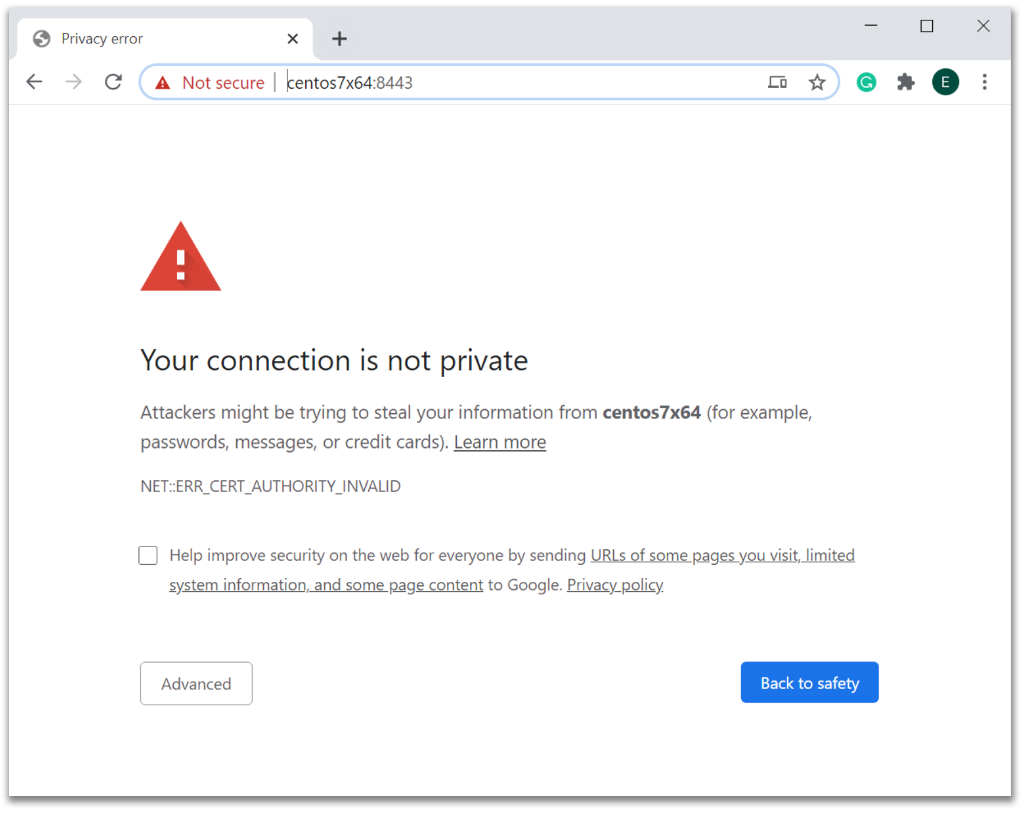
Note: The Chrome browser is shown below. Other browsers will vary somewhat in how they handle a self-signed certificate.
In this case, click the Advanced button and then click Proceed to <hostname> (unsafe):
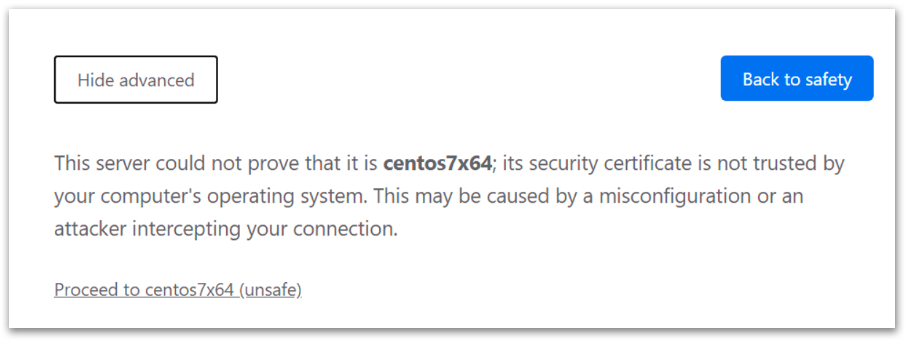
Note: The self-signed certificate provided by FairCom should only be used for evaluation. For a production environment, it is recommended to replace it with a valid production certificate. Please check <faircom>/replicationmanager/config/cthttpd.json for details.
|
|
|
For each FairCom Server to set up (we’ll assume 6 for these instructions, but the number will vary for each tutorial), do the following:
PLUGIN ctagent; <faircom>/agent/libctagent.so
"memphis_sql_port": 19991,
"Memphis_host": "<ip or hostname of Replication Manager Server>",
"listening_http_port": <value_from_table_below_for_Servern>,
"listening_https_port": <value_from_table_below_for_Servern>,
e.g. for Server1 ...
"listening_http_port": 19793,
"listening_https_port": 19792,
Port Info - cthttpd.json:
Web Server |
listening_http_port |
listening_https_port |
|---|---|---|
Server1 |
19793 |
19792 |
Server2 |
19803 |
19802 |
Server3 |
19813 |
19812 |
Server4 |
19823 |
19822 |
Server5 |
19833 |
19832 |
Server6 |
19843 |
19842 |
Note: If you are setting up multiple FairCom servers on the same physical or virtual server with MQTT configuration entries, you must make the mqtt_listening_port and mqtt_websocket_port unique in each cthttpd.json file.
SERVER_NAME <value_from_table_below_for_Servern>
SERVER_PORT <value_from_table_below_for_Servern>
SQL_PORT <value_from_table_below_for_Servern>
e.g. For Server1 ...
SERVER_NAME FAIRCOM1
SERVER_PORT 19790
SQL_PORT 19791
Port Info - ctsrvr.cfg:
Web Server |
SERVER_NAME |
SERVER_PORT |
SQL_PORT |
|---|---|---|---|
Server1 |
FAIRCOM1 |
19790 |
19791 |
Server2 |
FAIRCOM2 |
19800 |
19801 |
Server3 |
FAIRCOM3 |
19810 |
19811 |
Server4 |
FAIRCOM4 |
19820 |
19821 |
Server5 |
FAIRCOM5 |
19830 |
19831 |
Server6 |
FAIRCOM6 |
19840 |
19841 |
READONLY_SERVER YES
Replication Manager should now show the newly configured FairCom Server, as shown below:
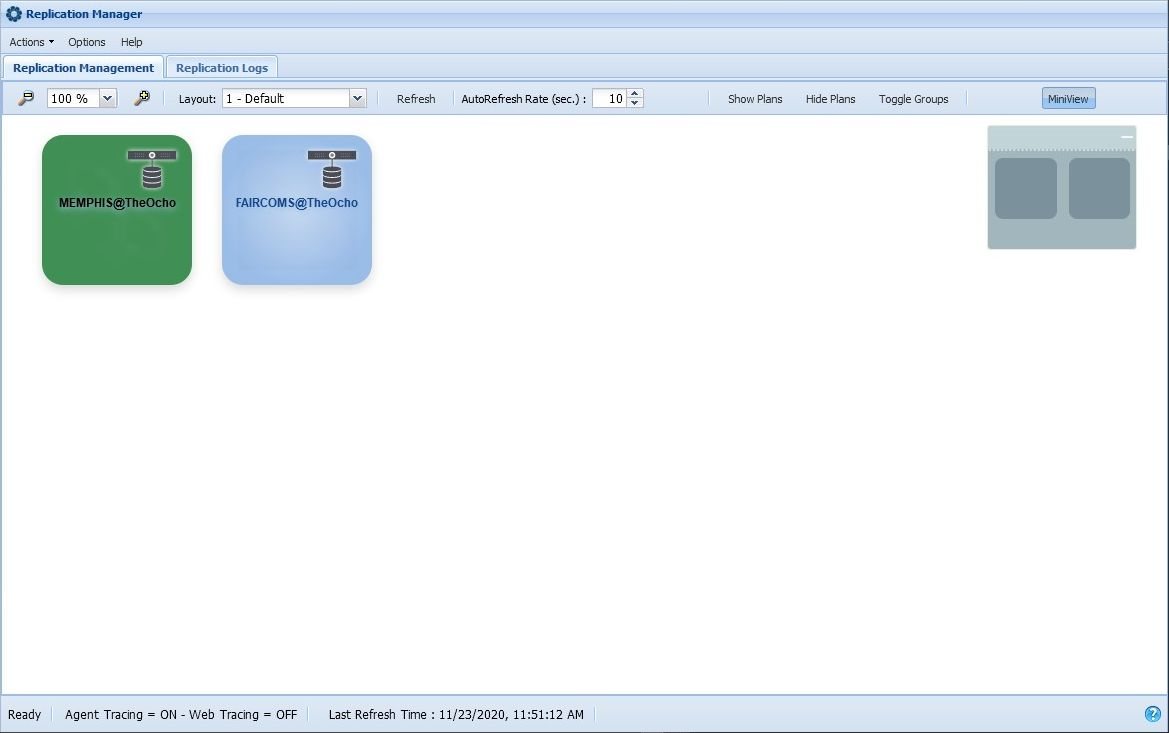
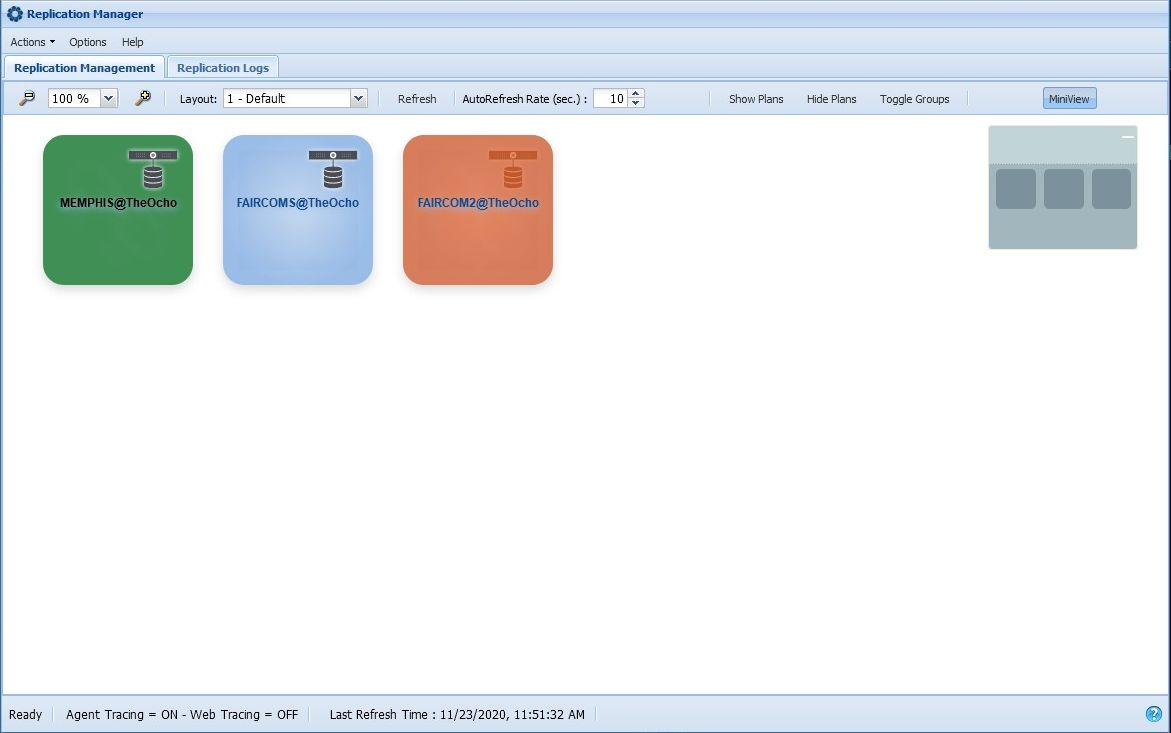
The following is a view in Replication Manager after two FairCom Servers have been added. (Note: Light blue boxes indicate read/write servers registered with this Replication Manager. Orange boxes indicate registered read-only servers. When a server is off-line it is indicated in a paler color.)
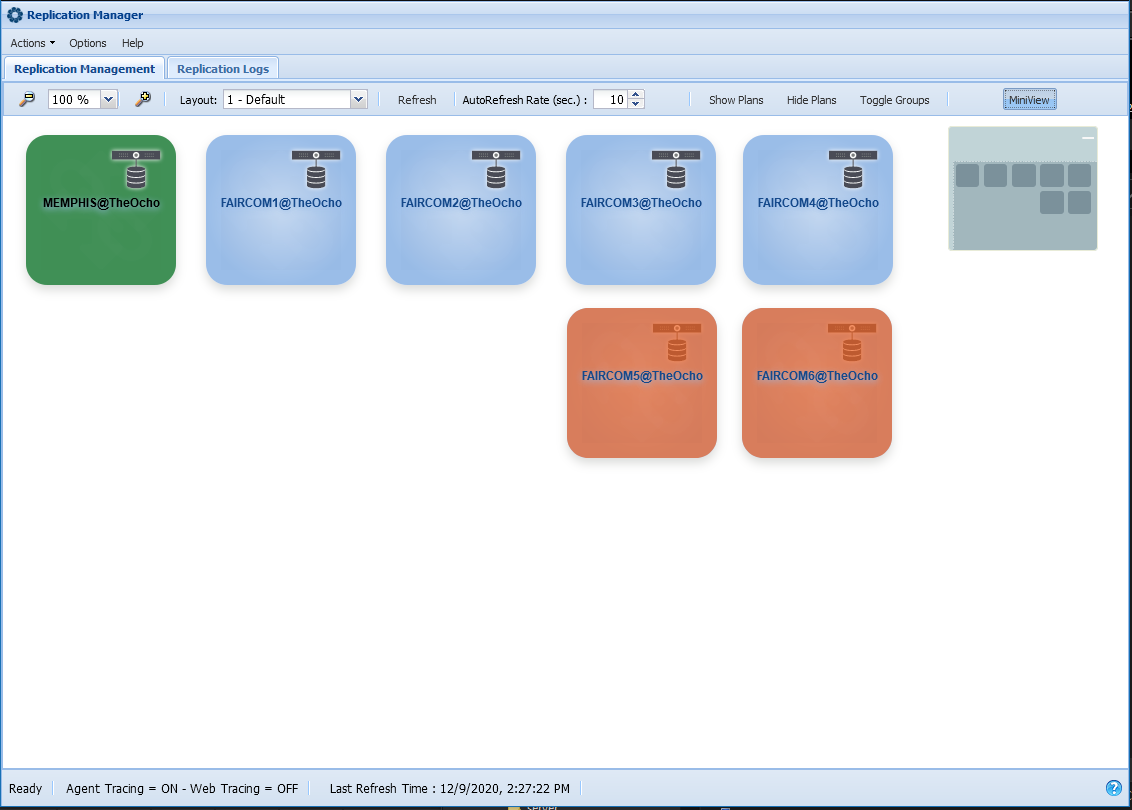
The following shows Replication Manager after six FairCom Servers have been added.
With the FairCom Servers and a Replication Manager Server all set up, you are now ready to proceed with configuring and implementing your replication plan. See the tutorials in the Replication Tutorials chapter.
|
|
|
Purchase the fastest Ethernet Network Interface Cards (NICs) compatible with your server. For high availability, purchase 2 NICs per server. We recommend 100GbE NICs. The model of NICs depends on the server hardware. For failover between 2 servers, the NICs can be directly connected to each other. For failover across 3 or more servers, the NICs must be connected to a compatible network switch that runs at the same speed or faster than the NICs.
For port access in firewalls, see below.
For the Replication Manager:
Add incoming network port rules for:
For Replication Clients:
Add incoming network port rules for:

