This chapter provides a quick guide to installing and configuring the Replication Manager for experimenting with its many features. When you install in a real-world environment, such as when you roll it out throughout your enterprise, rest assured that Replication Manager provides many installation and configuration options so you can tailor it to your needs.
The FairCom Replication Manager is distributed in a .zip or .tar package with a name similar to the following:
Installation involves simply extracting the package onto your server file system.
The package contains the centralized replication components (the Replication Manager controller, database, and browser‑based graphical tools).
Note: It is possible to install and run Replication Manager on the same system where a FairCom DB, FairCom Edge, or FairCom RTG server is running, but you will need to change the https port in config/cthttpd.json. See Configuration, below.
You will need to edit the config/ctagent.json configuration files on the FairCom DB, FairCom Edge, and/or FairCom RTG server nodes to point to the Replication Manager. See Configuration, below.
You may need to update the licenses on the server nodes to ensure replication is enabled for each database server node.
Note: Your FairCom DB, FairCom Edge, and/or FairCom RTG servers will need to be updated to the latest build: V11.7.0 or later.
After downloading and unzipping the Replication Manager package, you will see a directory structure similar to the following:
To enable replication, the following lines should be seen in ctsrvr.cfg:
; Plugins
PLUGIN cthttpd;./web/cthttpd.dll
PLUGIN ctagent;./agent/ctAgent.dll
The lines shown above enable the plug-in that handles web communication (cthttpd) and the agent that performs the replication (ctagent).
Configuration involves these files: config/ctagent.json and config/cthttpd.json.
ctagent.json:
{
"embedded": true,
"log_file": "agentLog.txt",
"memphis_server_name": "MEMPHIS",
"memphis_sql_port": 7000,
"memphis_host": "localhost",
"memphis_database": "MEMPHIS",
"ctree_check_mask": "*.dat;*.idx;*.fdd;*.fsd",
"inactive_timeout": 600
}
cthttpd.json:
{
"listening_http_port": 8080,
"listening_https_port": 8443,
"ssl_certificate": "./web/fccert.pem",
"document_root": "./web/apps",
"applications": [
"ctree;ctREST.dll",
"AceMonitor;ctMonitor.dll",
"SQLExplorer;ctSQLExplorer.dll",
"ISAMExplorer;ctISAMExplorer.dll",
"ReplicationManager;ctReplicationManager.dll"
]
}
Note: If you are running Replication Manager on the same machine as the FairCom Database Engine, you will need to adjust the ports so they do not conflict. Select unused values for "listening_http_port" and "listening_https_port". The ports available on your machine will depend on your environment. A good starting point it to simply add 1 to each of the port numbers listed in the configuration file.
Experimenting in Your Lab: If you want to experiment with replication in your lab, you can set up Replication Manager and two FairCom DB servers on the same machine. In that case, all three servers must use unique ports.
Server Name and Port
If the server has both SERVER_NAME and SERVER_PORT configured, it will always use the SERVER_PORT, so even if it is a local machine connection, it will use TCP-IP instead of shared memory.
After unzipping Replication Manager into the desired folder and checking the configuration, it is ready to run:
Note: It is important that the c-tree Server engines are started after the Replication application is running, so the automatic registration is completed. You will know this step did not complete correctly if your c-tree Server does not appear in the Replication Manager.
https://hostname-of-your-server:8440/ReplicationManager/
For example:
https://localhost:8440/ReplicationManager/
Tip: If the localhost domain name does not work, use the IP Address 127.0.0.1.
If you get a security or certificate error, you will have to click Details and click the link that allows you to continue on to the web page.
User: "admin"
Password: "ADMIN"
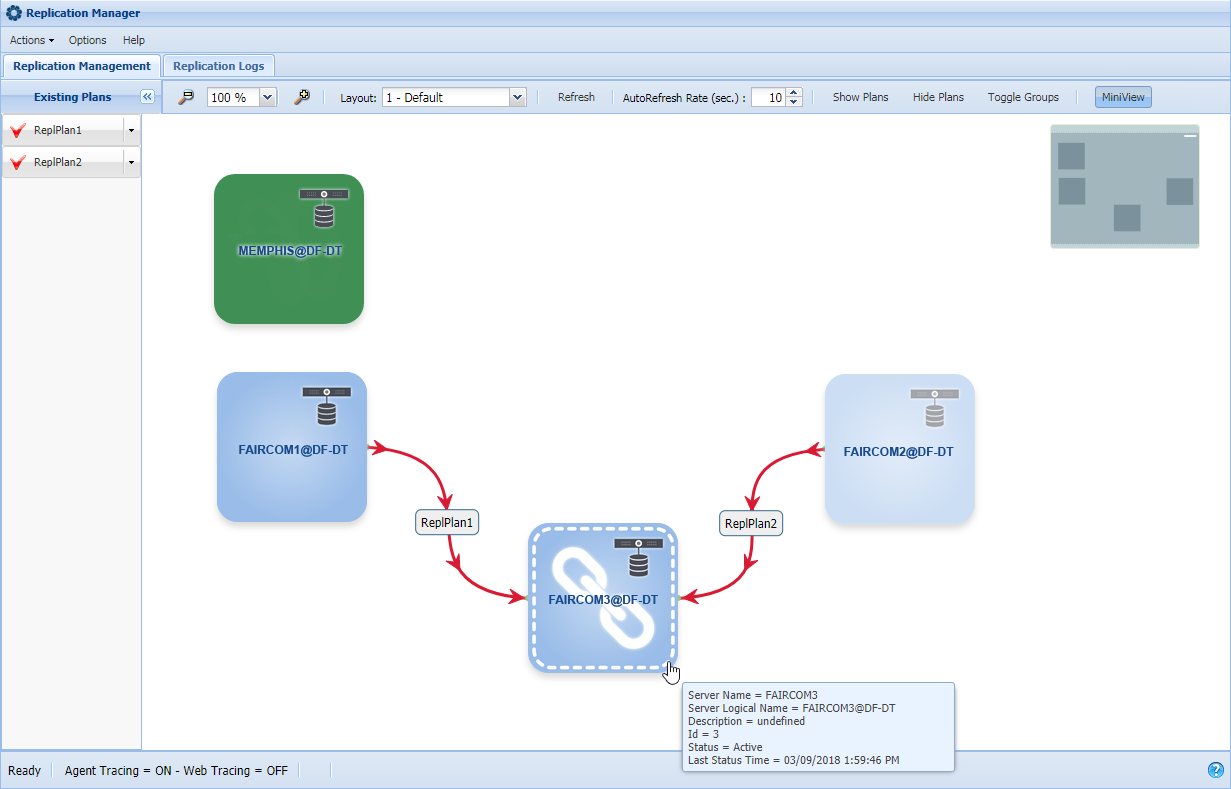
After you have logged into Replication Manager, you will see the interface described in this document.
The rest of this document explains much more about replication. To get a quick idea of the process, you can set up replication using these simple steps:


The Replication Manager provides many features for fine-tuning your replication plan, importing existing replication, and monitoring your replication environment. The rest of this document explains these features in detail.