|
|
|
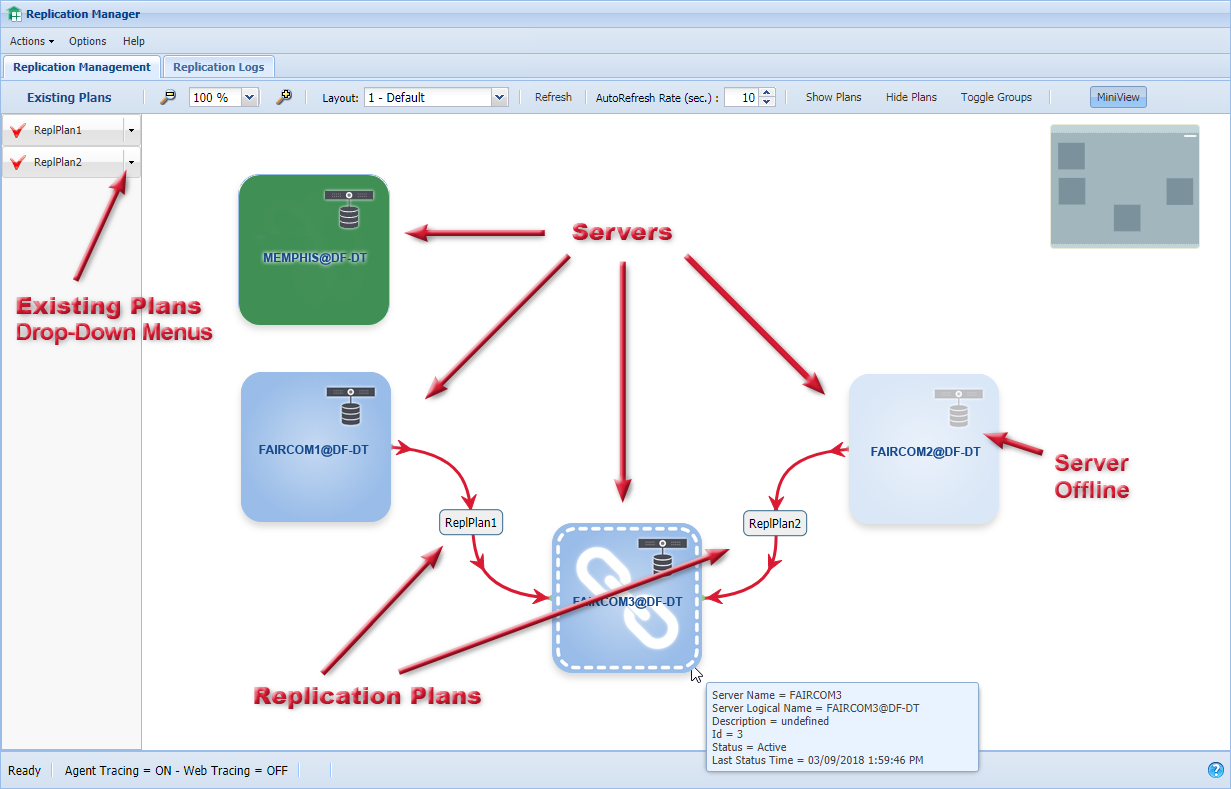
When you open Replication Manager, the Replication Management tab graphically depicts your entire site, with all registered server nodes. As all connections are TCP/IP, these can be via your local network, WAN, or even cloud-based sites with a valid secured connection.
|
|
|
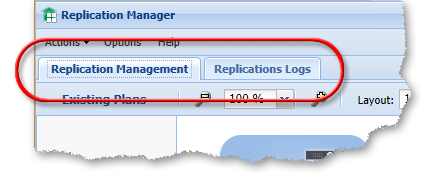
You will notice two tabs in the main window:
|
|
|
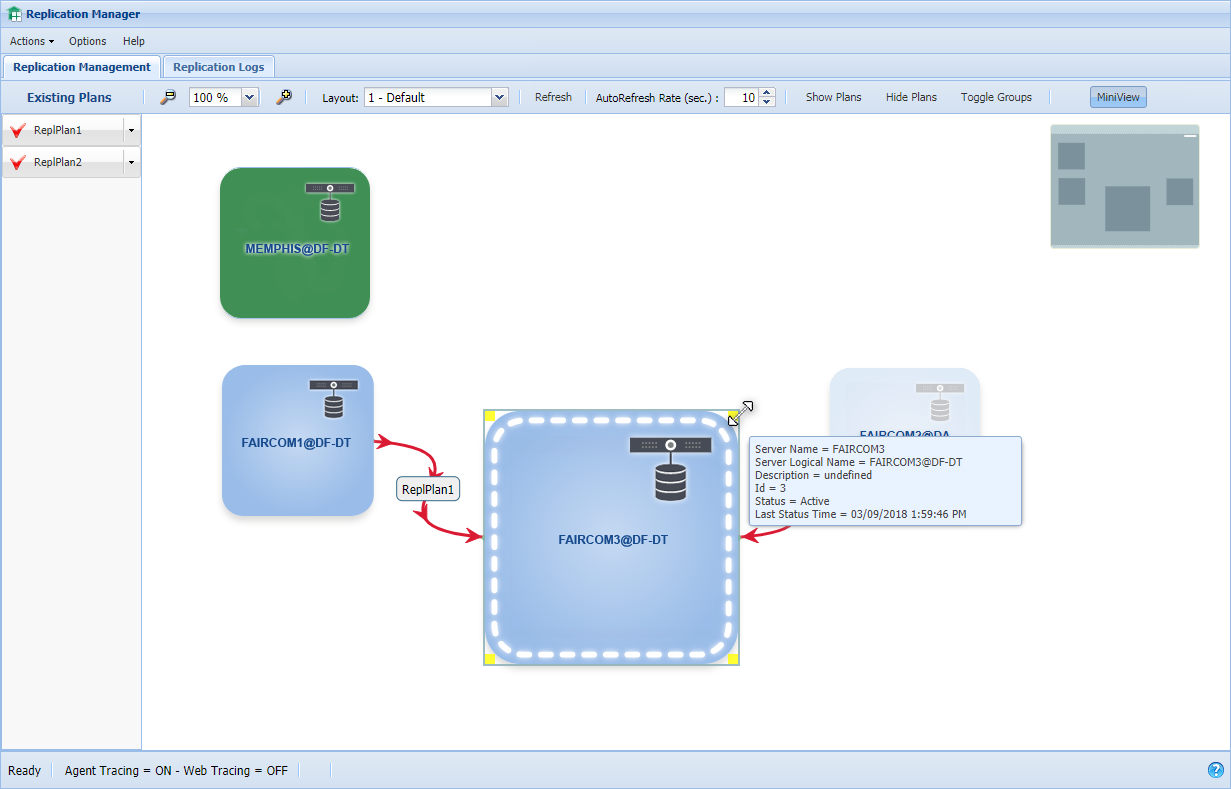
The central part of the Replication Management tab is a canvas that shows each FairCom Server in the site. Each server is shown as a blue square containing a server icon and the name of the server. The figure below shows four servers:
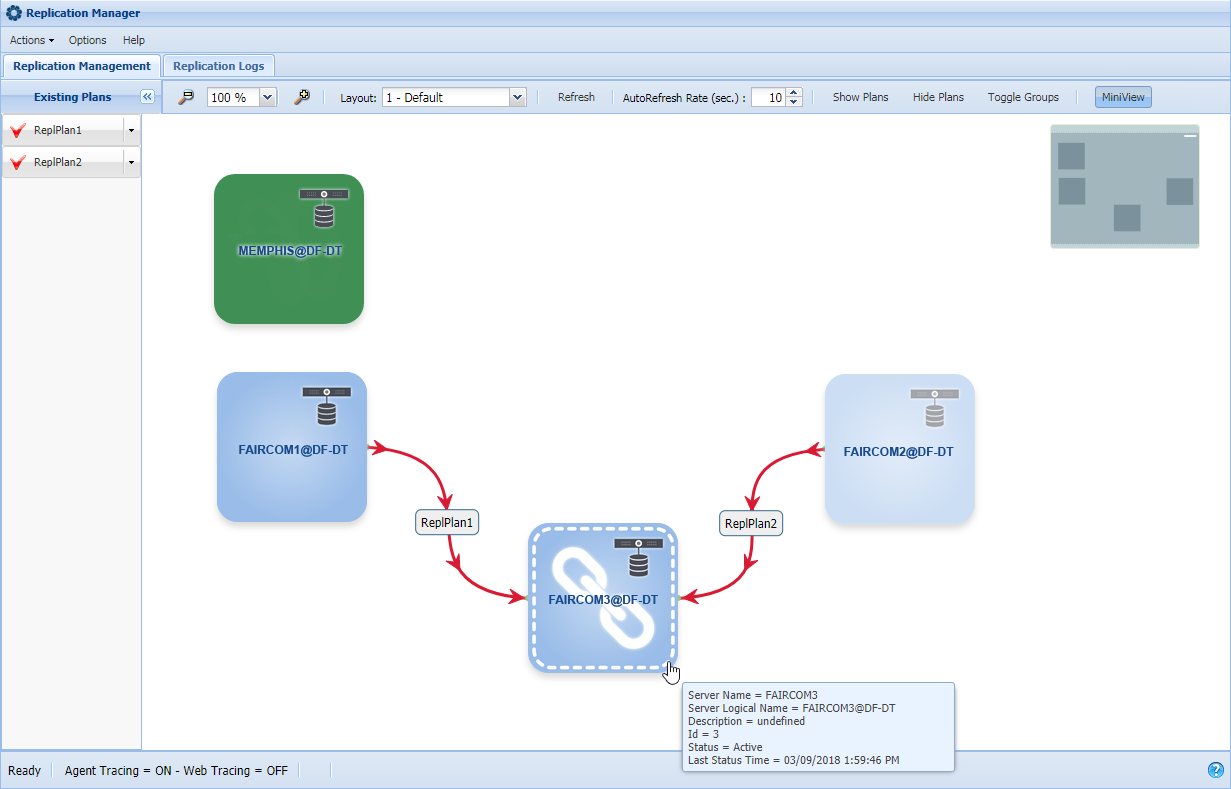
Refresh scans the network and refreshes the display of servers and plans. Under normal operation that will not be necessary because the Replication Manager continually checks the site and refreshes its view. Use this option to force a refresh if you think a server may have stopped responding.
The section titled Arranging Your Canvas explains more about setting up the canvas exactly the way that is best for you.
You can save multiple arrangements and recall them, as explained in Managing Layouts.
|
|
|
You can drag the servers around on the canvas to create a layout that is meaningful to you. For example, you may want to arrange the servers "geographically," with the west-coast servers on the left and the east-coast on the right. Alternatively, you may want to place all production servers in one row, all development servers in another, and all reposting servers in another row.
The Replication Manager remembers the current layout when you load it again on the same machine.
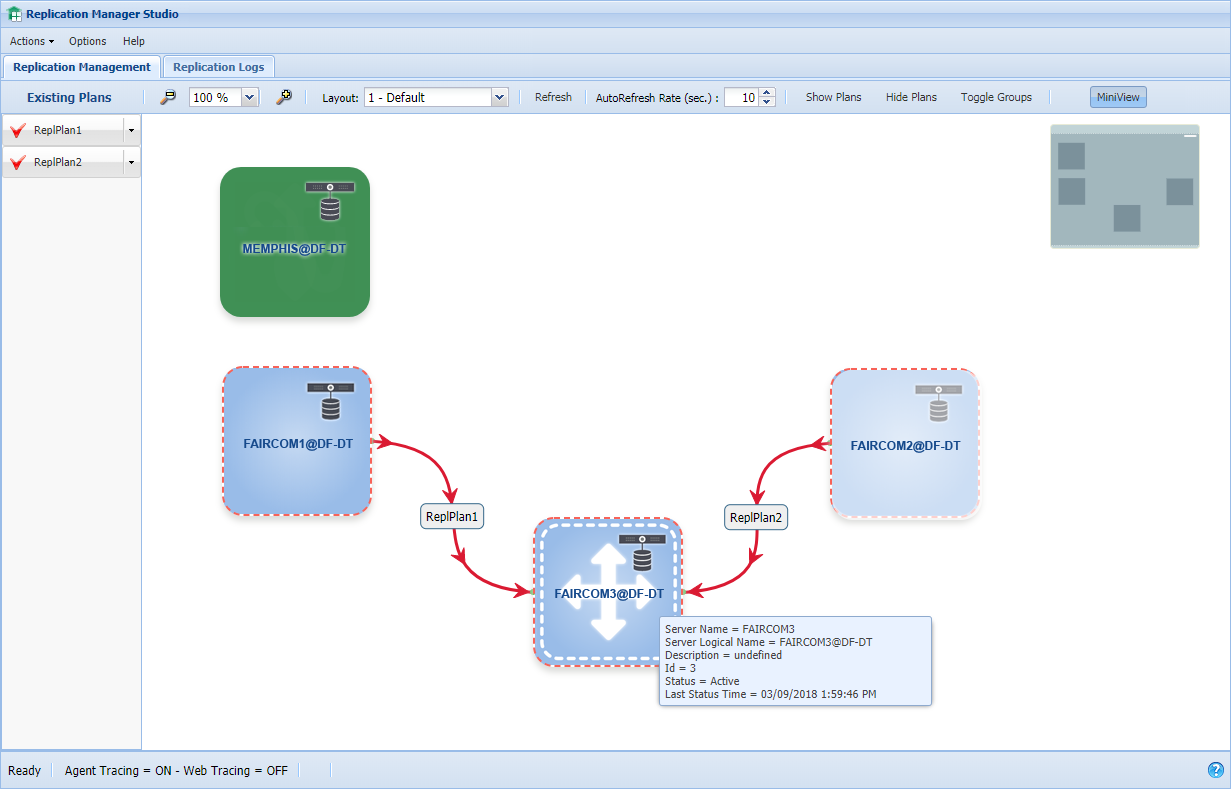
To drag a server, place the mouse pointer over the center of it and it will change from a hand to a 4-pointed arrow. You can drag the server to any position on the canvas.
Multiple Selection
You can Control+Click (hold the Control key and click) on a server to see a red dotted line around it, indicating that it is selected. If you Control+Click on several servers, you will see dotted lines around each one indicating that they are all selected. This allows you to move the selected servers as a group.
Click on a selected server again to remove the dotted line and de-select it.
Resizing a Server
You can change the size and shape of any server depicted in the display. This can be useful if you want to collapse the server as small as possible to save screen space or enlarge a server to make a long name easy to read. (Hint: You can use the Zoom control if you need to see a large number of servers.)
Hold Shift while clicking on a server to see resizing handles in its corners. You can drag the handles to change the size of the server. To remove the zoom handles, hold Shift while clicking on the server.
Zooming the Display
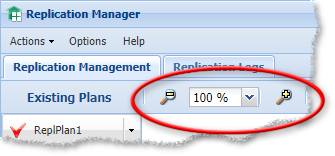
The Zoom drop-down above the canvas allows you to select a zoom ratio. You can increase and decrease the zoom using the scroll wheel on your mouse or by clicking the magnifying glass icons next to the zoom drop-down.
Moving the Canvas
![]()
You can drag the entire canvas around to see different parts of it. This is a useful feature if you have too many servers to fit them all on the screen. When the mouse hovers over the white space between the servers, the cursor becomes a hand to indicate that you can drag the canvas around to see different parts of it.
The MiniView, the rectangle in the upper-right corner of the window, provides an overview of the entire site. You can drag the MiniView to see a different portion of the canvas. The servers are depicted as dark gray rectangles; the area of the canvas that is displayed is shown in a medium shade of gray.
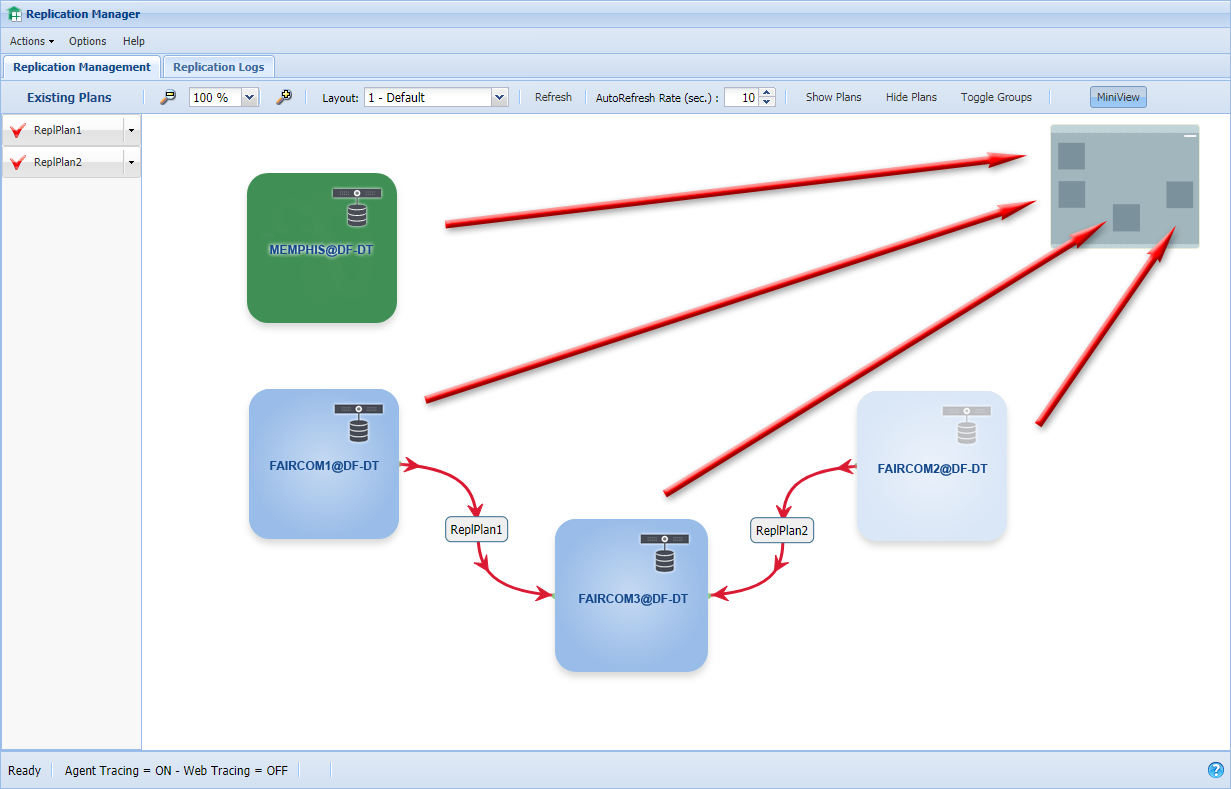
The MiniView provides a view of the entire canvas, which is scaled to fit in the viewer. You can drag the gray canvas inside the MiniView to move the entire canvas in the main window.
|
|
|
The Replication Manager provides a menu labeled Layout that allows you to manage the location of the servers and groups on the main viewing canvas. To edit a layout, simply click the Layout drop-down menu and select an option:
|
|
|
The main menu in the Replication Manager provides several selections for managing your replication environment:
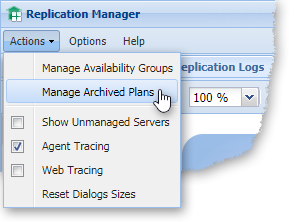
Actions – This drop-down menu lists available actions:
Options – This selection opens the Options window, which allows you to set properties for the Replication Manager. See the topic titled Options Window.
Help – Displays the help for the Replication Manager.

