|
|
|
Defining your replication plan is a simple "drag-and-drop" procedure:
Tip: See Publish and Subscribe in the Glossary for more about how the Replication Manager uses this powerful concept.
|
|
|
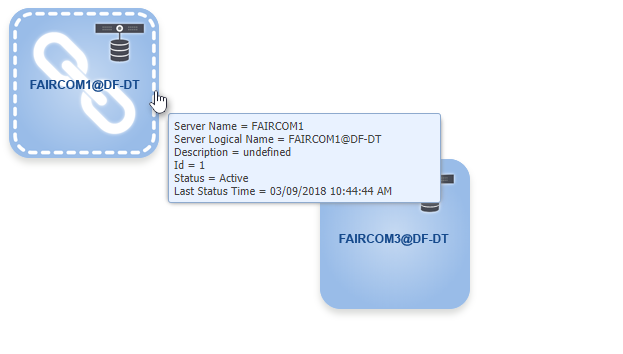
When you set up replication, you will define a replication plan, which will determine which tables or files are replicated from the source server to the target server. This is done simply by dragging the mouse from the edge of the source server and dropping on the target server.
Drag the border, not the center of the server: When you hover the mouse near the edge of the source server, a dashed border and a chain "link" symbol will appear. The mouse pointer will change to a hand with the index finger extended (see below).
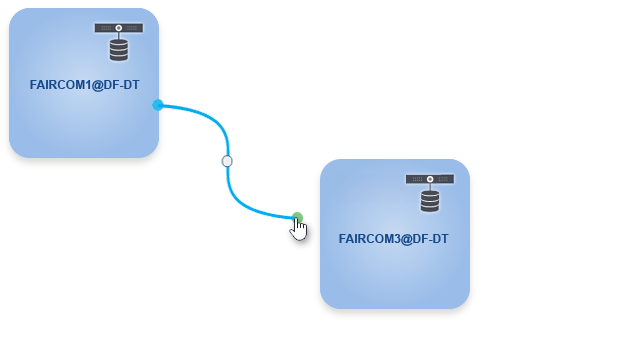
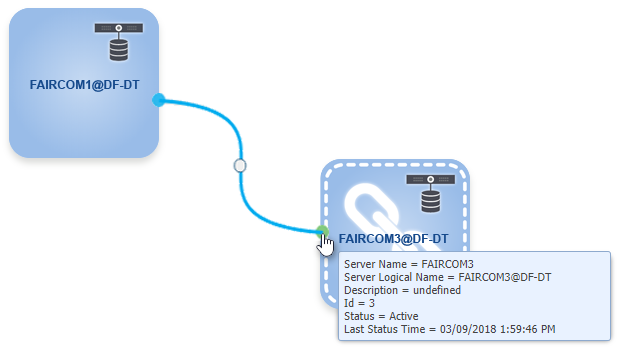
Drag the mouse to the server that will be the destination (the target to which the data will be replicated). A blue line will show the connection as you drag (see below).
|
|
|
|
|
|
|
|
|
The Replication Plan window will open so you can define your replication plan, as described in Defining the Replication Plan.