|
|
|
Next we will walk you through the steps to create your own application with an embedded FairCom Edge database engine. To begin, start a new Android Studio project.
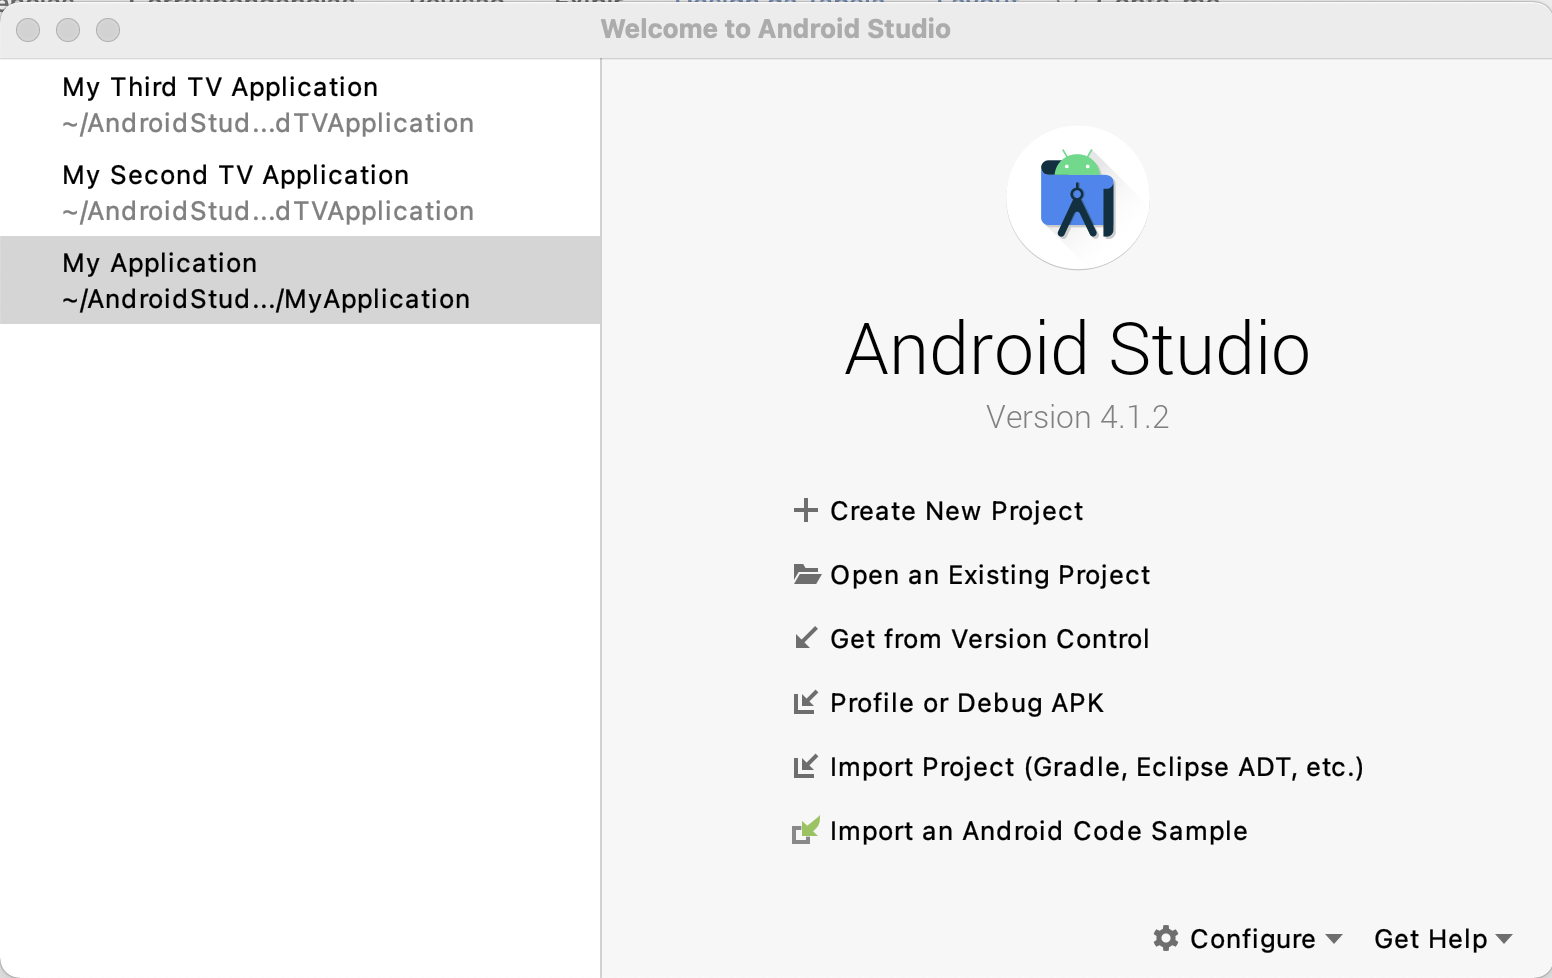
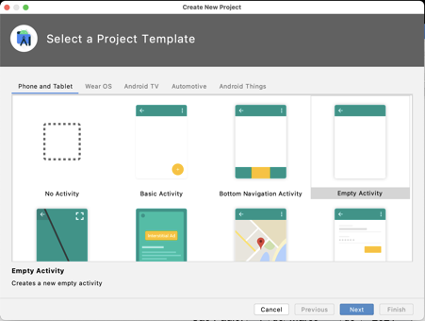
Select + Create New Project. Then, select Phone and Tablet and choose Empty Activity.
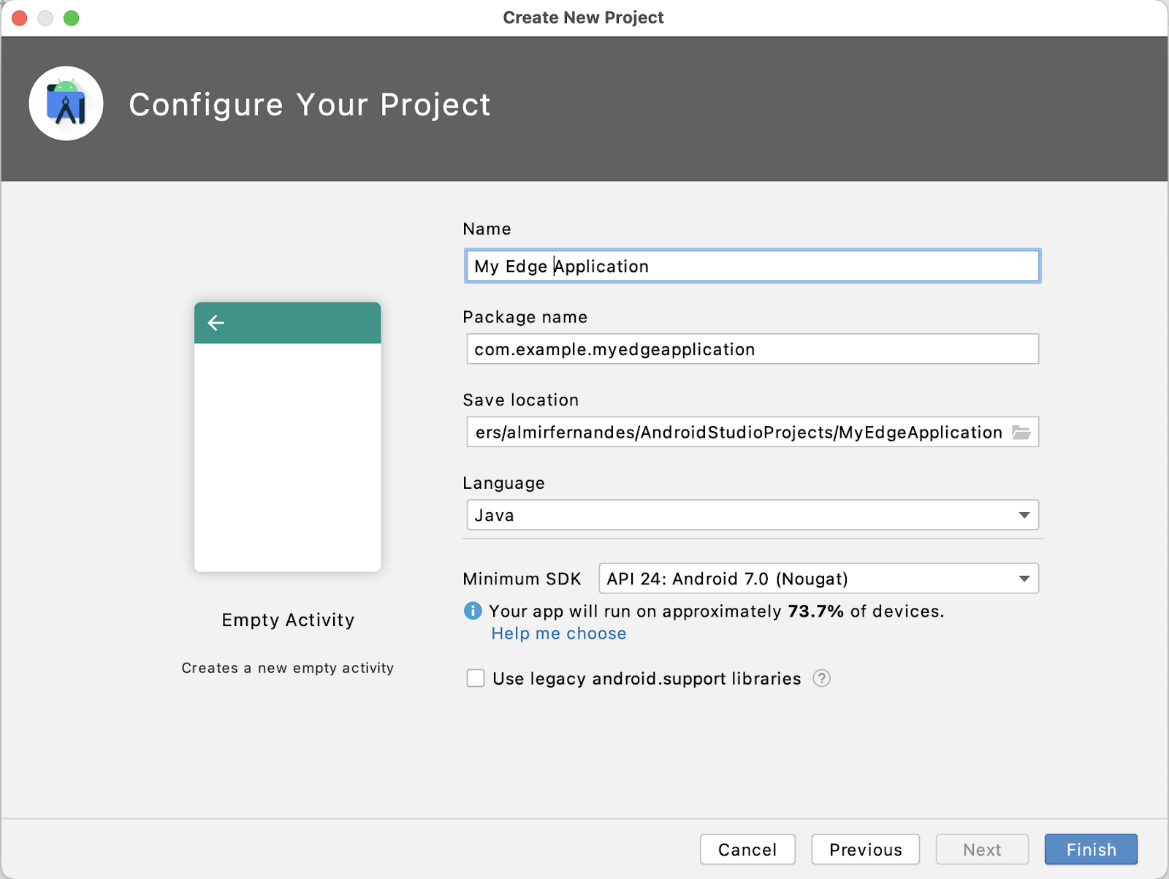
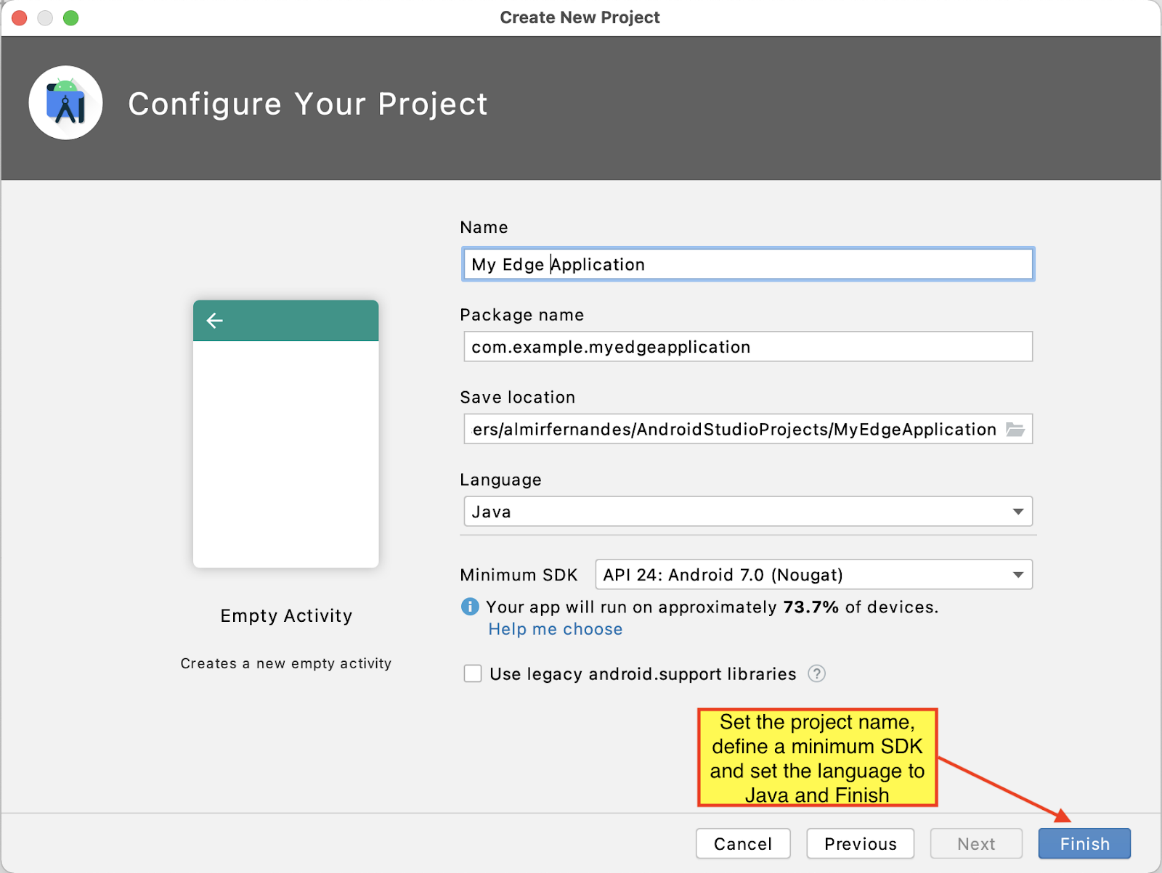
Configure your project providing an application name and other fields. We have selected Java as our language, and set the minimum SDK to API 24, Android 7.0 (Nougat). For this initial test, older APIs can also be used because FairCom Edge has minimal dependencies on them.
OK, we have a fresh project. Typically, the Android Studio defaults to show the Android view of a project, as shown here.
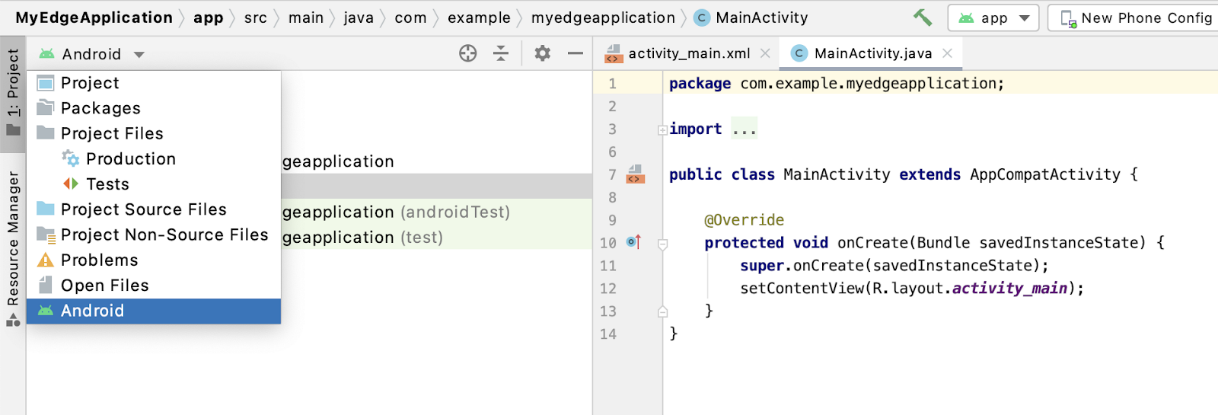
Sometimes we prefer to see the Project view. Toggle the little carrot and choose Project.
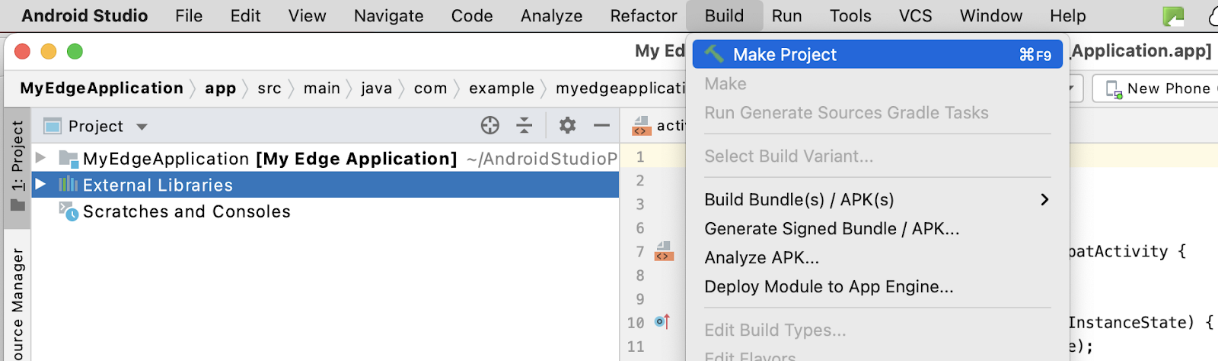
Let’s go ahead and build it, to ensure everything is intact. Select Make Project from the Build menu:
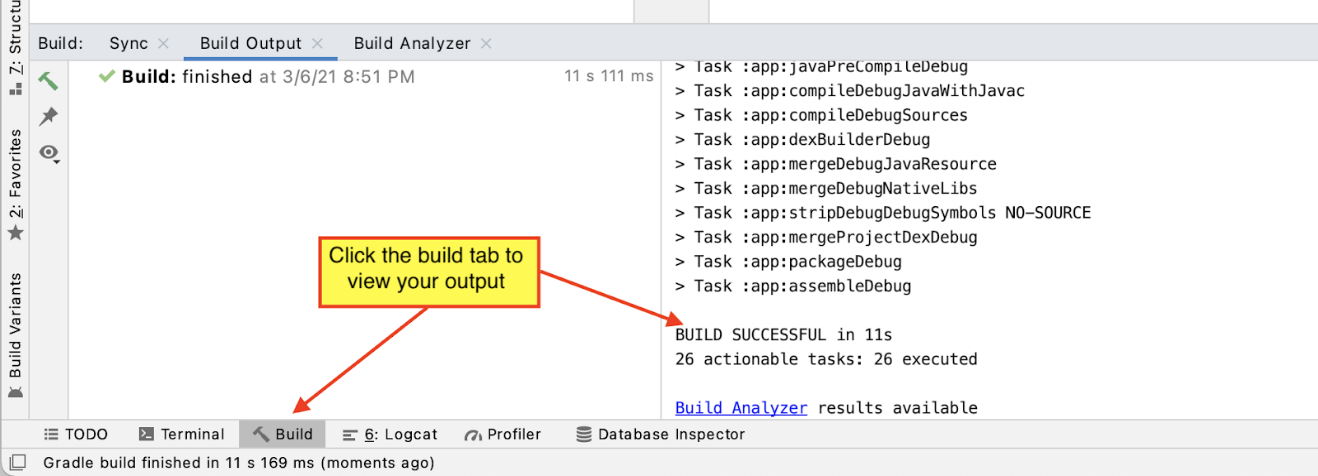
OK, our build looks clean.
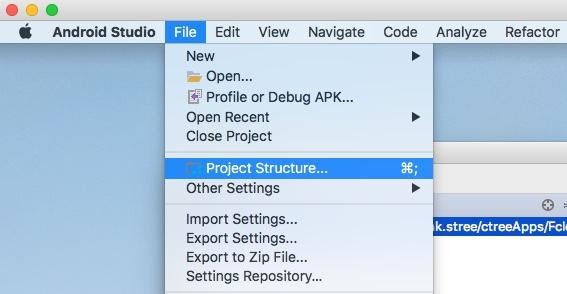
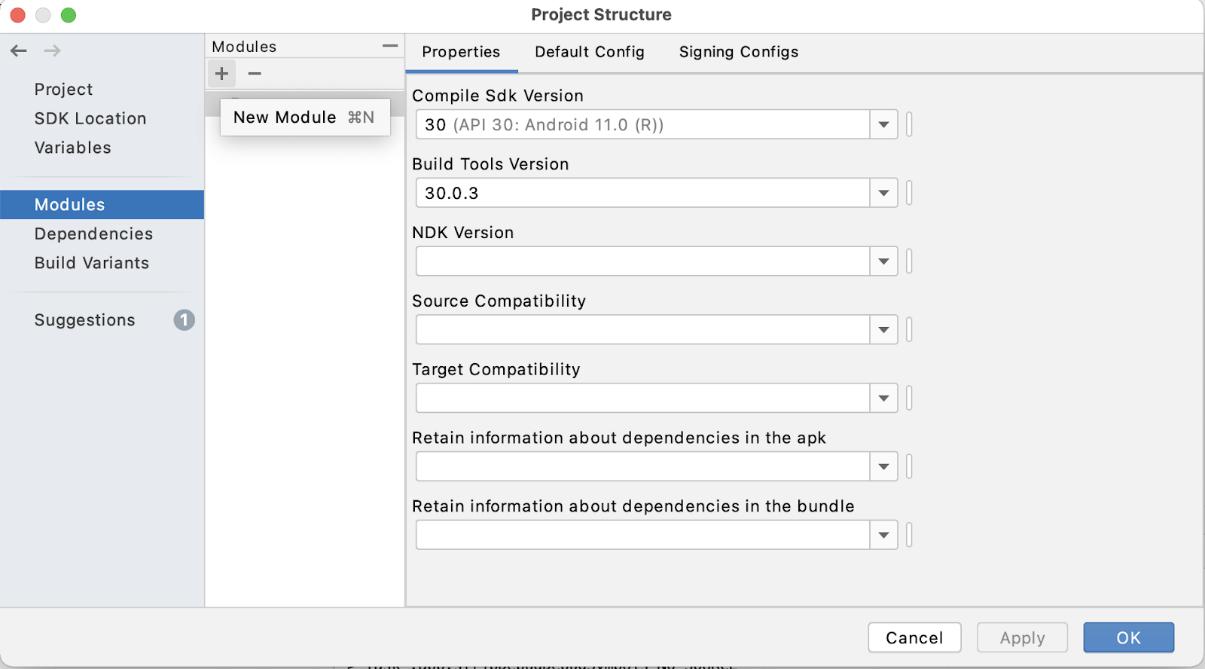
Next, we need to add the FairCom Edge database module into our project by importing our .ARR package (faircom.ctreedb.srv.release.aar). From the File menu, select Project Structure.
On the left panel, select Modules and the "+" sign in the middle to add a new module:
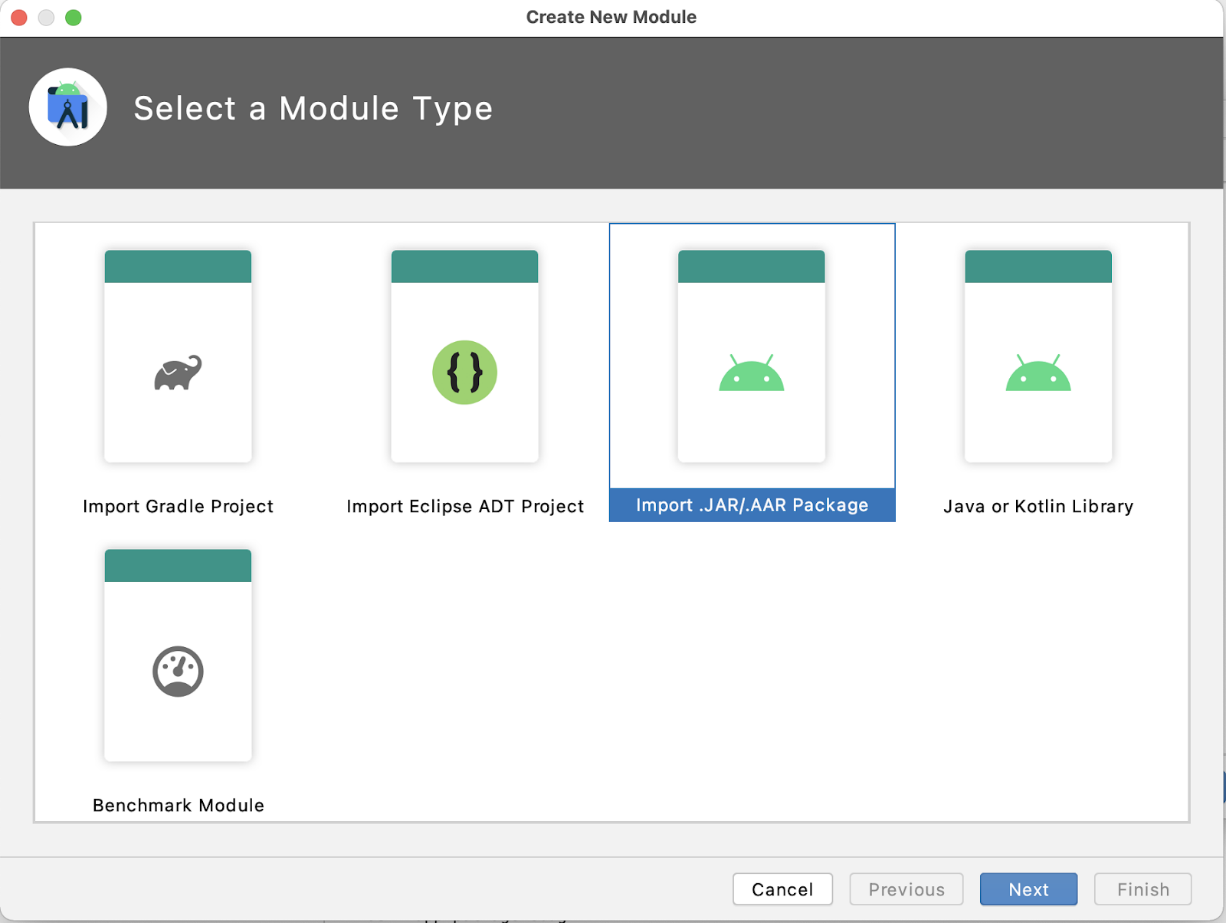
Scroll down the choices and then select Import .ARR Package.
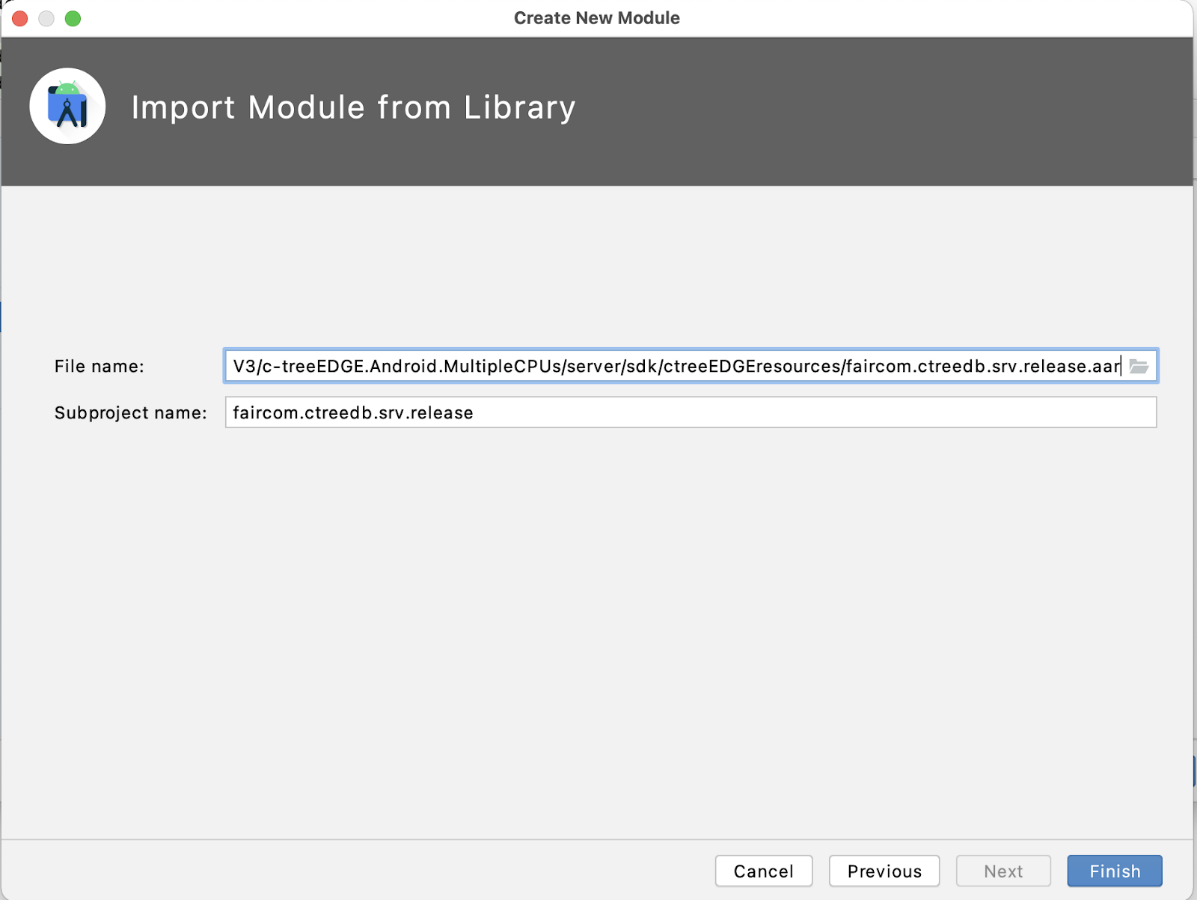
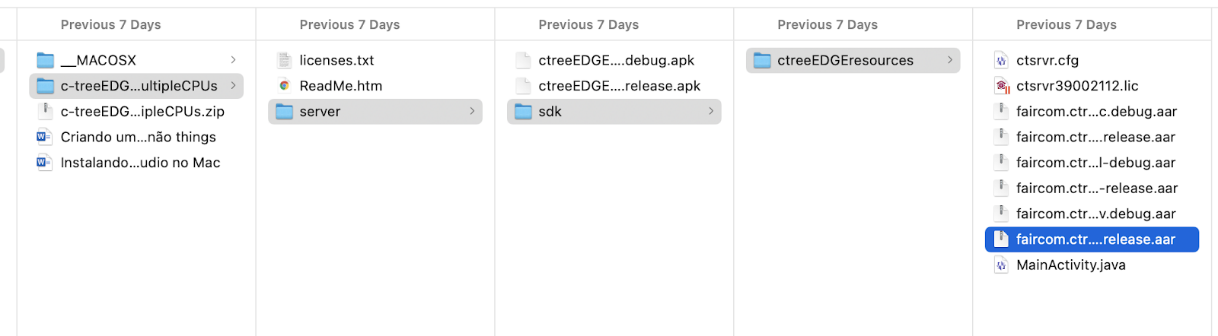
Browse to the location where you unzipped the FairCom Edge download package. From the location where you unzipped your download file, within the ../sdk/ctreeEDGEresources folder, select the .arr file (faircom.ctreedb.srv.release.aar), and then click Finish.
Then we need to add some additional dependencies to our project. Highlight the app module and click the Dependencies tab as shown. Then click on the plus sign (‘+’) to add a new dependency.
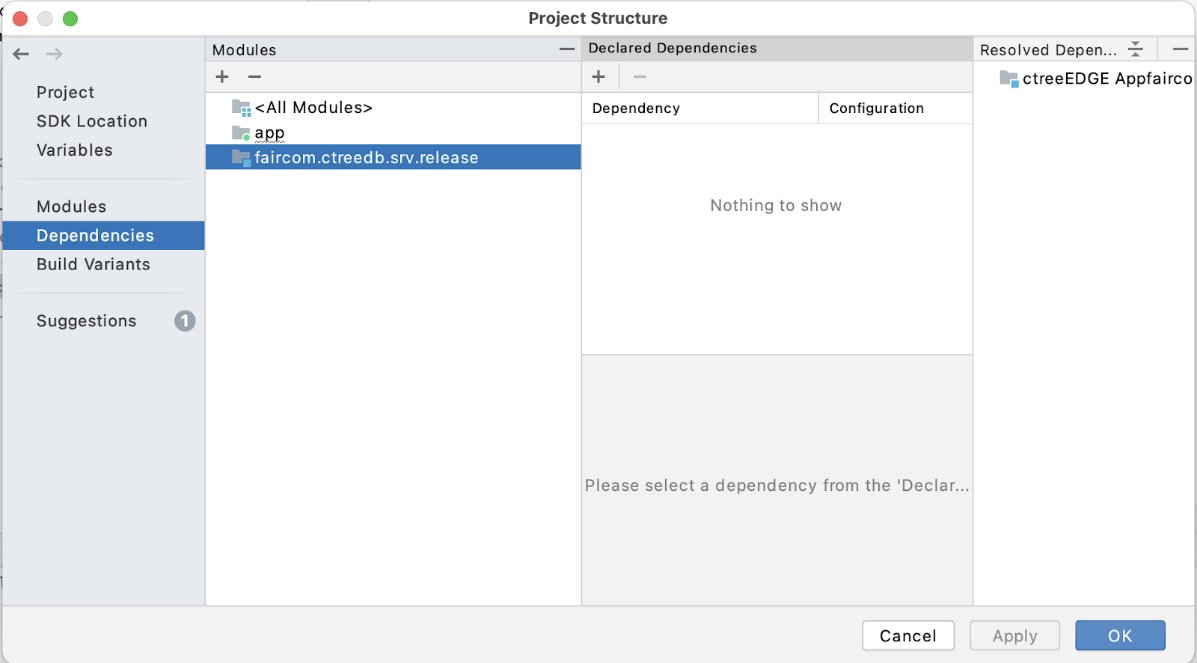
Select Dependencies on the left panel, then the app Module, add (+) a new Module dependency.

Select our imported module.
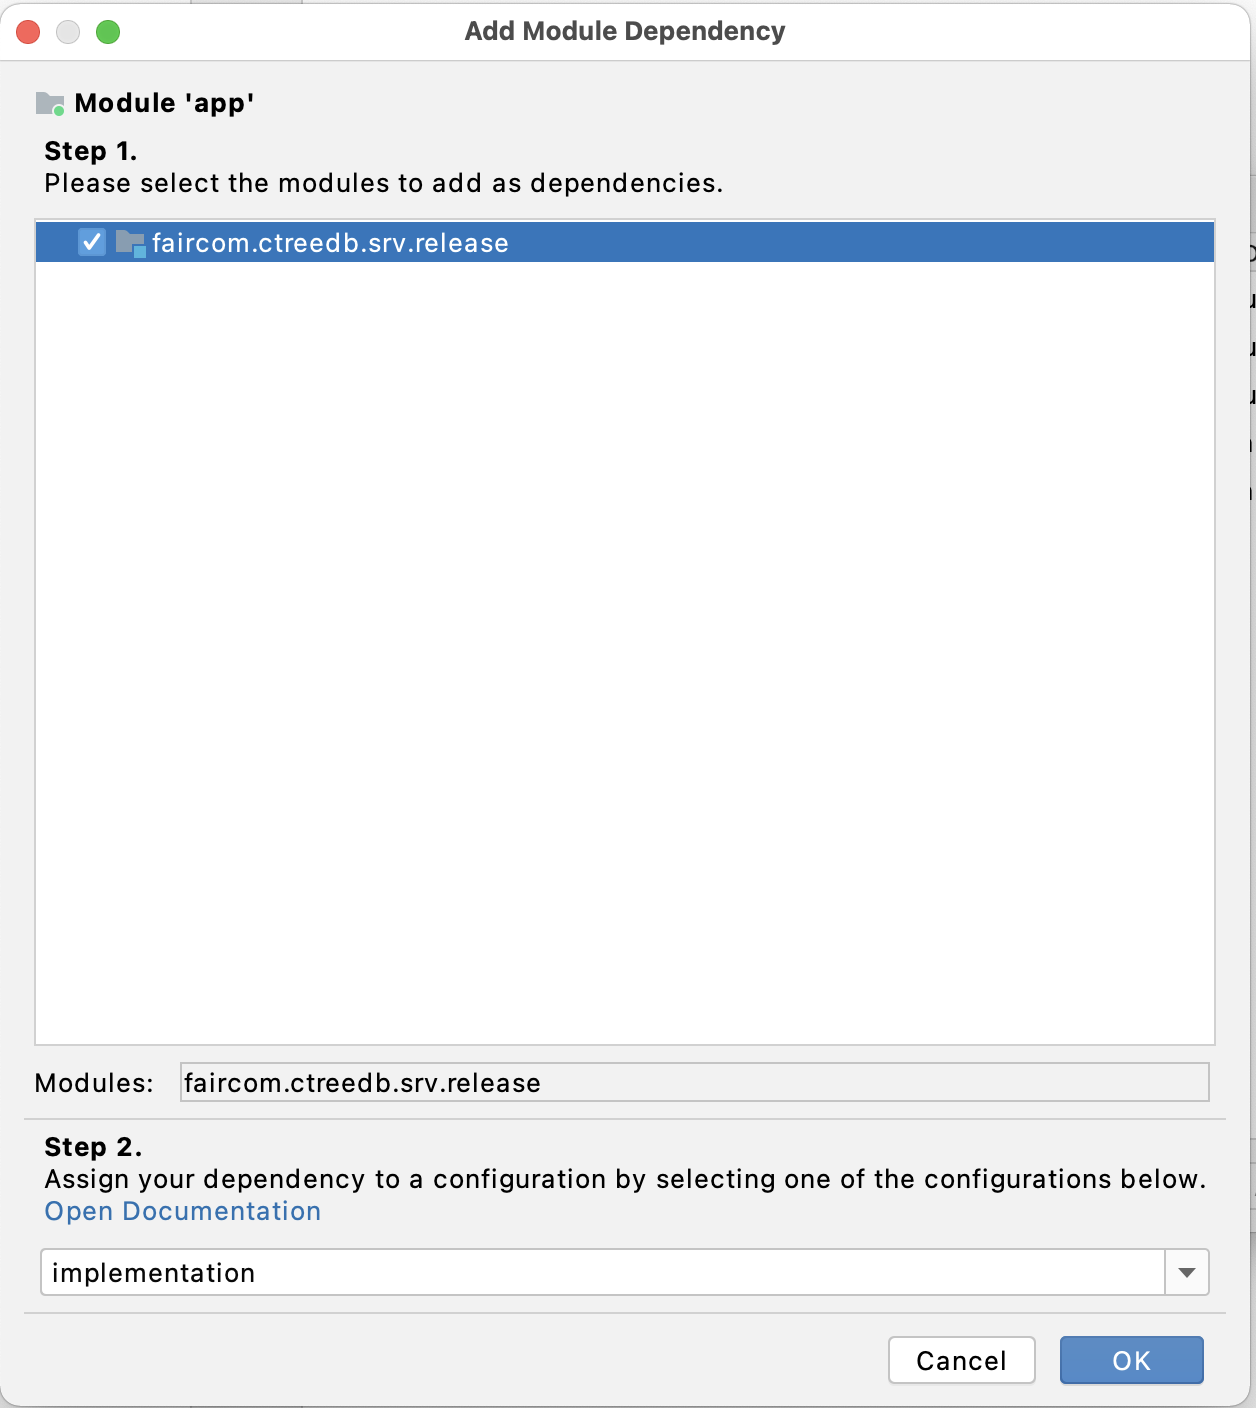
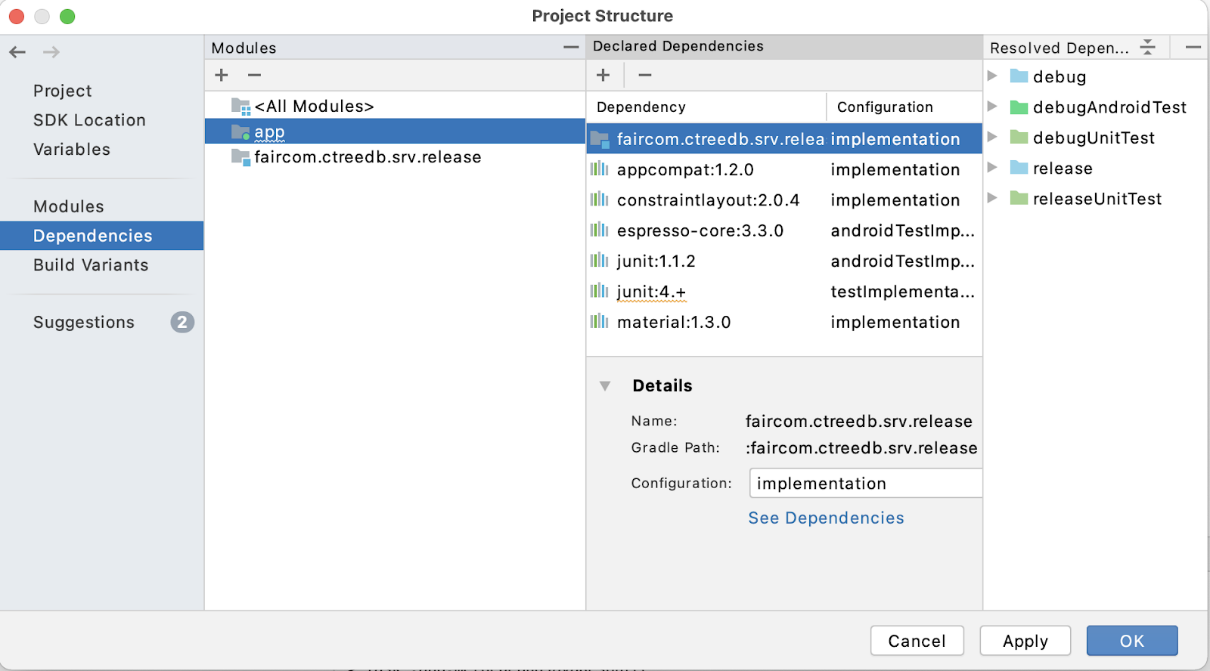
Looks good! Click OK to return.
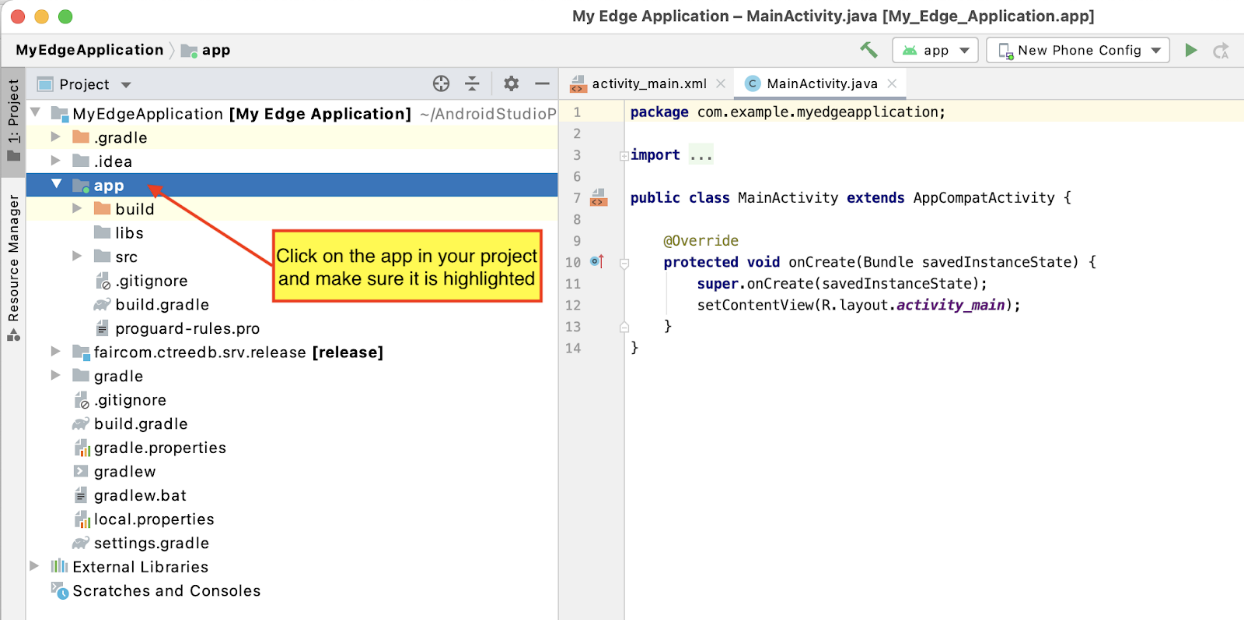
Now we have our FairCom Edge Database module imported into our project. The next step is to add a few Assets to the project. Specifically, we will need FairCom’s license file (ctsrvrXXXXXXXX.lic) as well as the FairCom Edge Database engine’s configuration file (ctsrvr.cfg).
Be sure app is highlighted as shown:
Then from your IDE’s File menu, select New > Folder > Assets Folder as shown:

Leave the location as the default of main:
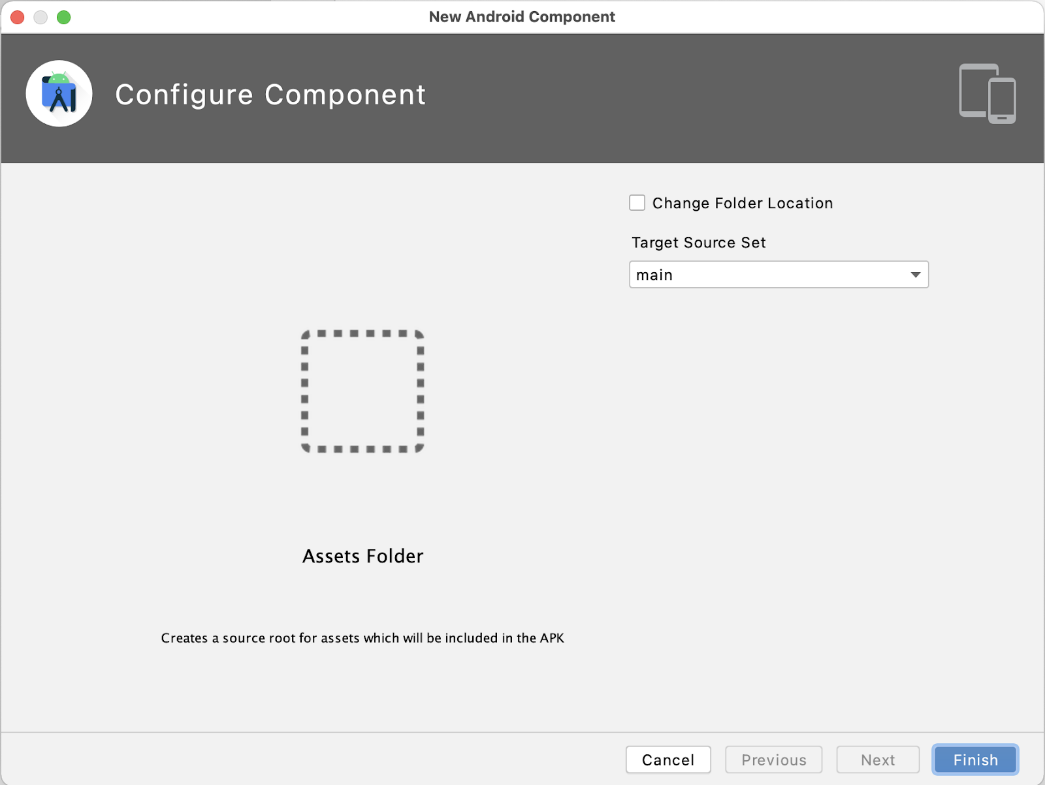
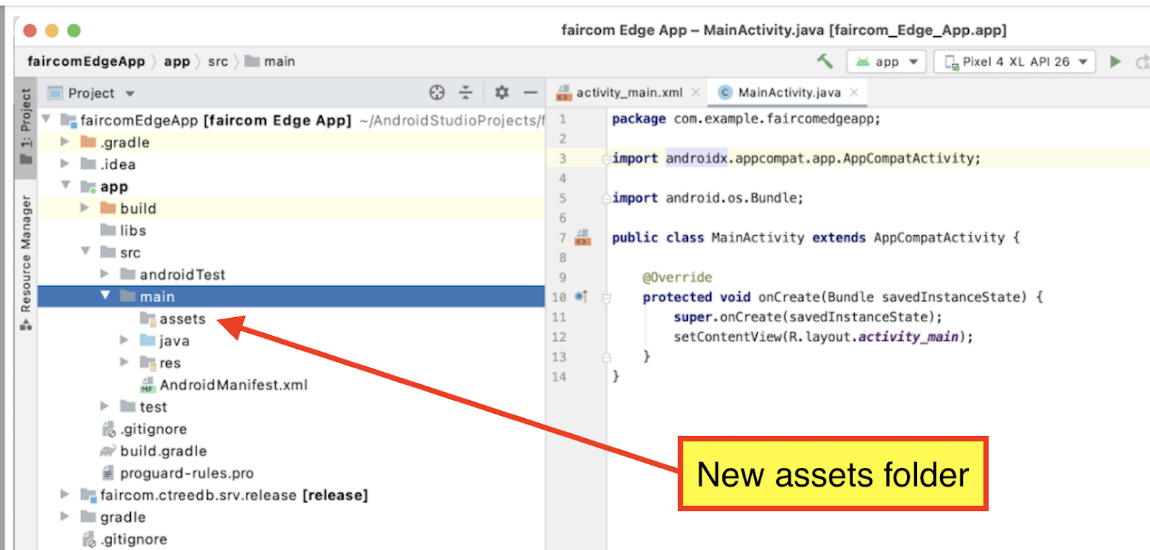
You should now see an assets folder in your IDE. So then, click Finish.
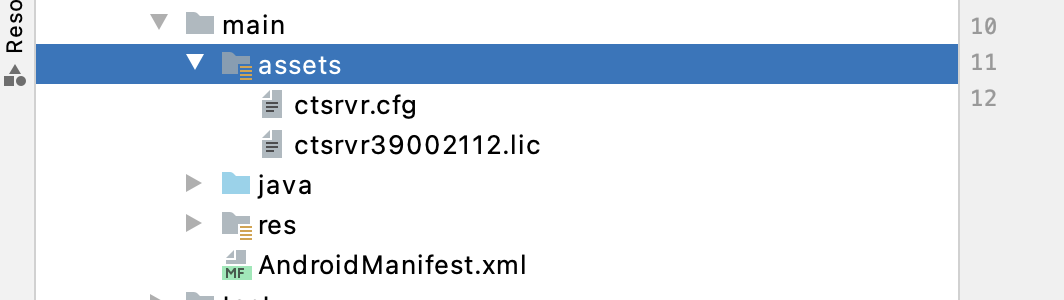
At this point we want to copy the two files mentioned above into this assets folder. From a file system view (Finder on Mac; Explorer on Windows) copy FairCom’s license file (ctsrvrXXXXXXXX.lic), the FairCom Edge Database engine’s configuration file (ctsrvr.cfg), and the cthttpd.json file into your IDE assets folder as shown. You will find these two files located where you unzipped your download file, within the <faircom>/server/sdk/FairCom-EDGEresources folder. You can drag-and-drop from your file system directly into the IDE:

Now FairCom Edge assets files are in place.
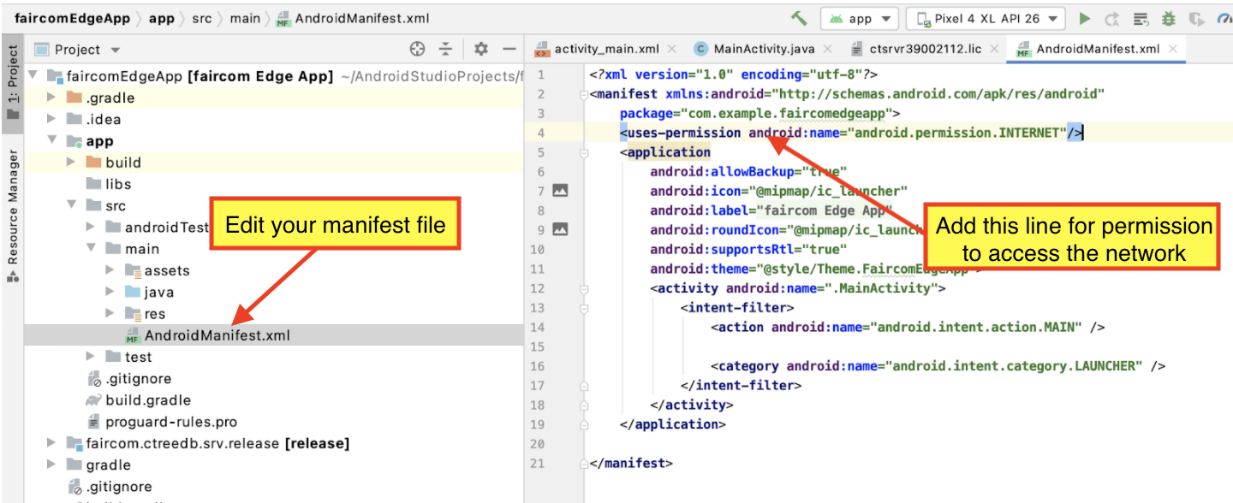
In order for our Application to be open to the network, and specifically our embedded database to be able to accept connections from the outside world (other local Apps; external TCP/IP Clients), we need to edit our application’s AndroidManifest.xml file and add the following code line above the <application> section:
<uses-permission android:name="android.permission.INTERNET"/>
Here is how this should look when you are done:
Now the basic steps to embed the FairCom Edge Database engine into our application are in place.

