|
|
|
Next we need a location in our application’s code to launch and shutdown our FairCom DB database subsystem. Why not take advantage of the default User Interface support currently defined in our project? We will add a few buttons to Start and Stop the database subsystem.
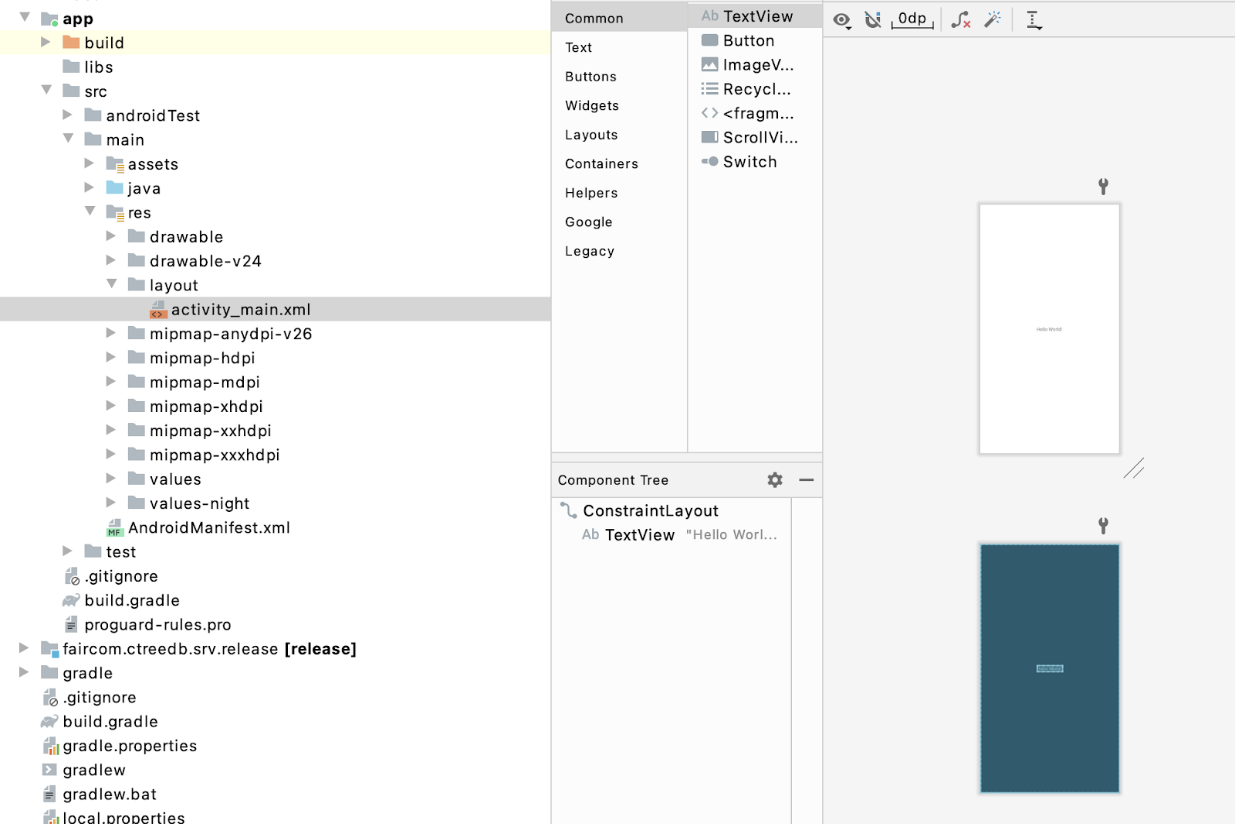
On the tree on the left, select app > src > main > res > layout > activity_main.xml and you will open the Design view:
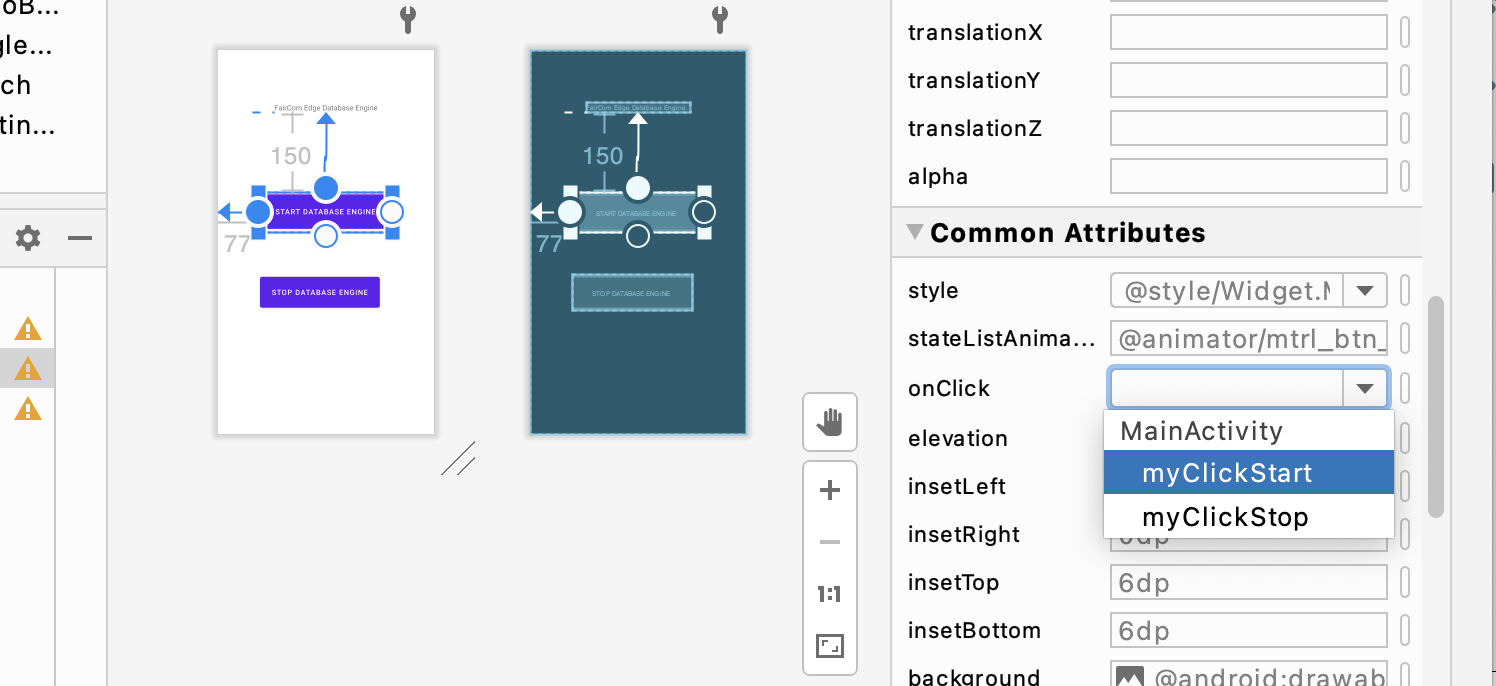
As shown below, we moved the TextView object where we had "Hello World!" up and changed it’s ‘text’ attribute to "FairCom DB Engine", dropped in our START and STOP ENGINE buttons, and added one more TextView object below the buttons:
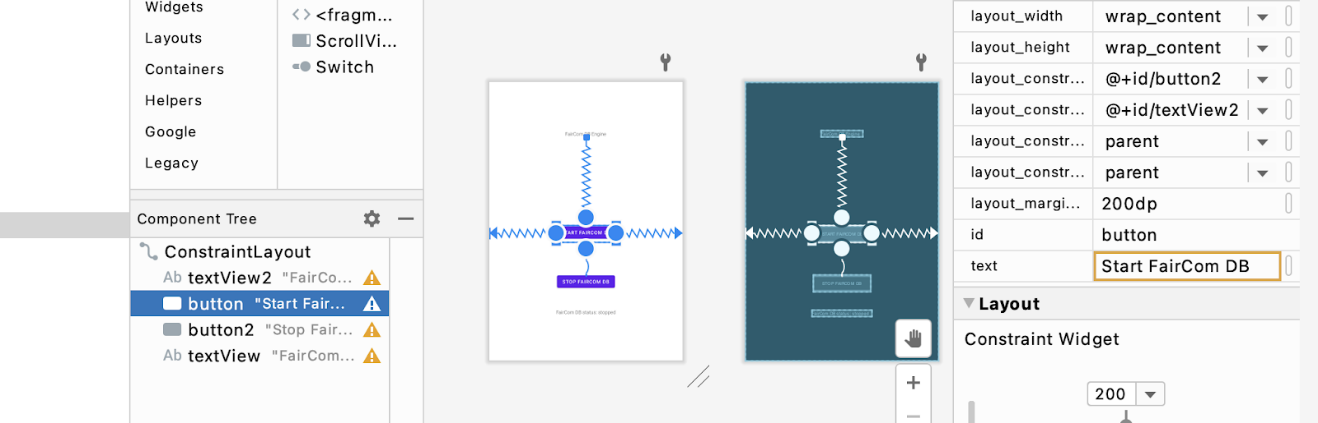
Our first button has "Start FairCom DB" for text; our second button had "Stop FairCom DB" for text, our first textView (where we had "Hello World") was updated to "FairCom DB Engine", and our new textView has initially "FairCom DB Status: stopped". We have also set a few layout constraints in order to position the objects in the smartphone (the upper text box used a 10-pixel top margin, the upper bottom a 200-pixel top margin (to the lower end of the upper textView), the lower button a 40-pixel top margin and the lower textView a top margin of 200 (in this case, to the upper button). Play with these values to have a nice formatting of your device.
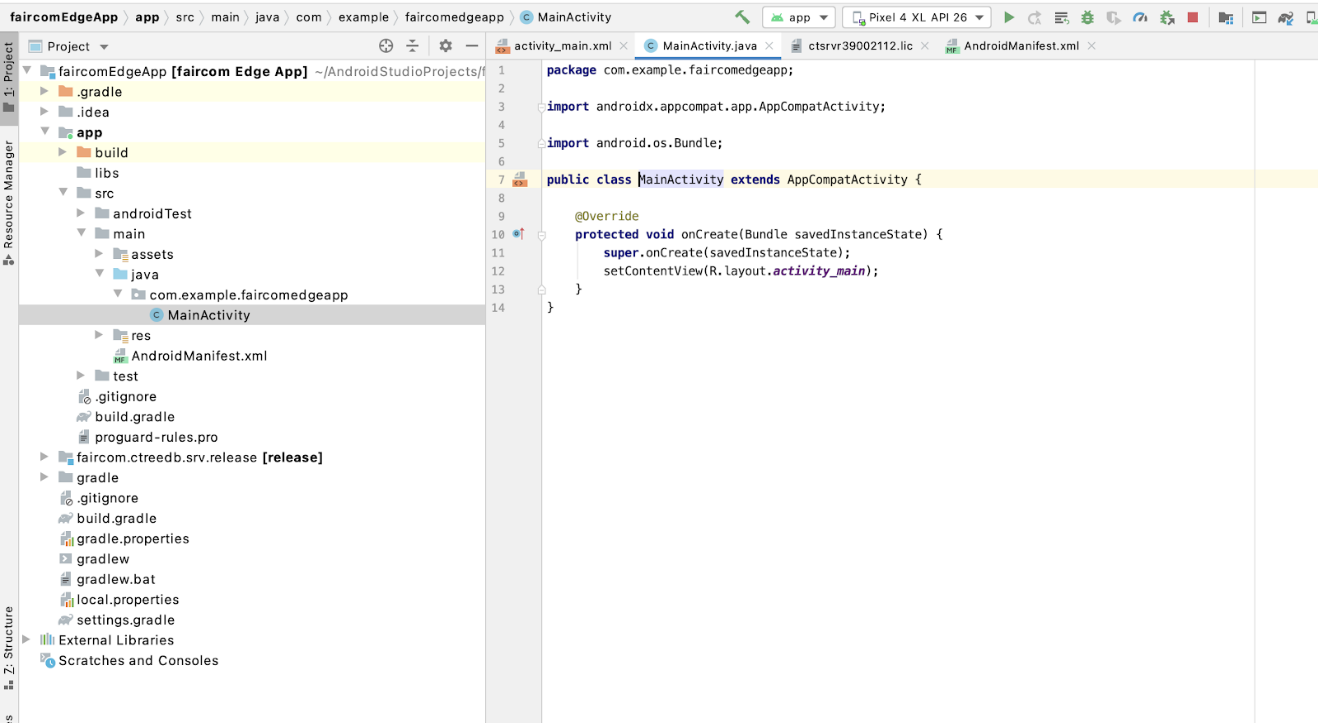
Next, edit your ‘MainActivity.java’ file. To expedite this tutorial, we will cut/paste the sample code found in the location where you unzipped your download file, within the ‘EdgeMicroServer/sdk/ctreeEDGEresources’ folder. Copy the entire source code found in ‘EdgeMicroServer/sdk/ctreeEDGEresources/MainActivity.java’ into your Project’s MainActivity.java file, replacing all the existing code, except for the first line of your own project, where you have your application name:
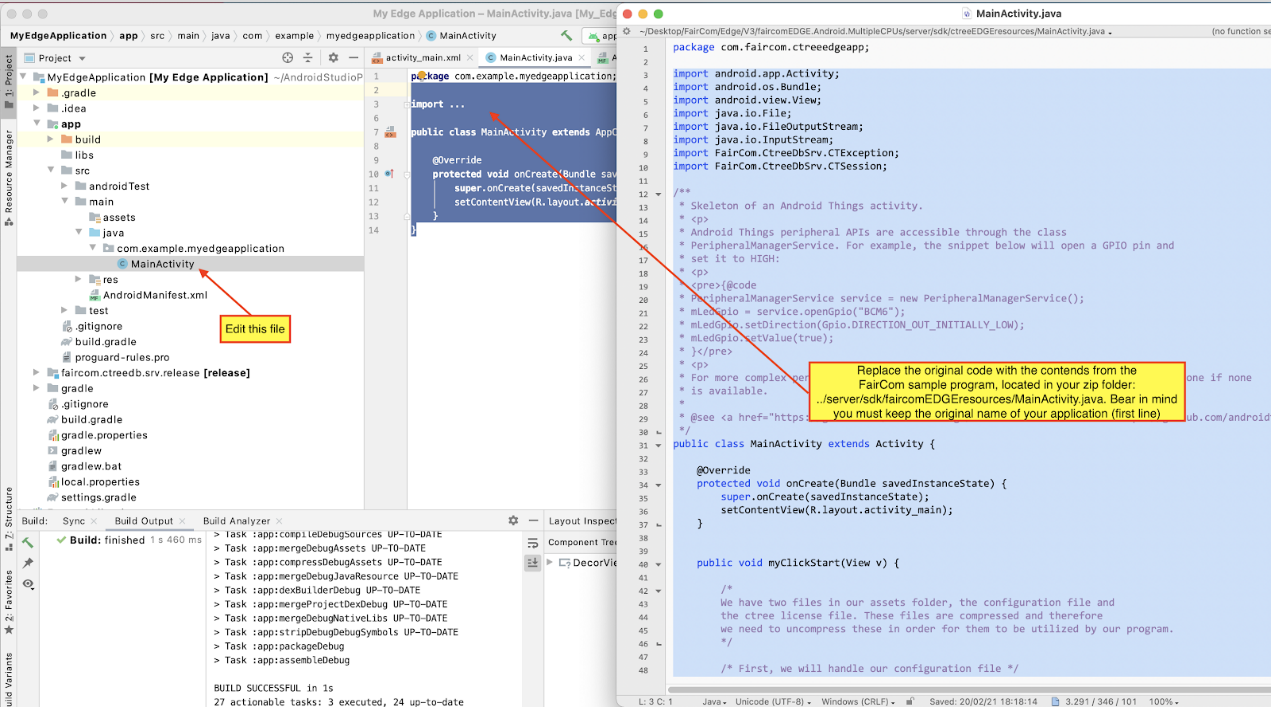
This program has basically two methods, one to start, and one to stop the server. We will link them to the buttons of our new application, but let us take a quick look at the code first.
public void myClickStart(View v) {
/* We have two files in our assets folder, the configuration file and the ctree license file. These files are compressed and therefore we need to uncompress these in order for them to be utilized by our program. */
/* First, we will handle our configuration file */ File cfg = new File(getFilesDir() + "/ctsrvr.cfg"); try { InputStream is = getAssets().open("ctsrvr.cfg"); int size = is.available(); byte[] buffer = new byte[size]; is.read(buffer); is.close(); FileOutputStream fos = new FileOutputStream(cfg); fos.write(buffer); fos.close(); } catch (Exception err) { throw new RuntimeException(err); }
/* Now we will handle our license file */ File lic = new File(getFilesDir() + "/ctsrvr39002112.lic"); try { InputStream is = getAssets().open("ctsrvr39002112.lic"); int size = is.available(); byte[] buffer = new byte[size]; is.read(buffer); is.close(); FileOutputStream fos = new FileOutputStream(lic); fos.write(buffer); fos.close(); } catch (Exception err) { throw new RuntimeException(err); }
/* We place these unused variables here to make it easy to see the PATHS under the debugger. */ String myDataFileLocation = getExternalFilesDir(null).getAbsolutePath(); String myLicenseFileLocation = lic.getAbsolutePath(); String myConfigFileLocation = cfg.getAbsolutePath();
CTSession.SetConfigurationFile(cfg.getAbsolutePath()); CTSession.SetLicenseFile(lic.getAbsolutePath()); CTSession.SetLocalDirectory(getExternalFilesDir(null).getAbsolutePath()); try { CTSession.StartDatabaseEngine(); } catch (CTException err) { return; } return; }
|
What is important in the code above is that we:
We open and read the server configuration file we have added as one of the assets for our project:
File cfg = new File(getFilesDir() + "/ctsrvr.cfg");
We open and read the server license file we have added as the second asset for our project:
File lic = new File(getFilesDir() + "/ctsrvr39002112.lic");
We set our server configuration and license files using FairCom properties:
CTSession.SetConfigurationFile(cfg.getAbsolutePath());
CTSession.SetLicenseFile(lic.getAbsolutePath());
We also set our "local directory", where we will store our server logs and default path for the files that are created with the server:
CTSession.SetLocalDirectory(getExternalFilesDir(null).getAbsolutePath());
And finally we start the DB engine:
CTSession.StartDatabaseEngine();
Our second method is quite a bit simpler, and it just stops the server:
public void myClickStop(View v) { CTSession.StopDatabaseEngine(); return; } |
For more details on the FairCom specific code, see our documentation.
After this quick overview, we need to link up our ‘myClickStart’ and ‘myClickStop’ methods to our buttons. Set the ‘onClick’ property as shown for both buttons. We have also added one update in the message at the textView object to indicate the server is up and running or stopped in each click action of the buttons.
TextView tv = (TextView)findViewById(R.id.textView); tv.setText("Server is now running."); |
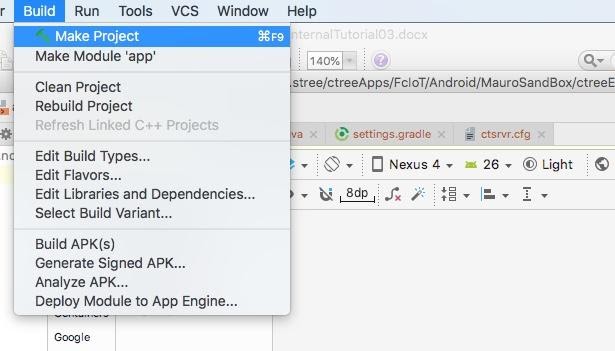
OK, we are done. Go ahead now and execute the ‘Make Project’ option from the main menu.
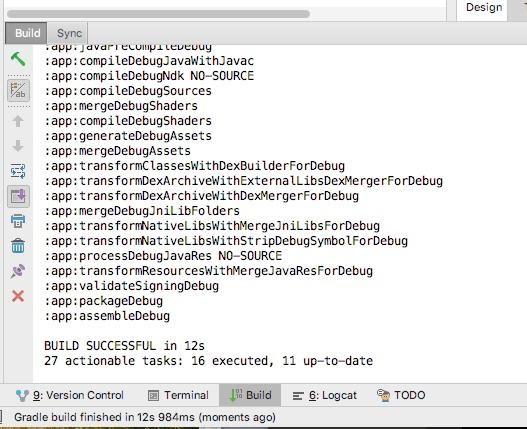
You should see a BUILD SUCCESSFUL message as shown.
Go ahead now and run your application.
This concludes the steps necessary to embed the FairCom EDGE database engine into an application.

