|
|
|
Since we have started with swagger, let us stay with it for a little longer. Besides being an interesting tool to visualize the REST documentation for most products, it may be useful as well to send comments to a web server.
The first point we need to address is to "fix" the port indicated in the code on the left. If you pay attention on the list box on the right, you will notice that the server indicated is using port 8443 (https). At this moment, the server version available in Android is HTTP, so the port used is 8080. Then, you need to fix this port information on the code on the left. Go to the last line, and close to it, add the proper port or replace the port information from:
servers:
- url: 'http://127.0.0.1:8443'
to
servers:
- url: 'http://127.0.0.1:8443'
- url: 'http://127.0.0.1:8080'
If you choose to add the port (and not to replace it), make sure you select the proper one on the list box:

Once this is set, the next step is to set the authorization to connect to the server. Click the Authorize button on the right of the image above, use the Basic Authorization and provide the user (admin) and password (default value, ADMIN).
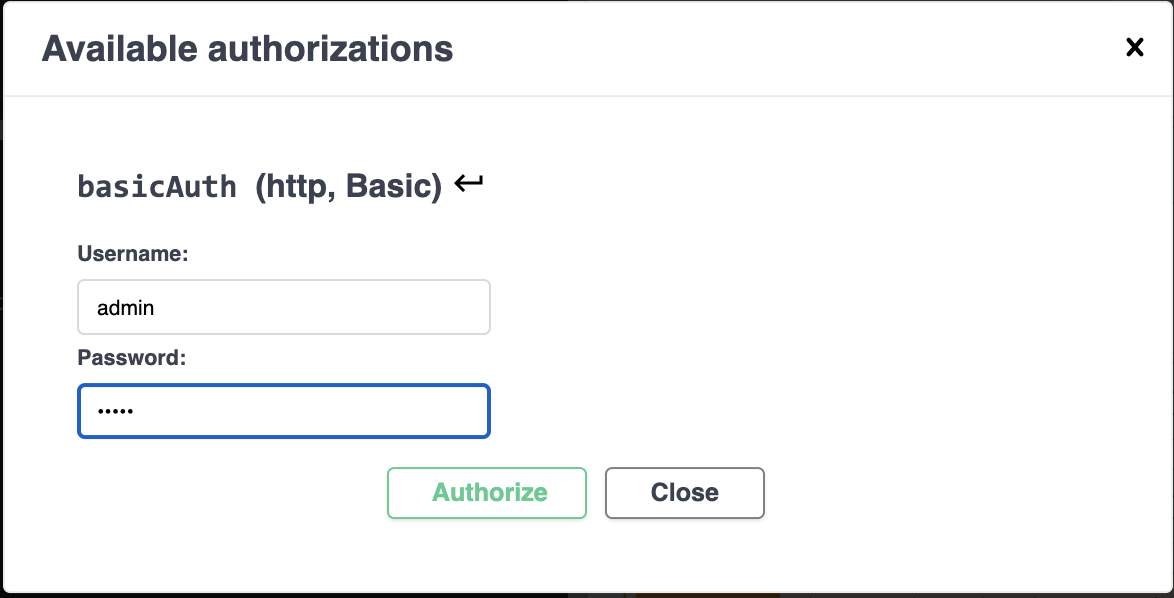
and click Authorize.
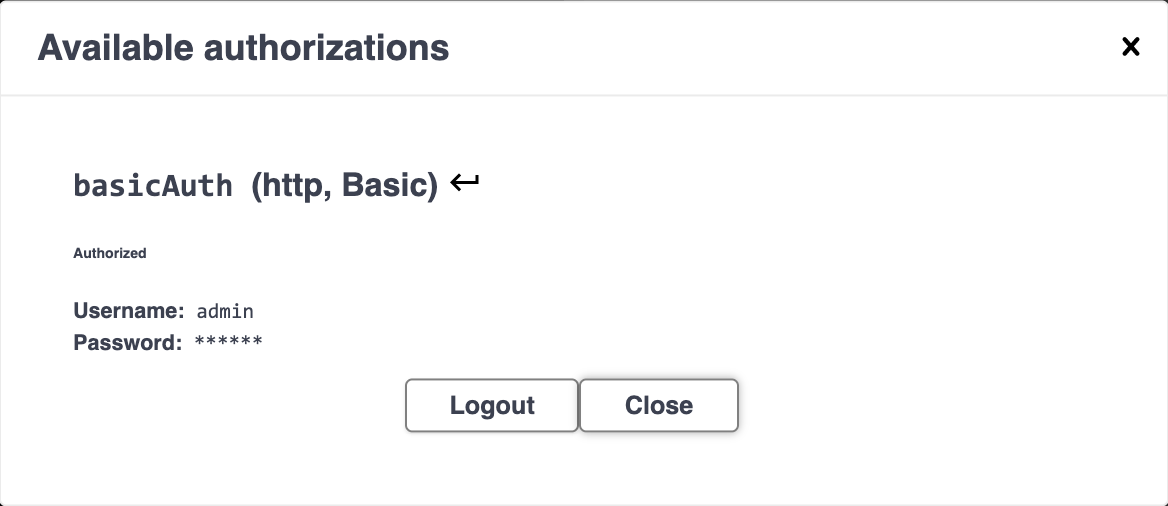
You are authorized to do the next operations. Click Close.
Since this is the very first time you will be using REST with this new server, you need to create a database. It is important to notice that you may create the database using other FairCom tools like the ISAM Explorer. At least one database is required to work with the FairCom EDGE, in particular if you are using the REST API to access your data (Other APIs like Java for instance may not require a database).
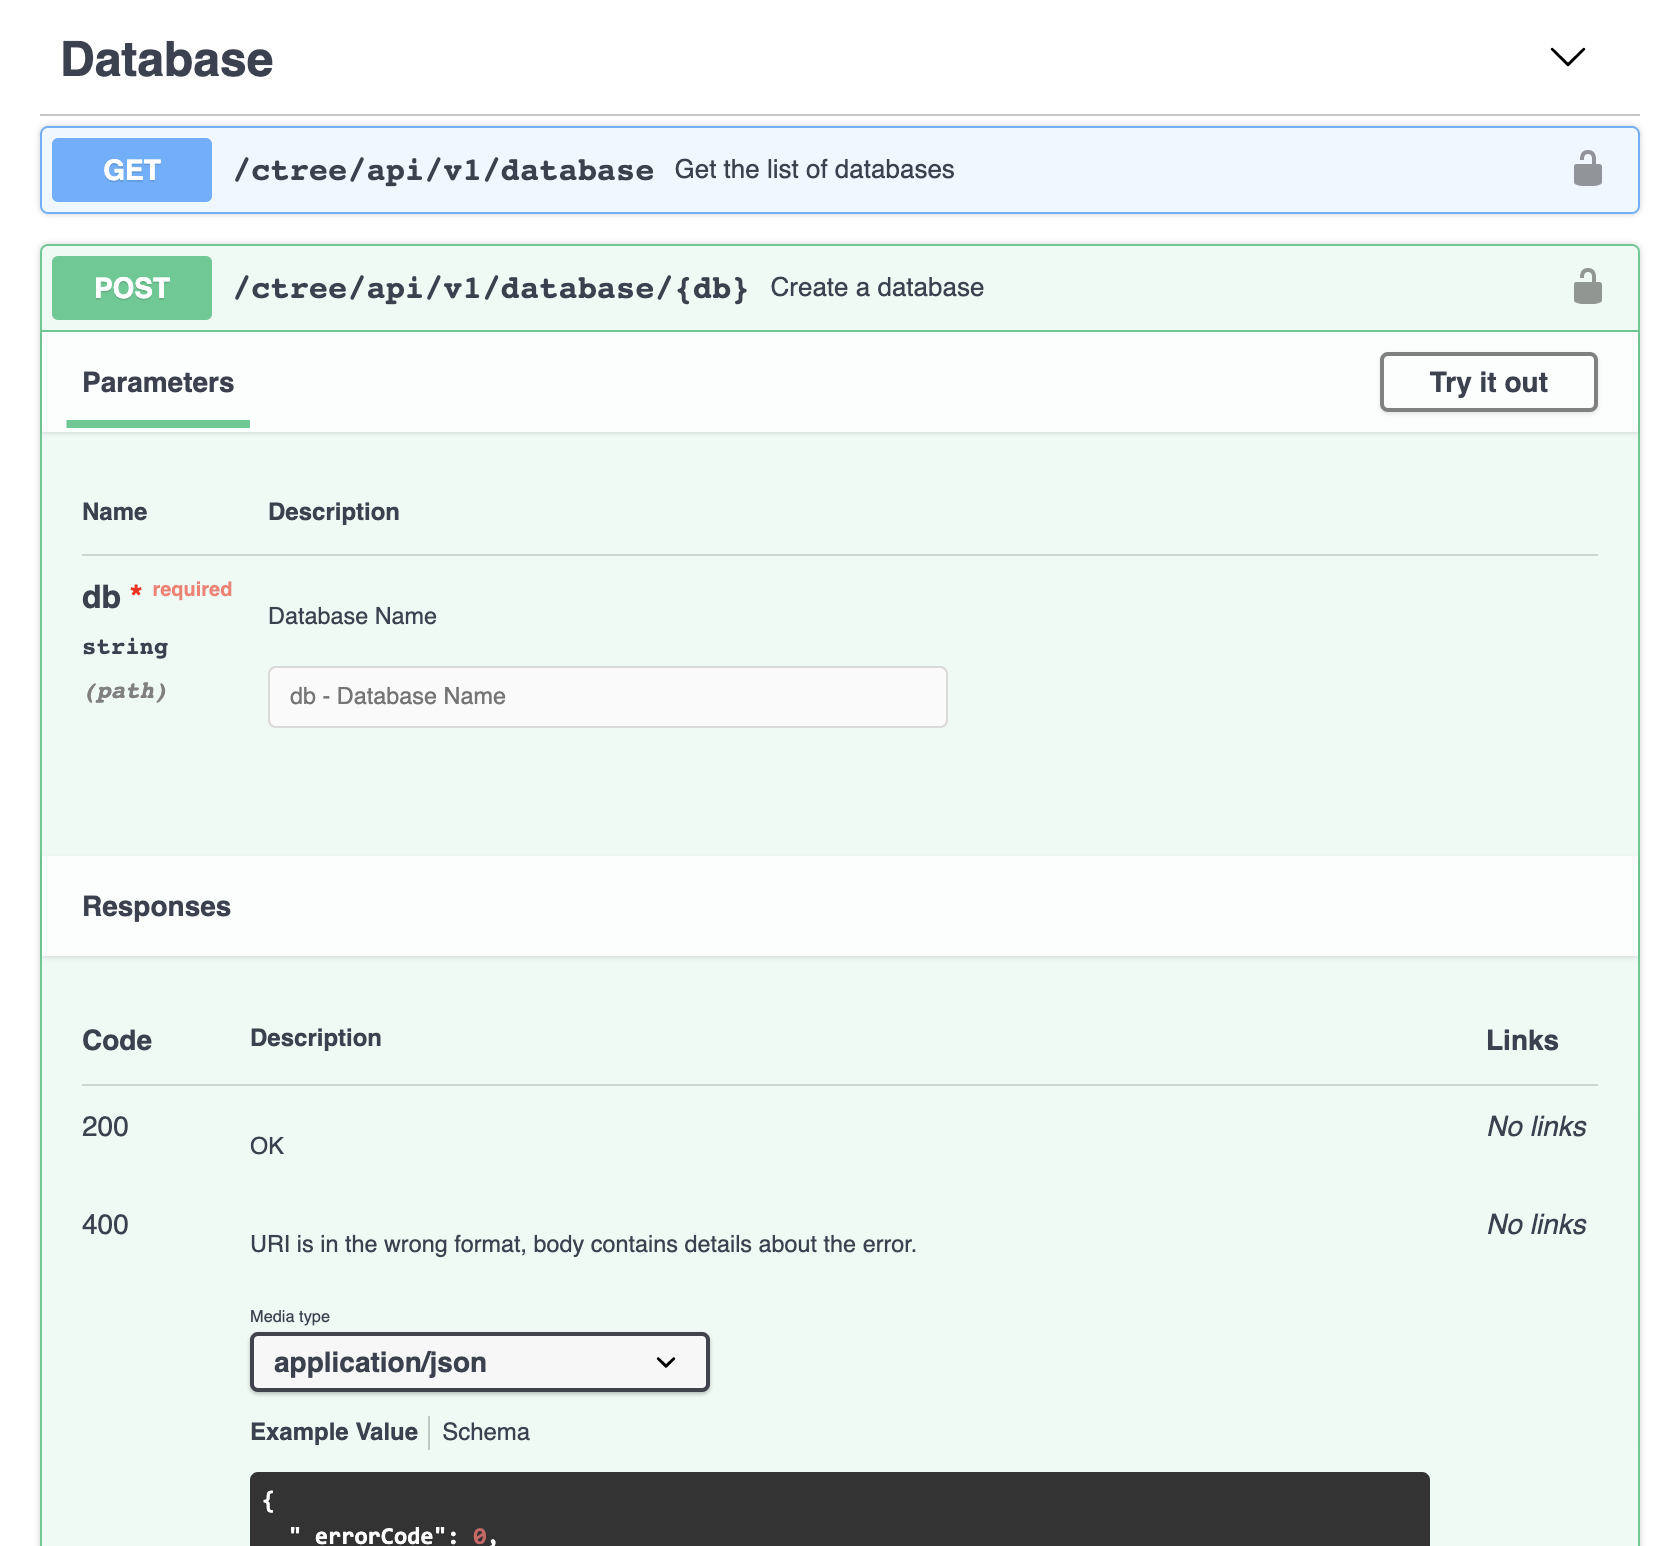
Now, to create your first database using REST, go to the Database section on the right panel, select Post, and click Try it out:
Provide a unique FairCom Database name, such as FairComEDGEdb, and click Execute.
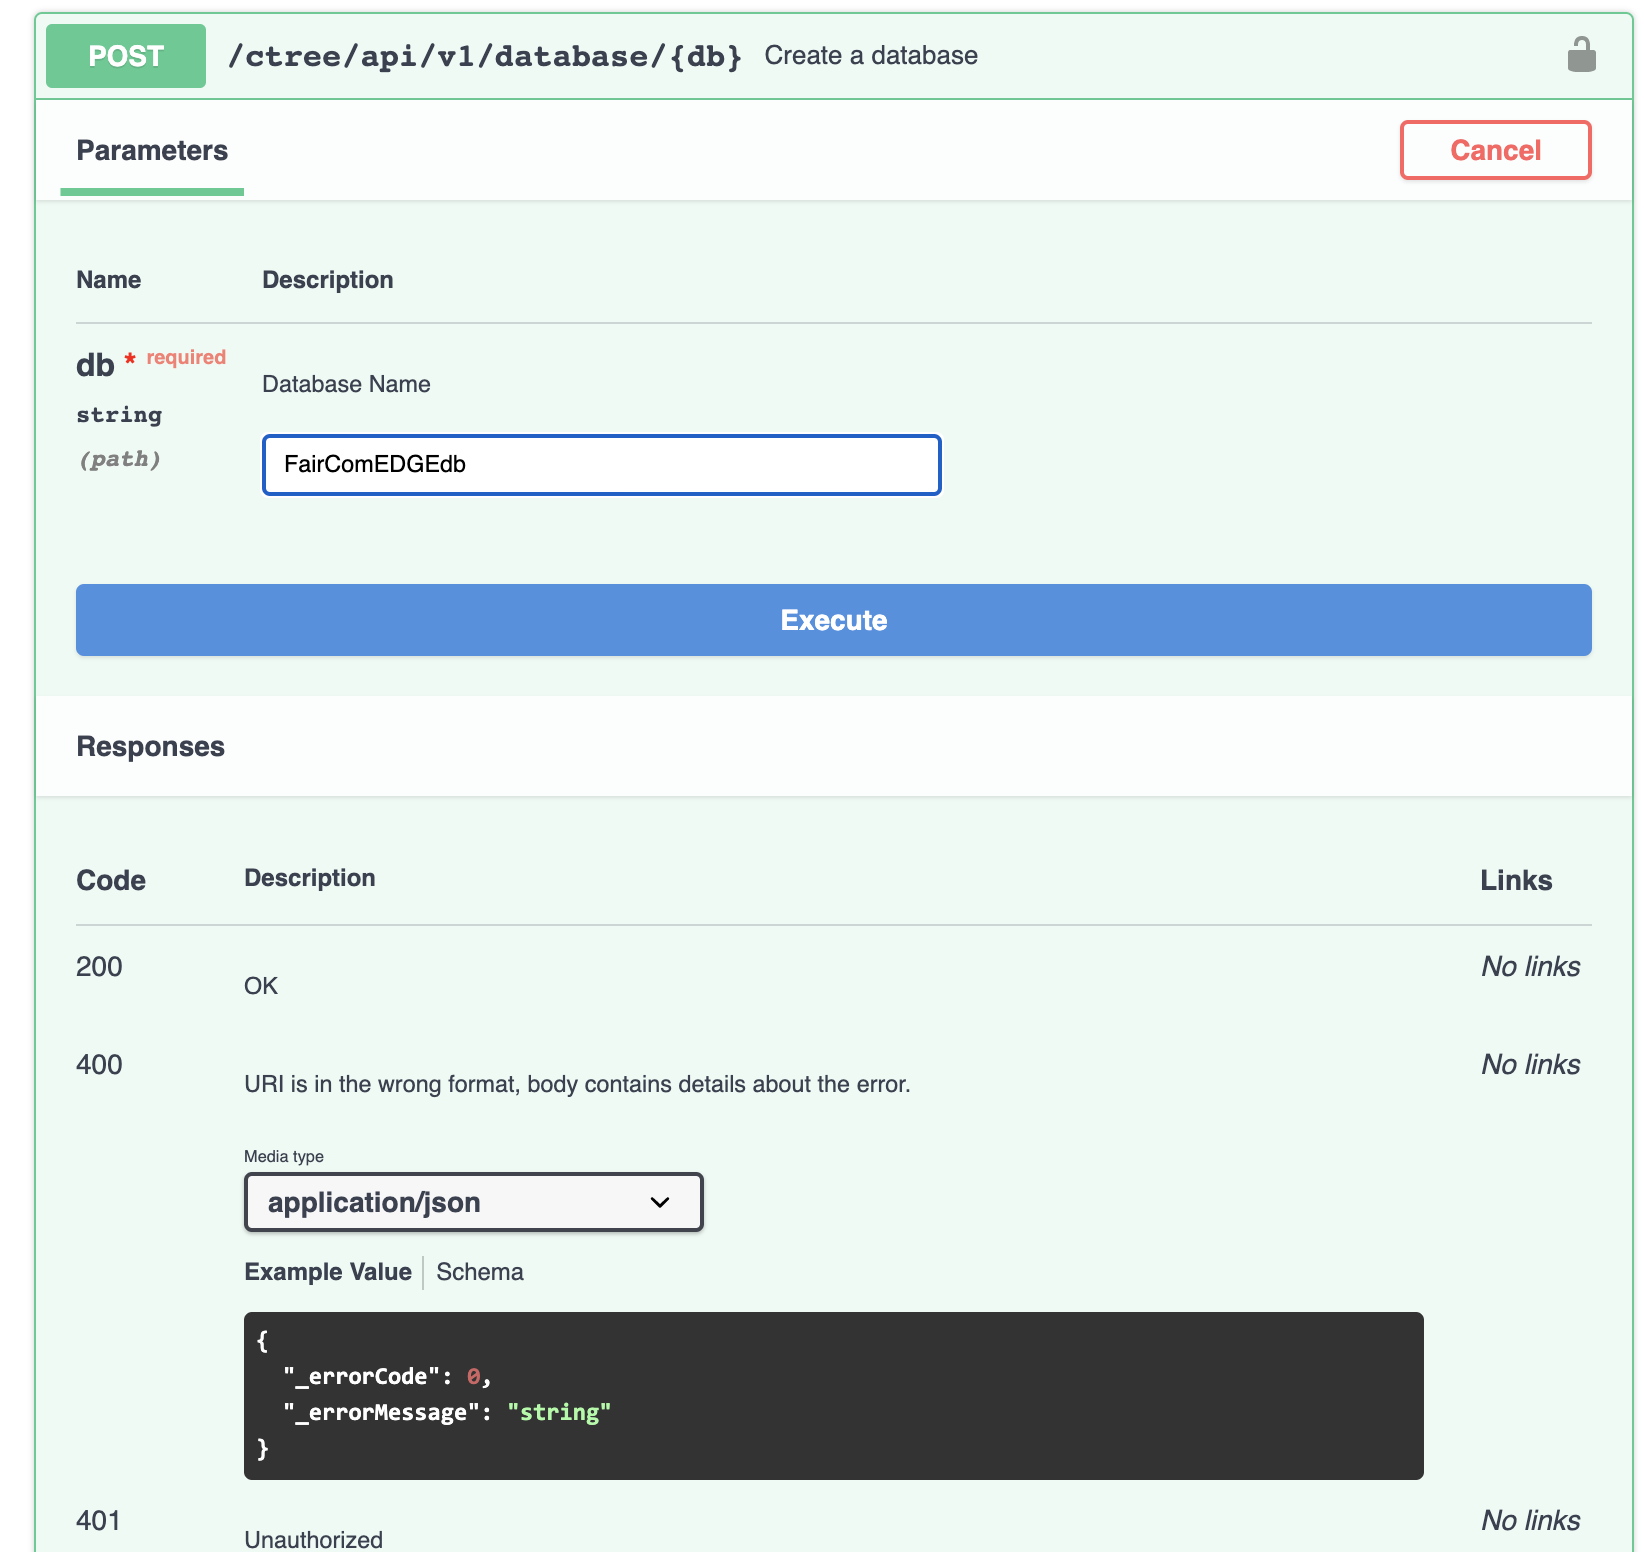
Notice that the database creation does require just a database name, so no extra JSON is needed (of course they are needed to create tables and insert records, for instance). When you click Execute in the Post command, the database will be created, with the name you provided in the Database Name text box.
External tools like ISAM Explorer can also be used to create your table. If you would like to create your table using REST, you may go to the Table section in swagger and select Post:
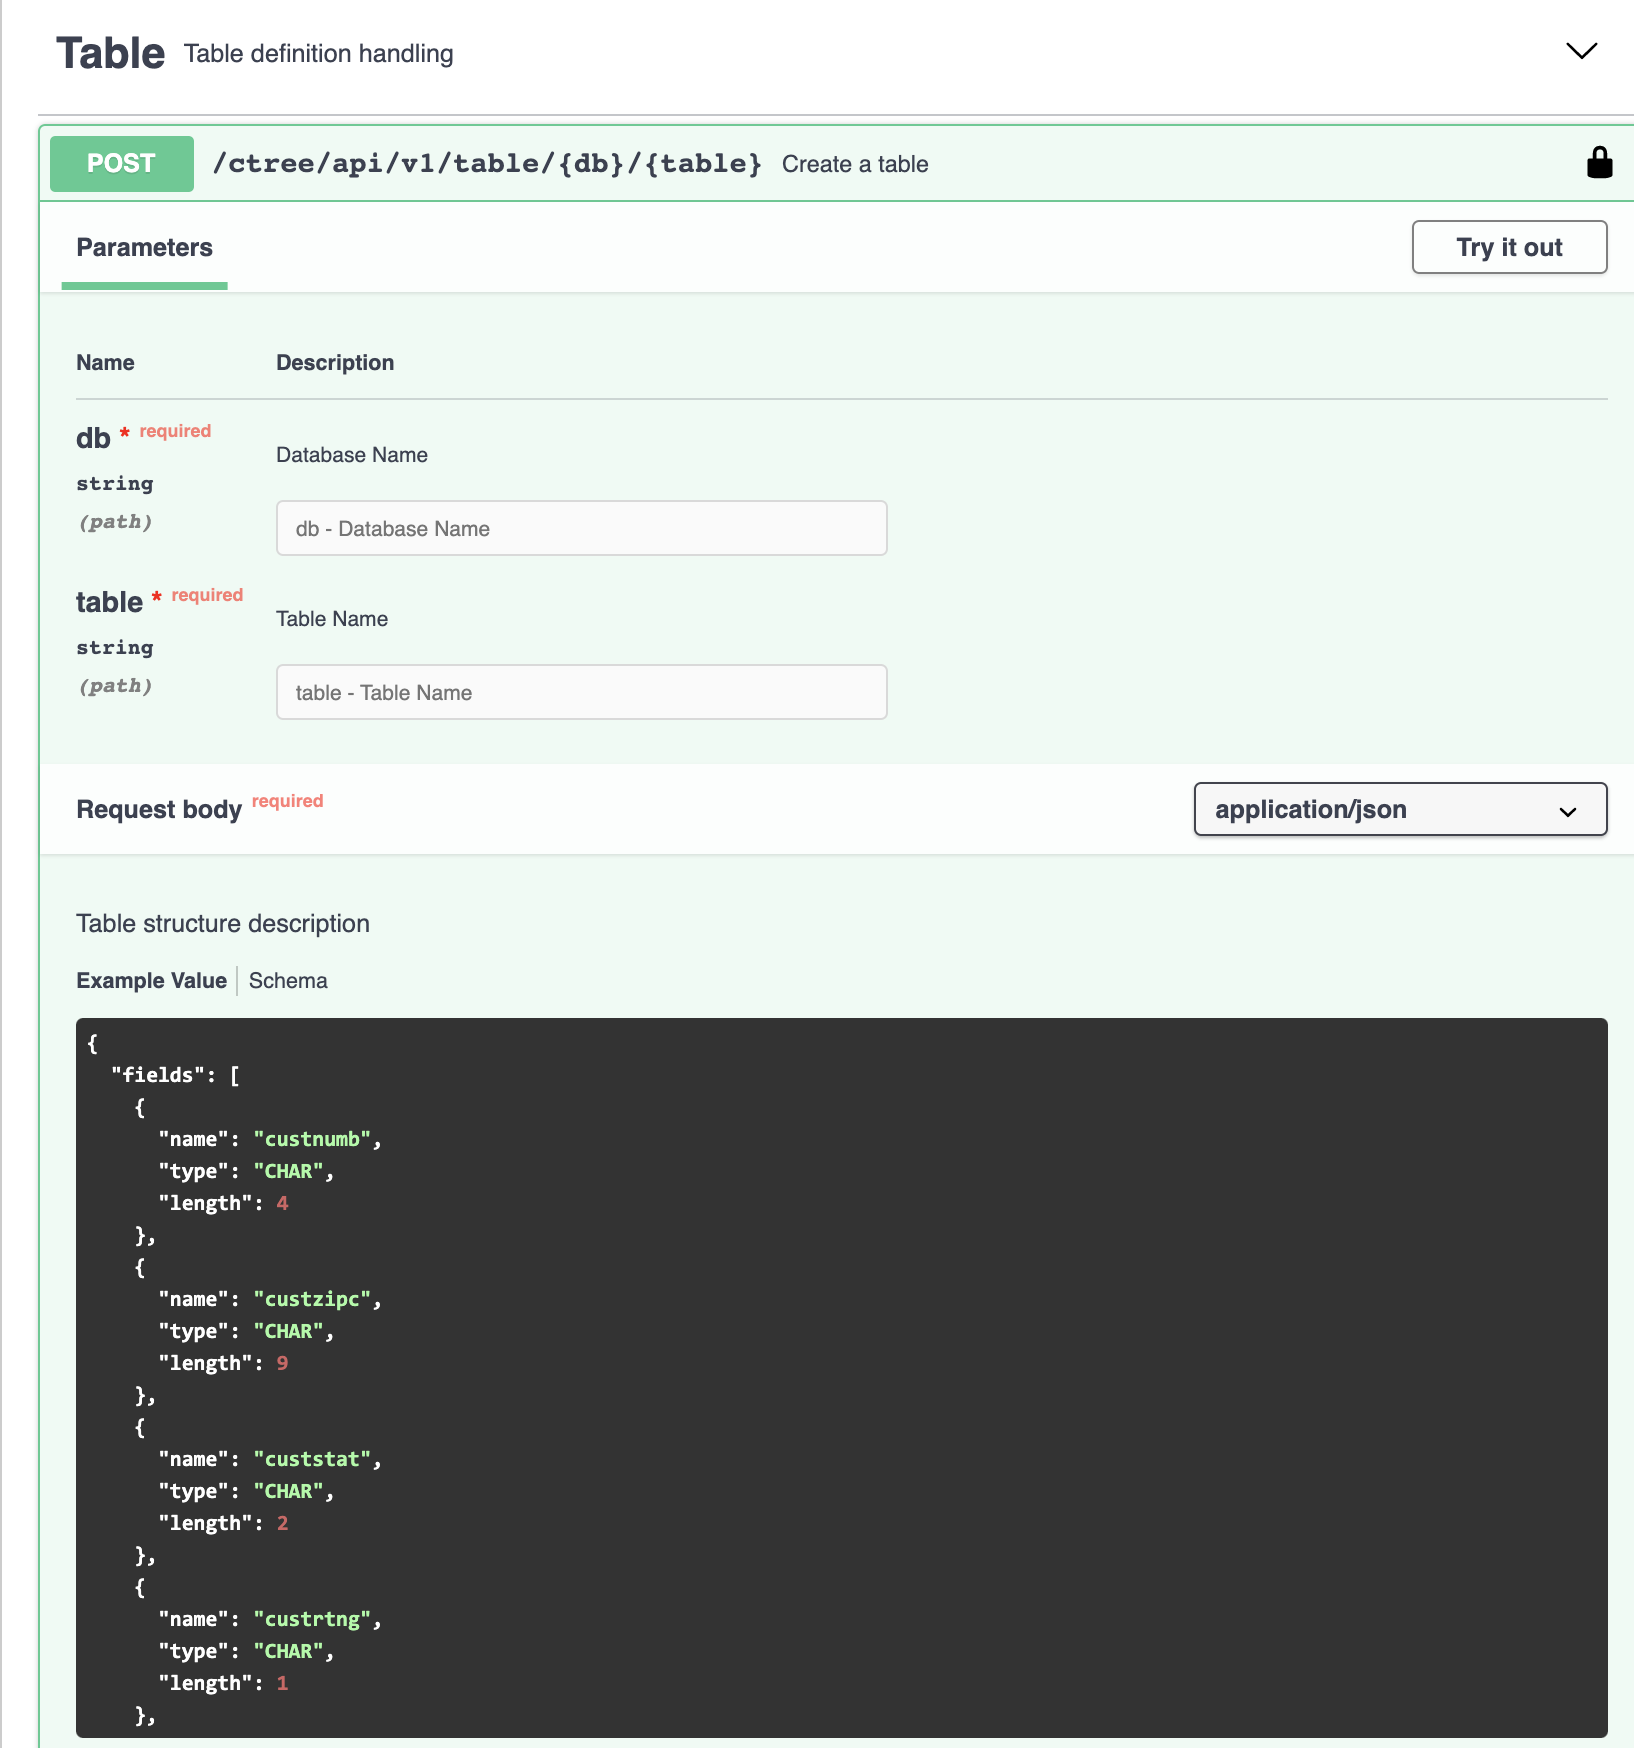
It presents a brief description of the fields and the REST command to be used to create the table. If you click Try it out, you will be required to insert the database name (use the one you created previously), a table name and also a JSON file describing the fields that will compose the table. The full specification of this JSON file is provided in the FairCom DB REST API document: https://docs.faircom.com/doc/rest_api/
One basic sample is like this:
{"fields": [
{
"name": "id",
"type": "INTEGER",
"length": 4
},
{
"name": "name",
"type": "VARCHAR",
"length": 128
},
{
"name": "author",
"type": "VARCHAR",
"length": 128
},
{
"name": "country",
"type": "VARCHAR",
"length": 48
},
{
"name": "language",
"type": "VARCHAR",
"length": 548
},
{
"name": "published",
"type": "INTEGER",
"length": 4
},
{
"name": "pages",
"type": "INTEGER",
"length": 4
}
]}
Once a similar table definition has been prepared, you may click the Try it out button in the Post command for the Table in swagger, and provide your database name (previously created) and the table name, and paste the table JSON to the proper field:
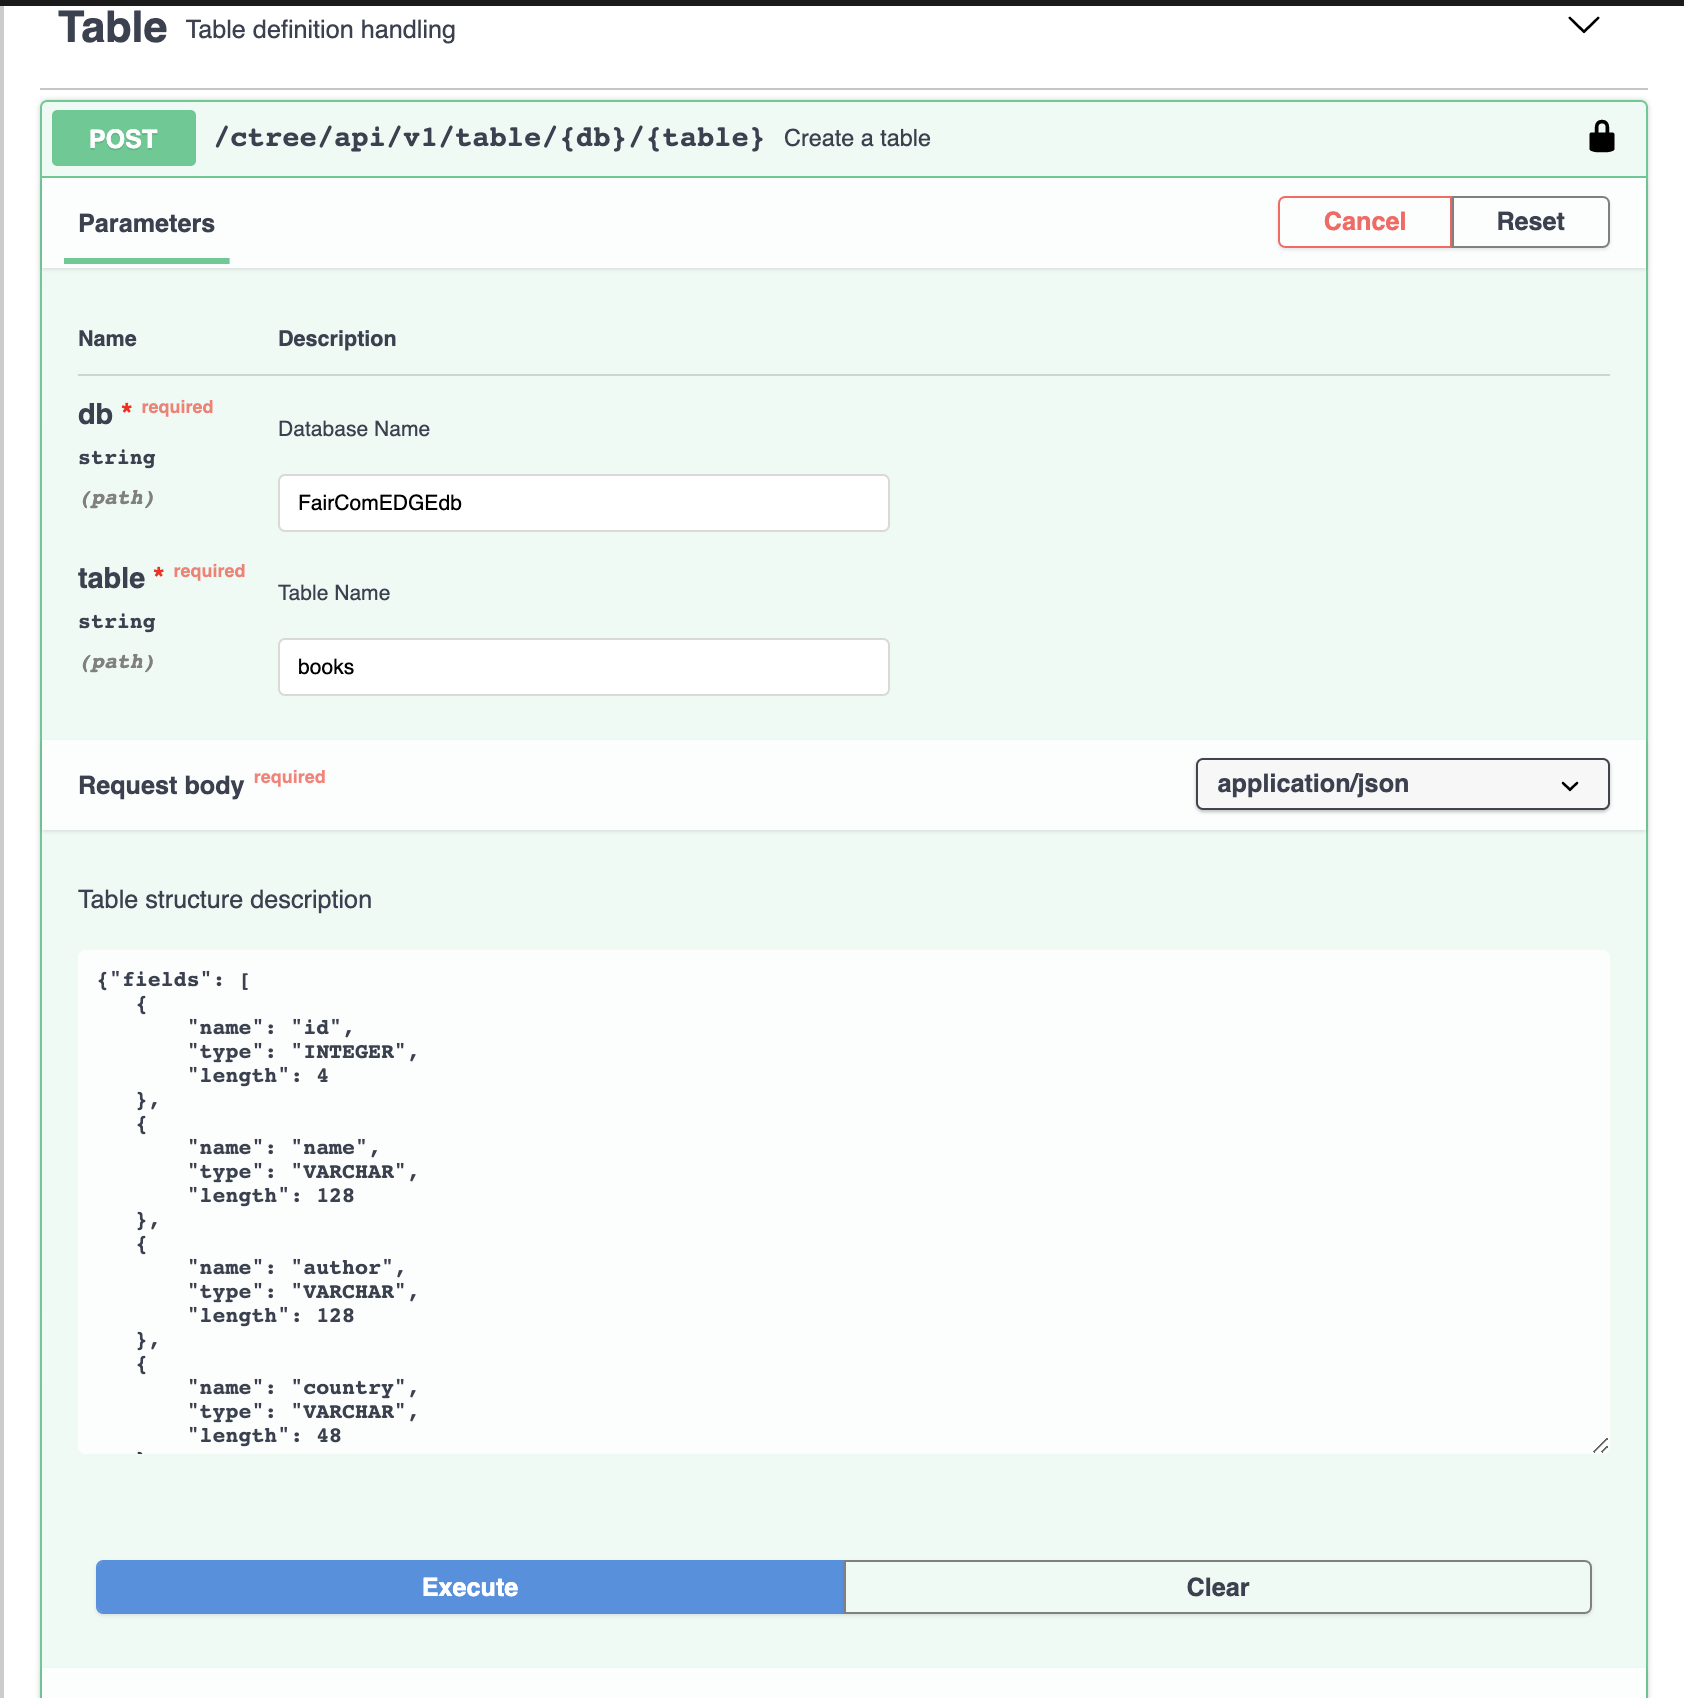
and click Execute. The other options using swagger are similar.

