This document shows how to use IntelliJ IDEA to create a JTDB project that uses FairCom DB.
This has been tested with:
Oracle Java version 8, 9, 11, 16, and OpenJDK 16.
IntelliJ IDEA 2021.1.
These procedures are known to work with the JTDB API.
Quick Instructions
You need to include the <faircom>\drivers\java.nav\ctreeJTDB.jar file as a library class dependency, and the <faircom>\drivers\java.nav\ directory as a native library location.
Detailed Instructions
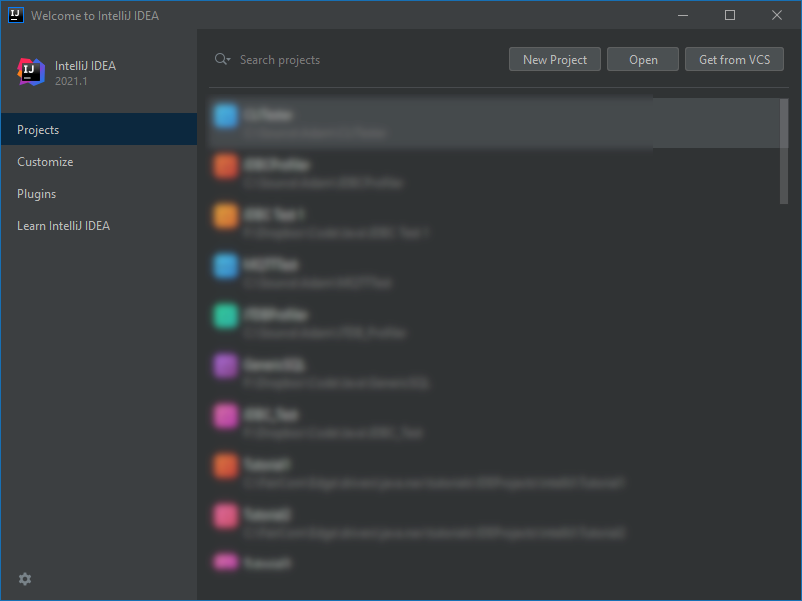
Create a new project using the menu: File > New > Project, or click the New Project button from the welcome screen.
(The recent projects have been intentionally blurred in this image.)
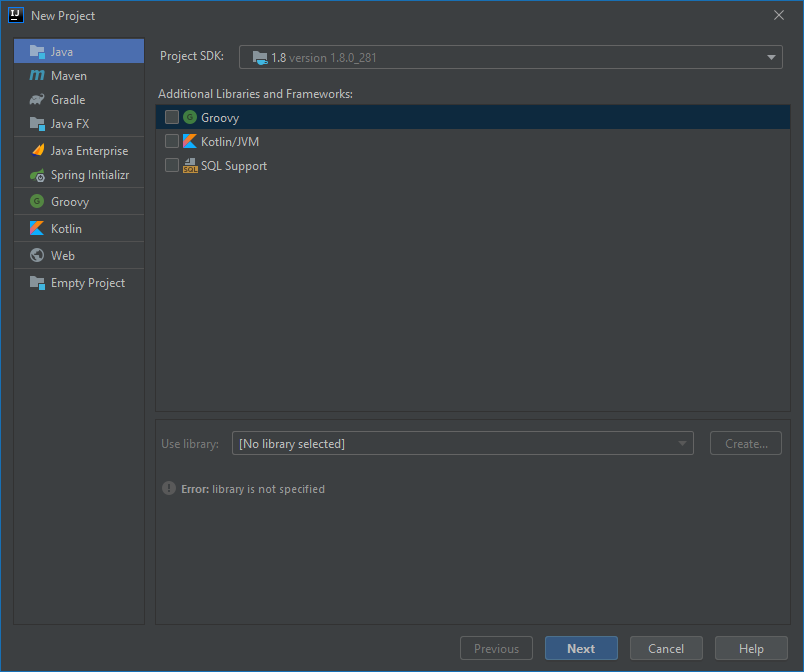
Leave Java selected in the left pane, do not check any libraries or frameworks, and click Next.
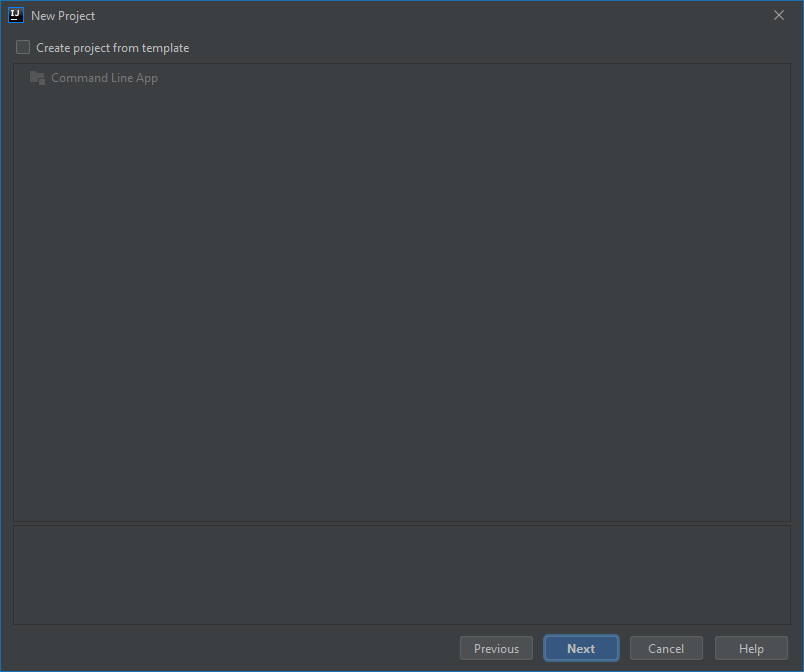
Leave Create project from template unchecked, and click Next.
Give the project a name and location, and click Finish.
If you are prompted that the directory does not exist, click Create.
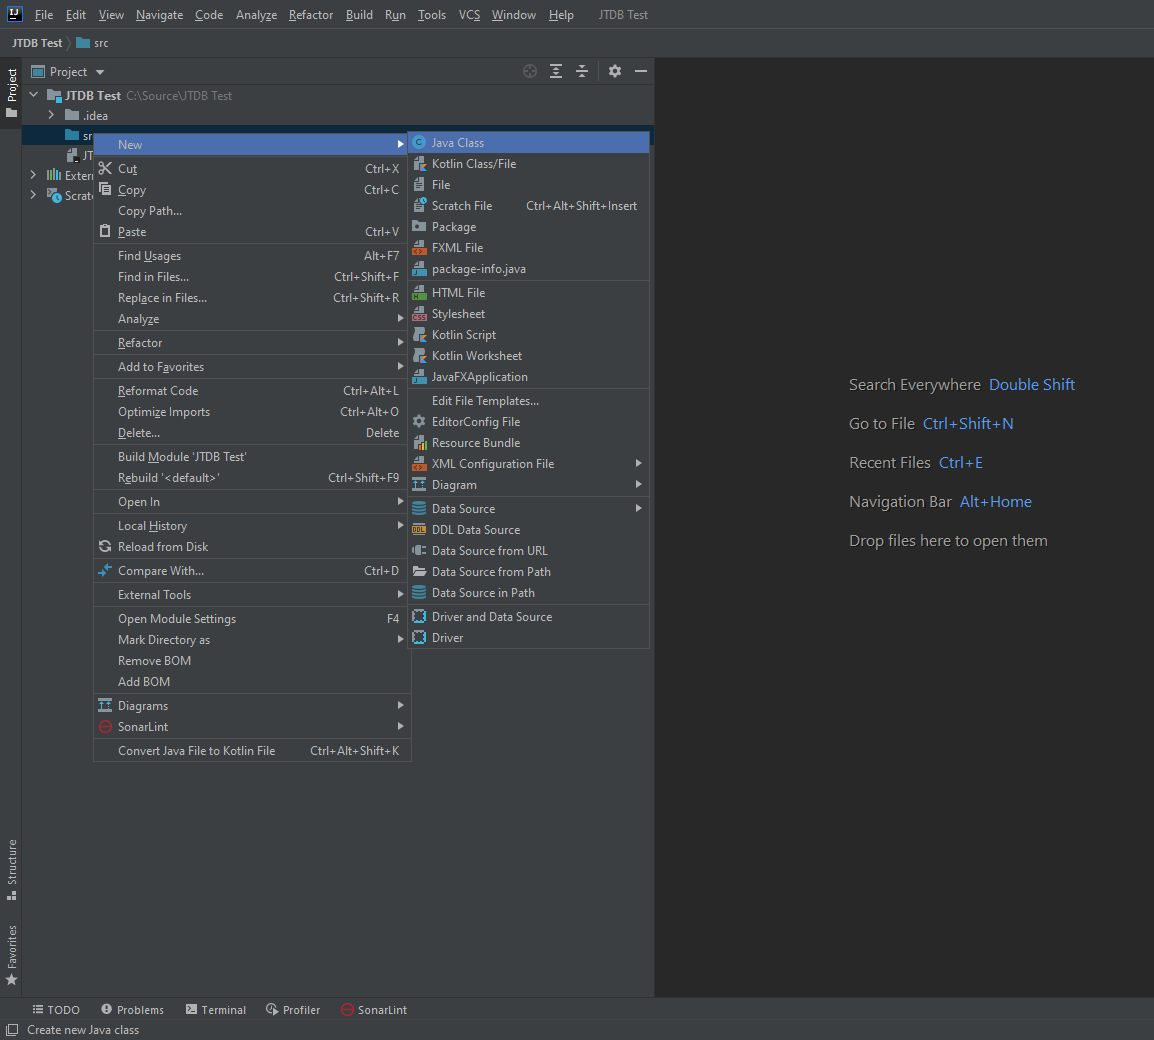
In the Project window, expand your project name, right-click the blue src folder, and select New > Java Class.
In the pop-up, give the class a valid name. You can set the class name to something similar to the project name.
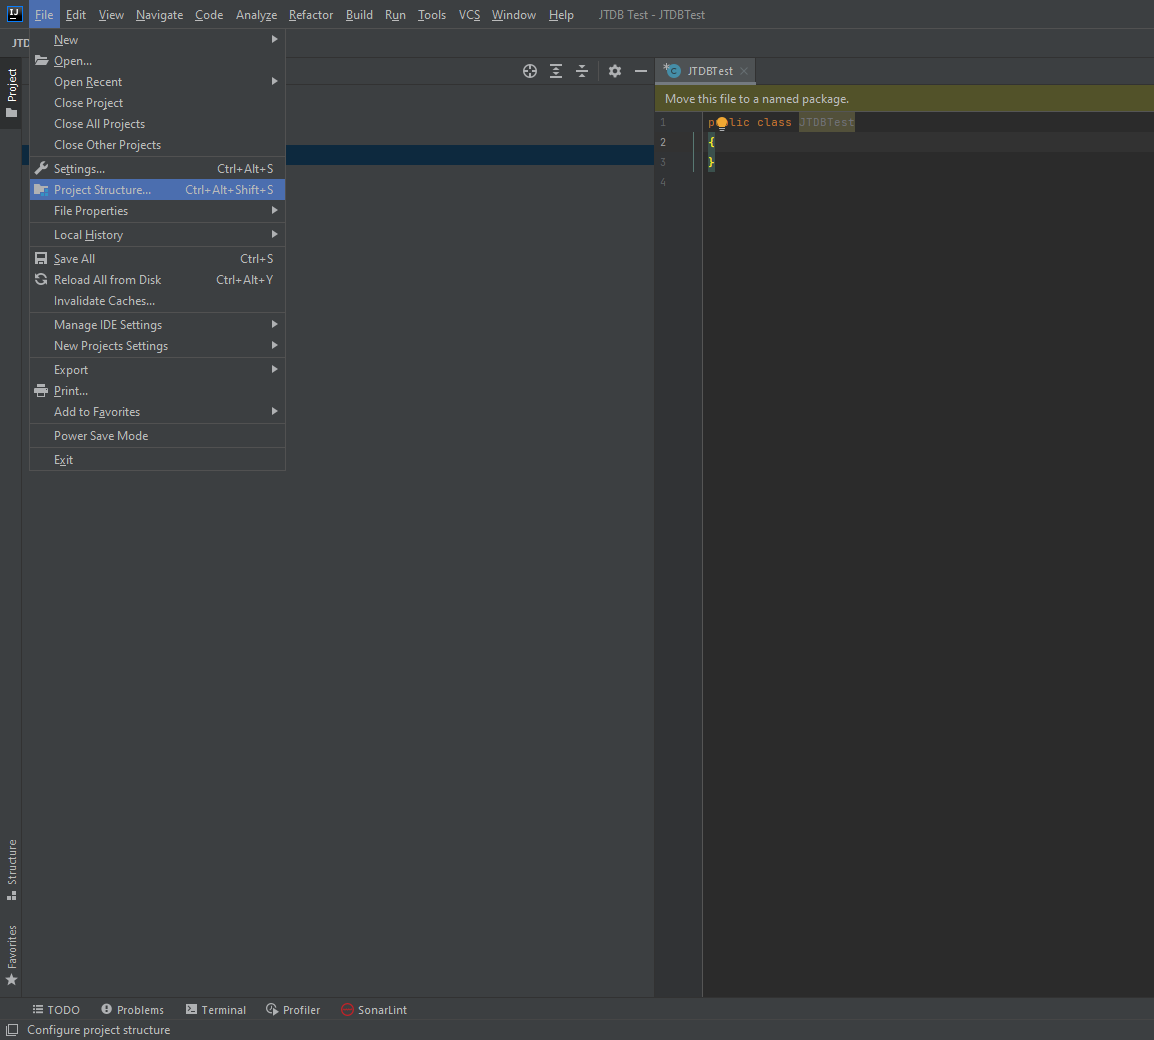
Add the FairCom JTDB driver to the project with File > Project Structure.
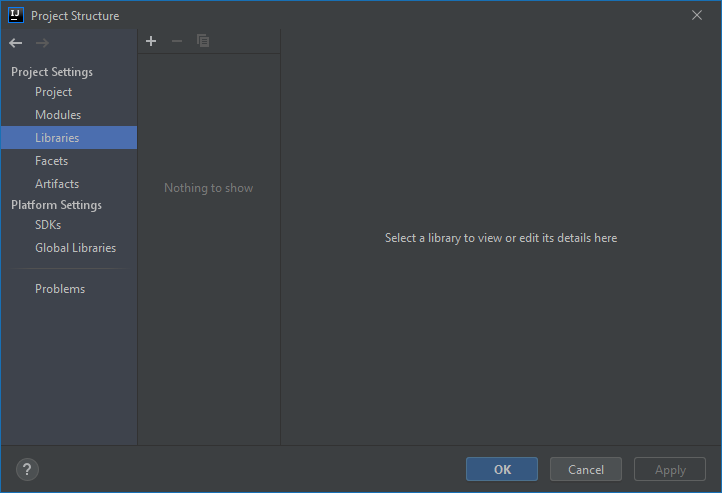
Select Libraries in the left column.
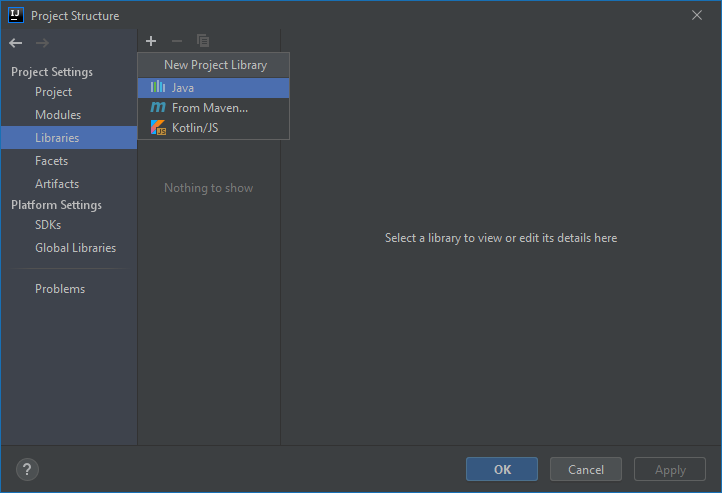
In the center column, click the + (New Project Library) > Java.
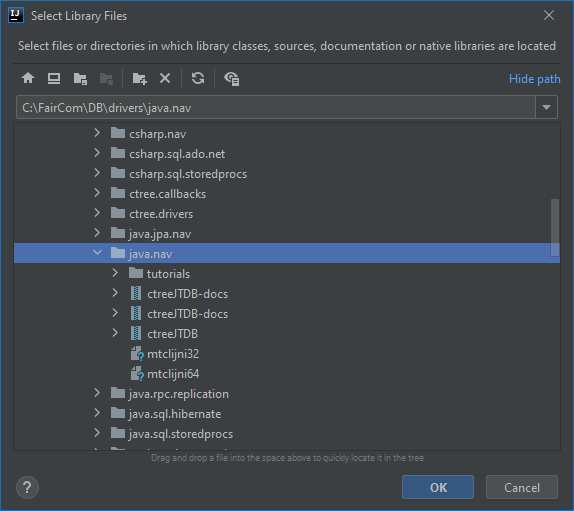
Browse to the drivers/java.nav/ directory and click OK.
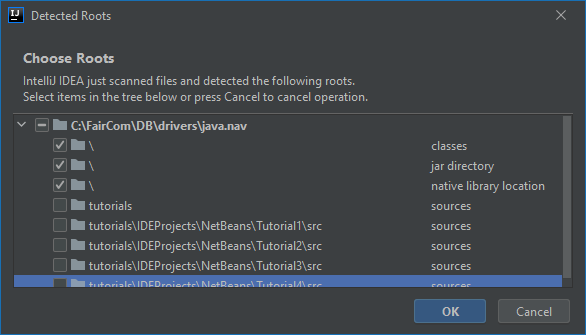
In the Detected Roots dialog that appears, uncheck all the tutorial rows (sources), leaving only the classes, jar directory, and native library location checked, and click OK.
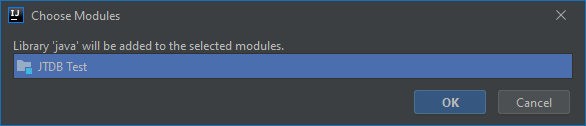
Click OK to add that library to the only module. By default, the name of the first module will match the name of the project.
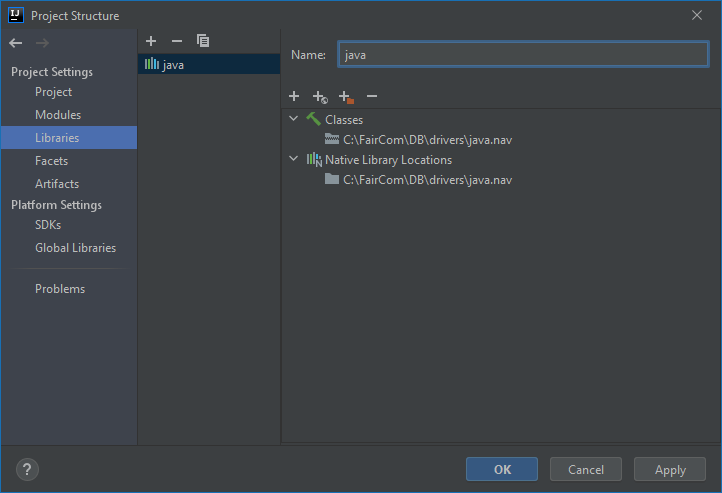
The resulting Library group will be named "java" by default.
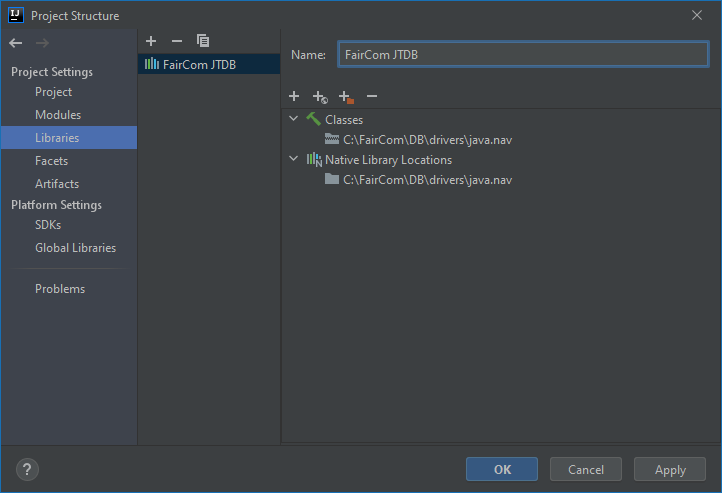
This is acceptable for small projects. For larger projects, that contain multiple libraries, renaming this group to something descriptive like "FairCom JTDB", will make managing this project easier to manage.
Click OK to save those settings.
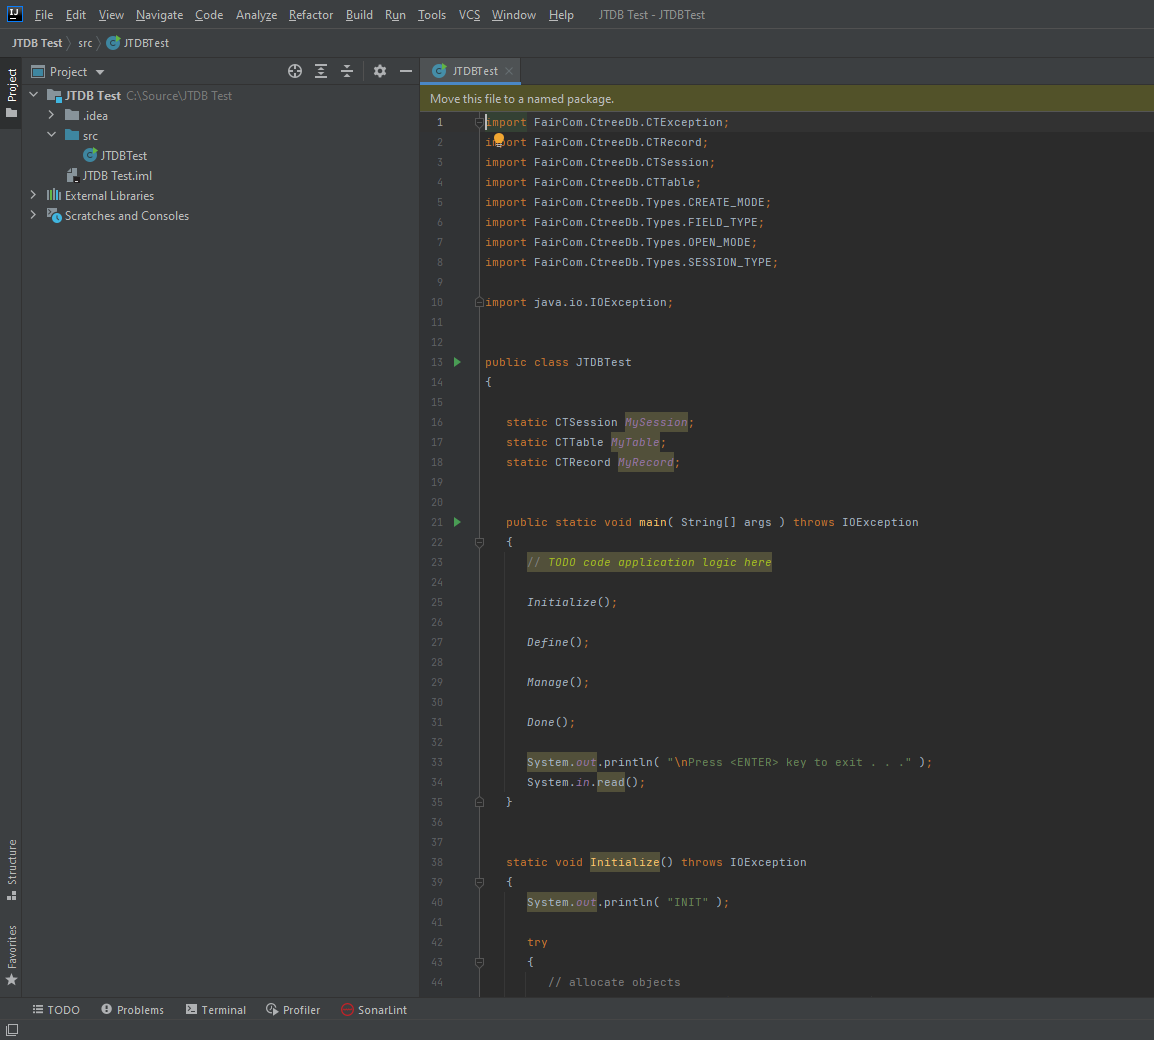
Now you can add your own code, or copy in the code from one of the tutorials provided in the drivers/java.nav/tutorials/ directory. For example, if you use the code from drivers/java.nav/tutorials/JTDB_Tutorial1.java, you will copy only the code between the first and last braces of the tutorial, and paste that between the only braces of the class you just created. The result will look like this:
Note that IDEA automatically imported some classes. This was due to a configuration setting that you may, or may not, have set.
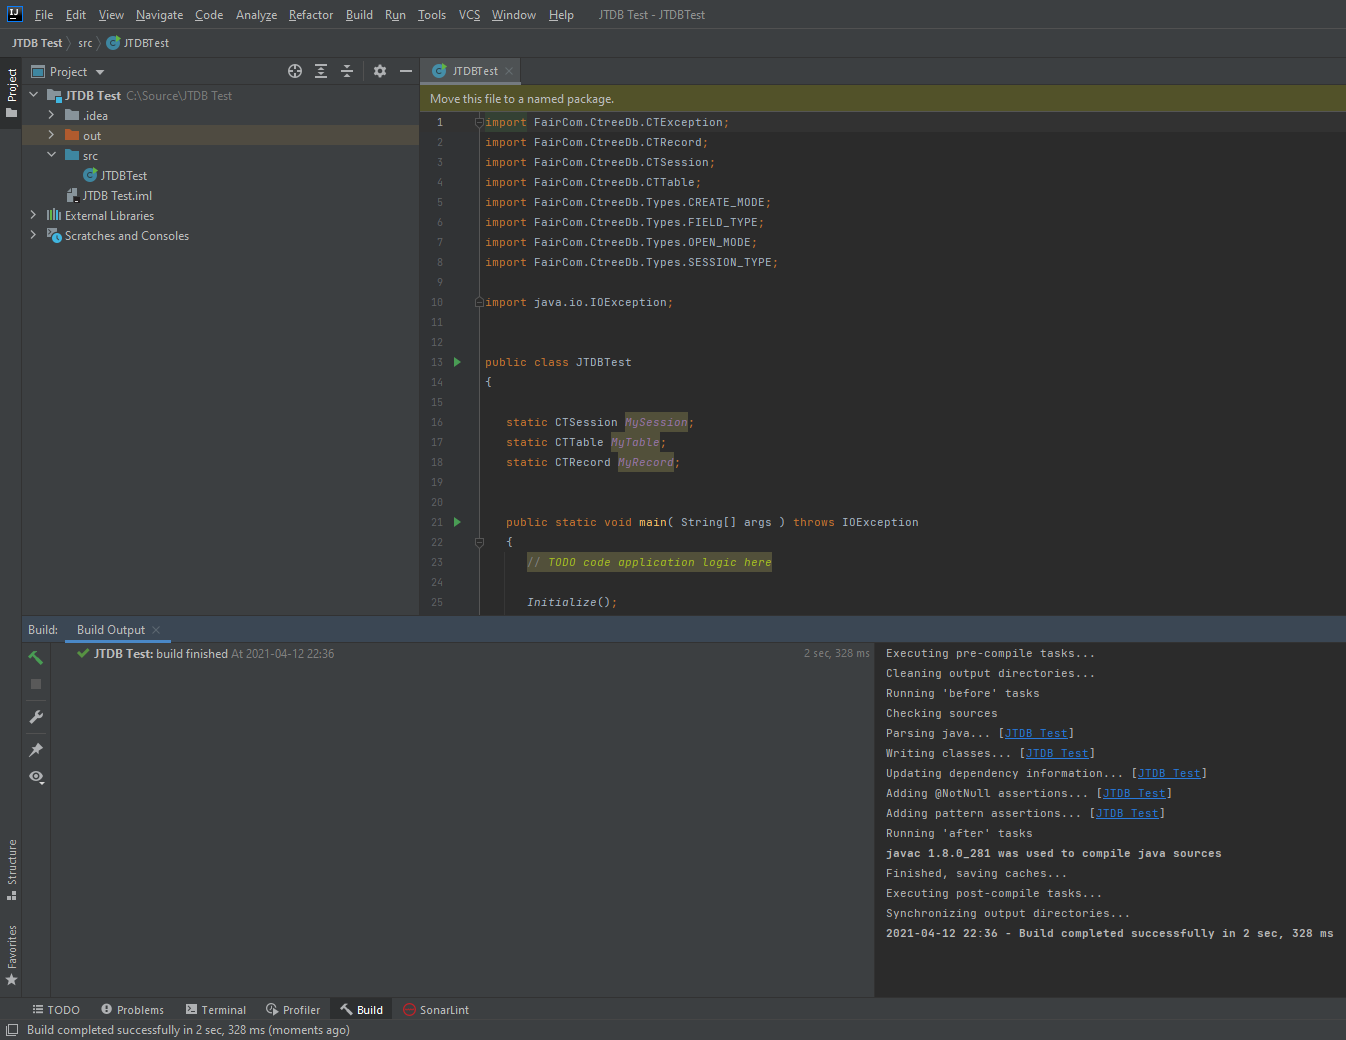
Use Build > Build Project to ensure that every dependency has been met. The output from the build tab (at the bottom of the screen) should look similar to this:
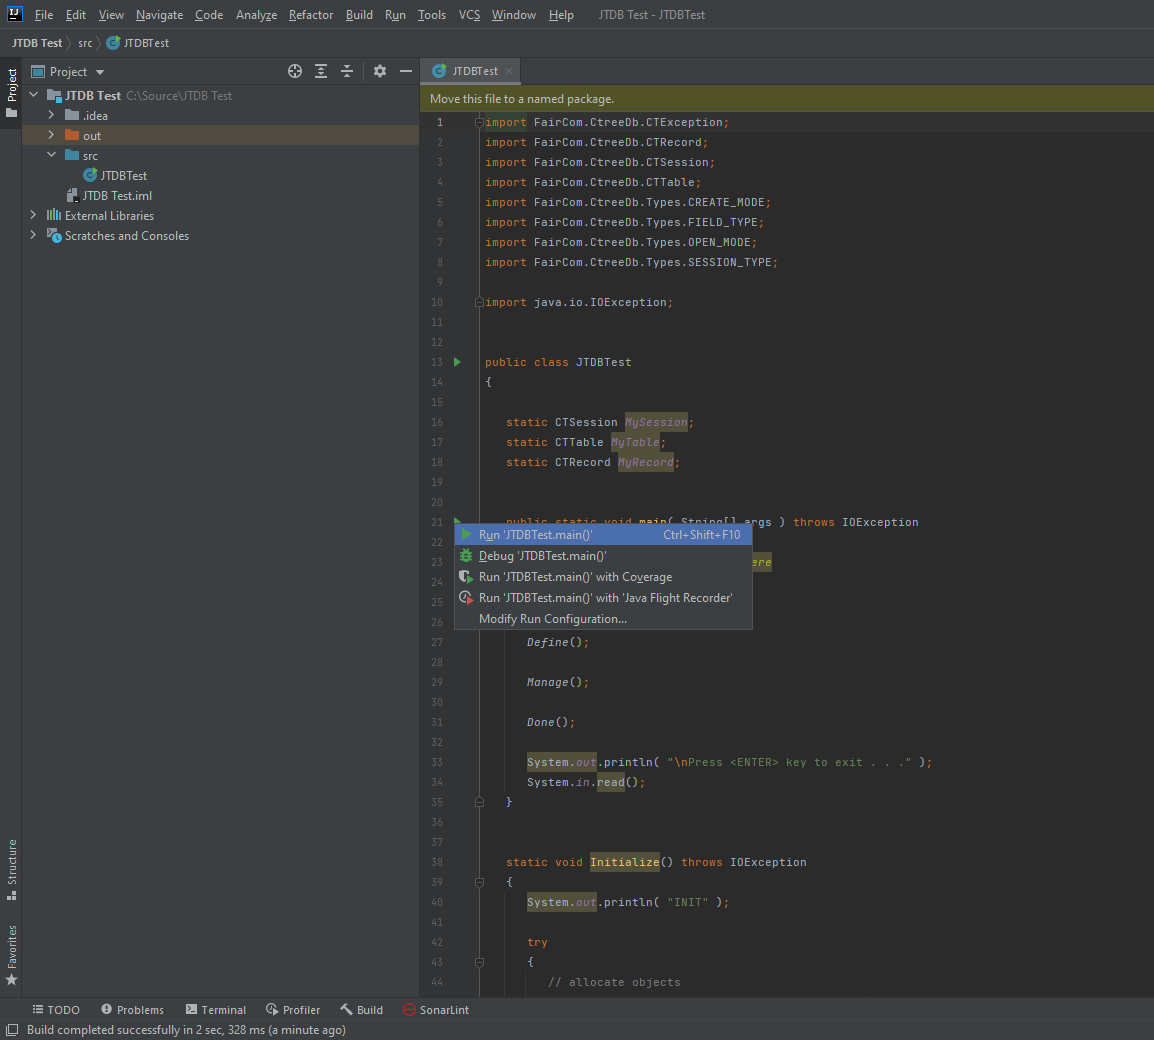
The simplest way to run the program now is to click on the green arrow next to the class or next to main(). Each of them will bring up the same menu, with the first option being to run main(). Use that first option to run your program:
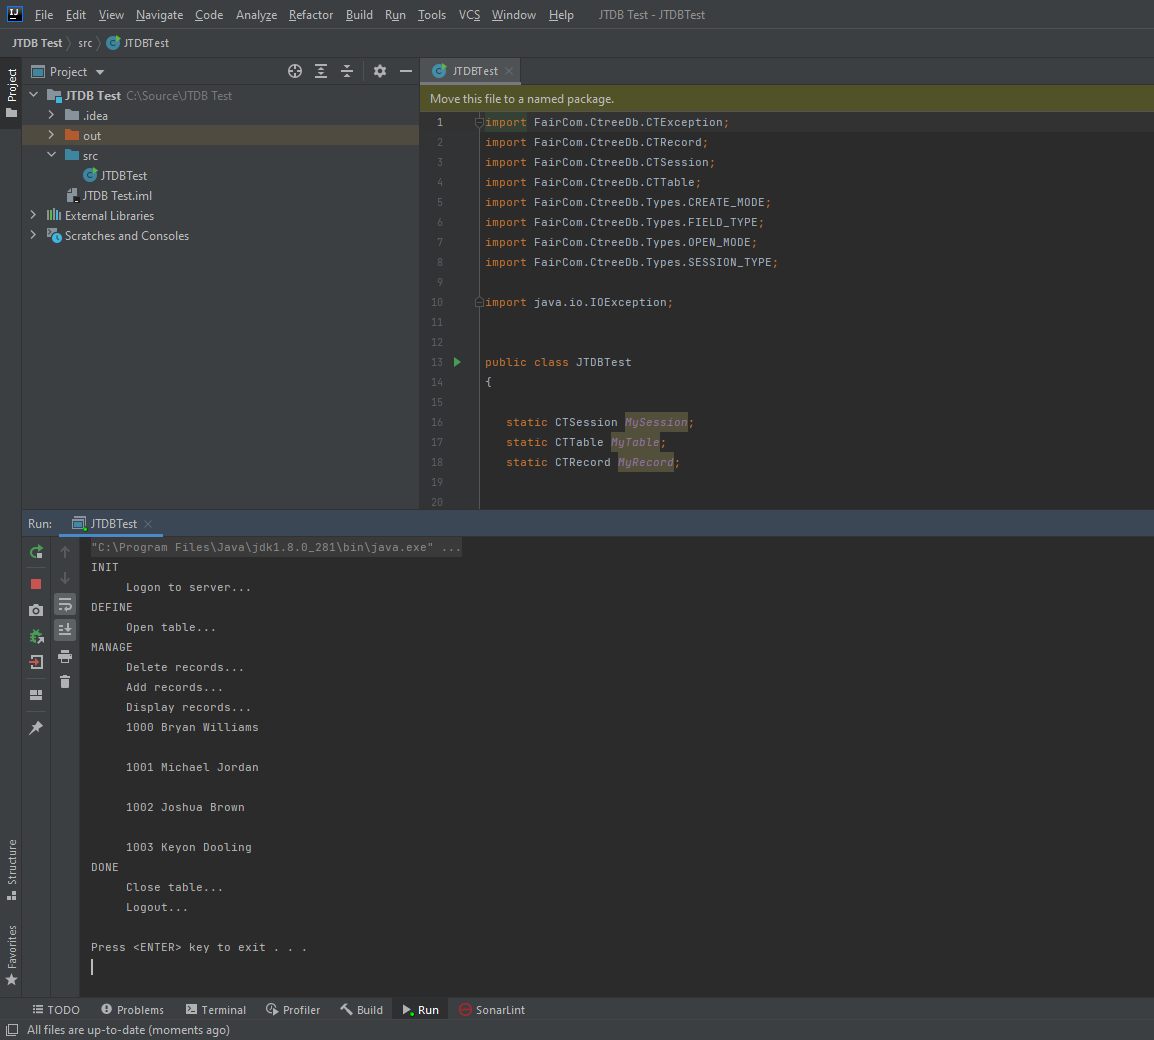
Running your program will result in the Run windows automatically opening. The output should look like this:
Note, you may need to click into the text area of the run window and press Enter, to finish running the program.
That’s it. Now you can modify this code to suit your needs.